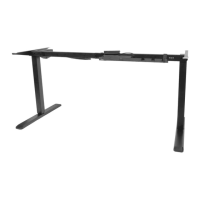
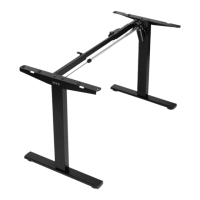
This document is an instruction manual for the Black Compact Electric Single Motor Desk Frame, identified by SKU: DESK-E151EB. It provides detailed assembly steps, safety warnings, and contact information for support.
Function Description:
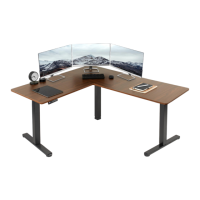
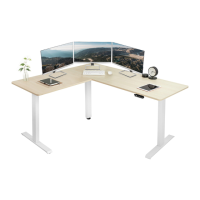
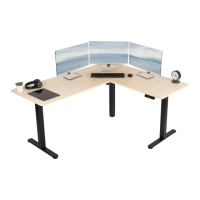
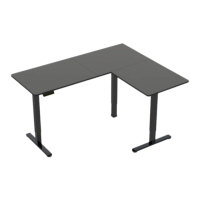
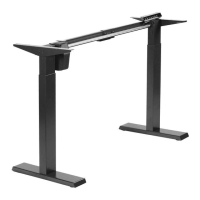
The device is an electric single-motor desk frame designed to support a desktop, allowing for height adjustments. It is intended for indoor use and provides a stable base for a sit-stand workstation. The electric motor facilitates smooth and easy changes in desk height, promoting ergonomic working postures. The frame is telescopic, allowing adjustment to suit different desktop lengths.
Important Technical Specifications:
- Product Name: Black Compact Electric Single Motor Desk Frame
- SKU: DESK-E151EB
- Weight Capacity: 176 lbs (79.8 kg) - Do not exceed this limit.
- Power Source: Electric (AC Adapter)
- Motor Type: Single Motor
- Desktop Compatibility: Adjustable telescopic crossbar to suit various desktop lengths. Pilot holes for desktop attachment require a 3/32" or 3mm bit and a drilling depth of 3/8" (10mm).
- Components:
- A (x1) Telescopic Crossbar
- B (x1) Motorized Leg
- C (x1) Leg
- D (x1) Crossbar Spacer
- E (x2) Side Bracket
- F (x1) Sync Rod
- G (x2) Foot
- H (x1) Adapter Holder
- I (x1) AC Adapter
- J (x1) Power Cable
- K (x1) Controller
- S-A (x16) M6x12 Bolt
- S-B (x10) 7/8" Screw
- S-C (x2) 3/4" Screw
- S-D (x3) Cable Clip
- S-E (x10) Anti-Vibration Pad
- S-F (x1) Allen Wrench
- Tools Needed for Assembly: Phillips Screwdriver, Level, Drill.
Usage Features:
- Electric Height Adjustment: The single motor allows for convenient electric adjustment of the desk height via a controller.
- Telescopic Design: The crossbar can be adjusted in length to accommodate different desktop sizes, offering flexibility in setup.
- Controller: A dedicated controller (K) is used to operate the desk's height adjustment. It is mounted underneath the desktop for easy access.
- Cable Management: Cable clips (S-D) are provided to help organize and manage power and control cables, ensuring a tidy workspace.
- Anti-Vibration Pads: Anti-vibration pads (S-E) are inserted into desktop mounting holes to reduce vibrations and protect the desktop.
- Leveling Feet: Adjustable foot pads allow for leveling the desk on uneven surfaces, ensuring stability.
- Ergonomic Design: Designed to facilitate a sit-stand workstation, promoting better posture and reducing sedentary time.
Maintenance Features:
- Cleaning: Do not clean the product while power is connected. Disconnect power before cleaning to prevent electrical shock.
- Component Replacement: Do not disassemble or replace components while power is connected. If parts are damaged, contact the seller for replacements.
- Cord/Plug Inspection: Regularly inspect the power cord and plug for damage. Never operate the system with a damaged cord or plug.
- Environmental Considerations: Never operate the system in damp environments or if any electrical components have made contact with liquids. This can lead to electrical hazards.
- No Unauthorized Alterations: Alterations of the given power unit are not allowed. Unauthorized modifications can compromise safety and functionality.
- Obstacle Clearance: Ensure the area of vertical motion is free of obstacles to prevent damage to the desk or injury during height adjustments.
- Weight Distribution: Keep weight on the desk balanced for correct operation and to prolong the life of components.
- Cable Slack: Ensure enough slack in cables to allow for the full range of vertical motion without strain.
Safety Warnings:
- Pinch Point Hazard: Moving parts can crush and cut. Pinch points are created during lifting and lowering. Do not place hands on or near support bars.
- Choking Hazard: Small parts are not suitable for children under 3 years. Adult supervision is required during assembly and use.
- Electrical Safety: This product is powered by electricity. Follow all electrical safety instructions to avoid burns, fire, and electric shock.
- Weight Limit: Do not exceed the 176 lbs (79.8 kg) weight capacity. Exceeding this limit can cause damage or serious injury.
- Proper Installation: Improper installation, incorrect assembly, or inappropriate use can lead to damage or serious injury. If in doubt, consult a qualified technician.
- Indoor Use Only: Outdoor use is prohibited.
- Contact Hours: Monday-Friday from 7:00 am - 7:00 pm CST.
- Email: help@vivo-us.com
- Website: www.vivo-us.com (includes helpful videos and specifications)
- Phone: 309-278-5303
- Live Chat: Available on the website.
- Social Media: Tag @vivo_us in photos of your setup.