VIVOTEK
User's Manual - 77
Media > Image
Advanced Mode
This section explains how to configure the image settings of the Network Camera. It is
composed of the following four columns: General settings, Preference, Exposure, and Privacy
mask.
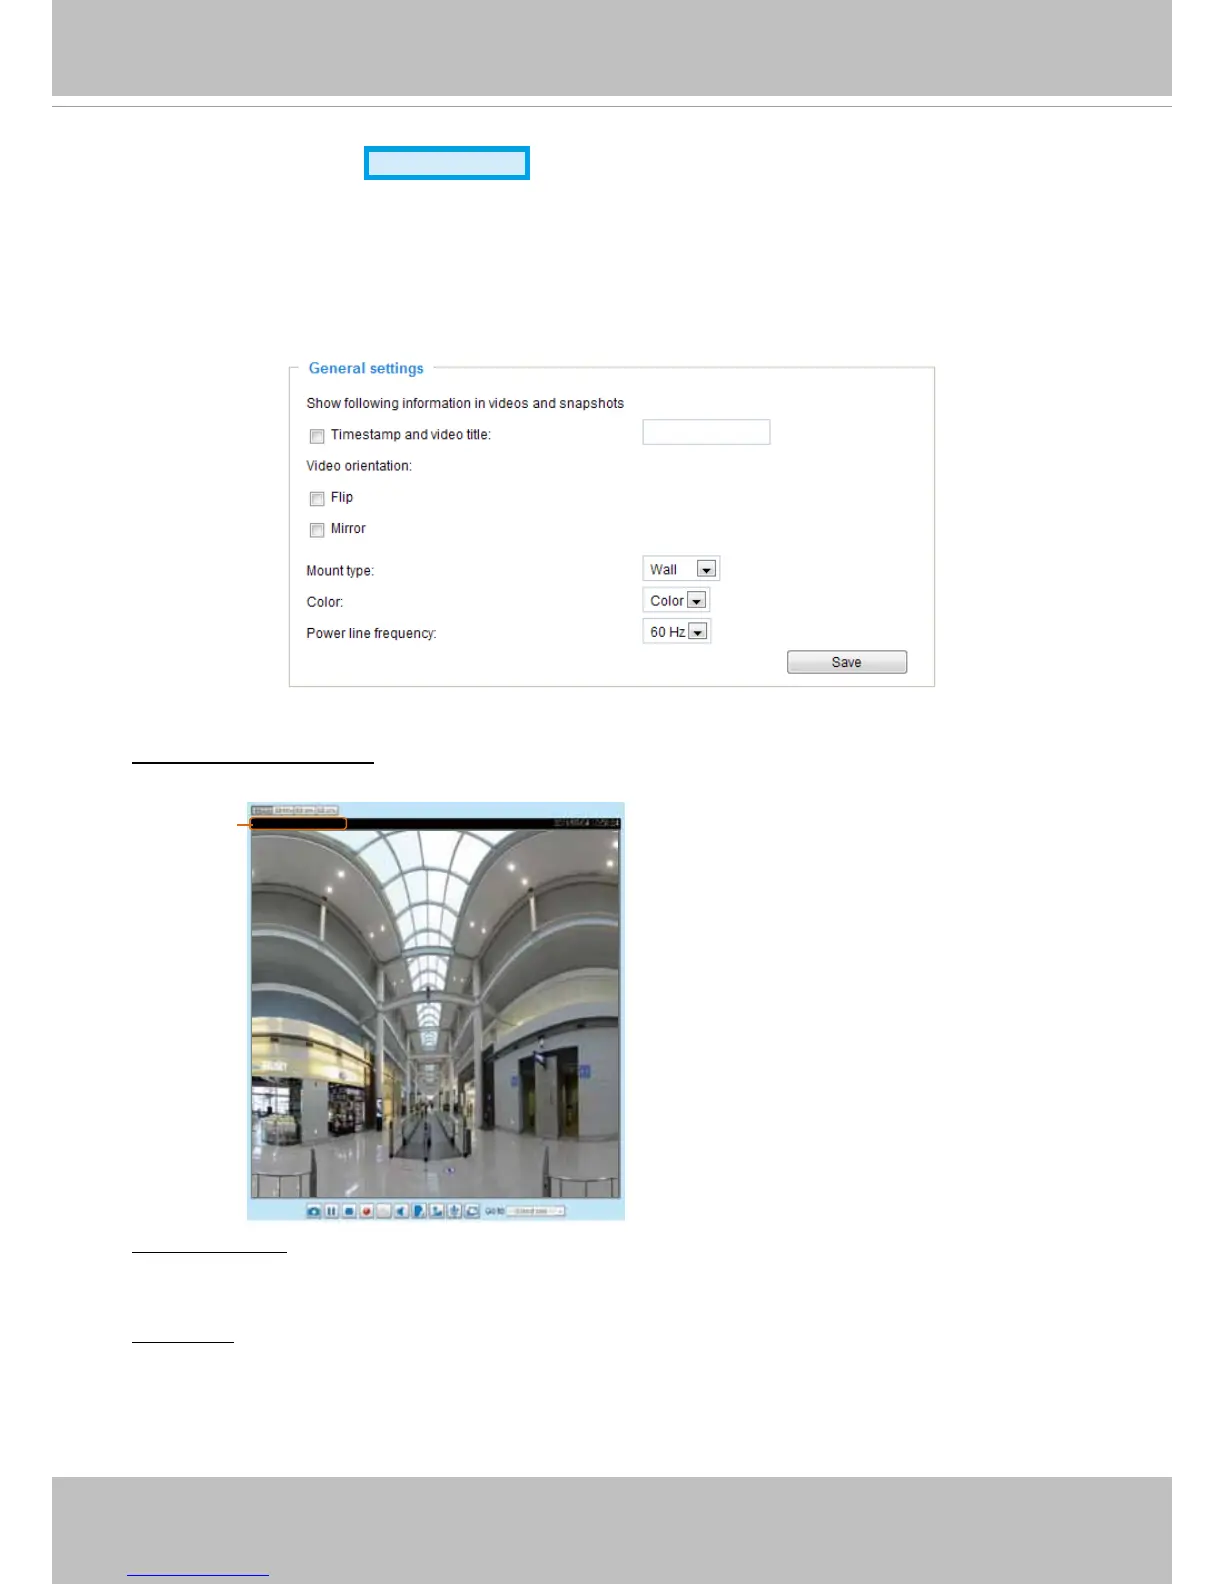
General settings
Timestamp and video title: Enter a name that will be displayed on the title bar of the live video as the
picture shown below.
2011/03/13 17:08:56
Video 17:08:56 2011/03/13
Video Title and Time
Video orientation: Flip--vertically reect the display of the live video; Mirror--horizontally reect the display
of the live video. Select both options if the Network Camera is installed upside-down (ex. on the ceiling)
to correct the image orientation. Please note that the preset locations will be cleared after ip/mirror.
Mount type: There are 3 Mount types - Ceiling, Wall, and Floor.
Ceiling: The Ceiling mount type automatically delivers upside-down images.
Wall: The Wall mount type applies to the monitoring of long, side-to-side surveillance areas, such as
a corridor. Different Mount types have effects on the Display mode settings. For example, the 1P2R
(1 Panoramic & 2 Regional) and 1P3R (1 Panoramic & 3 Regional) Display modes are only available
for the “Wall“ Mount type.