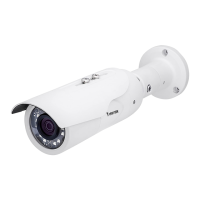
VIVOTEK
62 - User's Manual
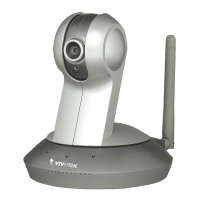
WPS:
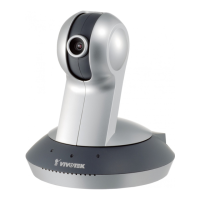
ADSL/Cab le/Hub
12V
1.5A
ETHERNET
WPS
1. Make sure your AP (Access Point) and Operating System support WPS (Wi-Fi Protected Setup)
functions. WPS enables easy setup with compatible APs.
3. The camera's blue LED should start ashing. Press and hold down both of the WPS buttons on
your AP and your camera for at least 1 second. (Some router/AP will have a virtual button on their
management software instead.) Refer to your AP's documentation for details using its WPS function.
If your AP does not support WPS, congure your wireless connection manually.
When WPS conguration is done, wireless connectivity will be established and the security encryption,
such as WEP or WPA-PSK, will be synchronized with the AP. Use the IW2 utility to nd the camera. As
for IP setting, the camera's use of DHCP or static IP is determined by your conguration on the network
camera via the web-based conguration of rmware. The camera's default is DHCP.
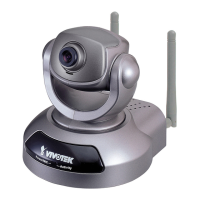
WPS buttons
Wireless AP
2. Connect your camera using a LAN cable, open a web console, and enter the Conguration ->
Wireless page. Select the WPS checkbox, and click the Save button.
4. Wait for 2 minutes with the onscreen progress bar. The camera should then reboot.When the progress
bar disappears, disconnect your LAN cable. You can refresh or re-start your web console to see live
video.