Do you have a question about the Vivotek PZ7131 and is the answer not in the manual?
Important safety, legal, and installation preparation guidelines.
Lists all the items included in the product package.
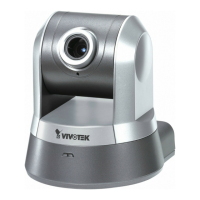
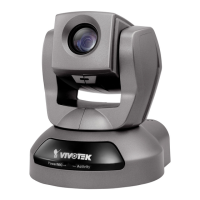
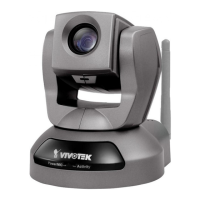
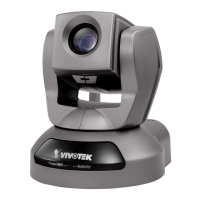
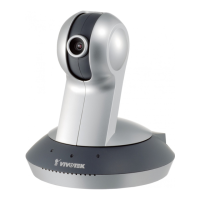
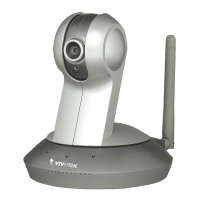
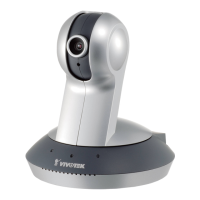
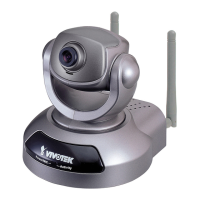
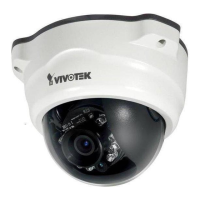
Describes the visible components on the front of the camera.
Details the ports and controls located on the rear of the camera.
Explains the pin definitions for connecting external devices.
Provides detailed steps for ceiling mount installation.
Configures the camera for internet connectivity through various methods.
Details the steps for connecting the camera through a router.
Explains how to set up the camera with a fixed IP address.
Details PPPoE connection setup for internet access.
Instructions for accessing the camera feed through a web browser.
Clickable logo to visit the VIVOTEK website.
Customizable name displayed at the top of the main page.
Section for controlling video streams and digital output.
Interface for controlling Pan, Tilt, and Zoom operations.
Area for accessing client settings, configuration, and language options.
Options for selecting stream transmission mode and saving.
Access to the camera's detailed configuration settings.
Option to change the user interface language.
Displays the live video feed from the camera.
Select video or audio streaming for MPEG-4 mode.
Details on UDP unicast, UDP multicast, TCP, and HTTP streaming.
User interface for entry-level users with simplified settings.
Enter a desired name for the Network Camera.
Set the initial password for the administrator account.
Modify privilege levels for operators and viewers.
Add, edit, or delete user accounts and their privileges.
Activate secure HTTPS connection and select connection options.
Methods for generating and installing SSL certificates.
Steps to manually generate and install a self-signed SSL certificate.
Procedure to create a certificate request and install it.
Select the network connection type (LAN, PPPoE).
Configure settings for Local Area Network (LAN) deployment.
Allow the camera to automatically open router ports for internet access.
Configure PPPoE for internet access using ISP credentials.
Display detailed IPv6 address information.
Manually configure IPv6 settings when DHCPv6 is unavailable.
Set the primary and secondary HTTP ports for camera access.
Define names to differentiate streaming sources.
Set RTSP authentication mode (disable, basic, digest).
Define names for differentiating RTSP streams.
Set the network name for wireless connection.
Select the mode for wireless connection (Infrastructure, Ad-Hoc).
Select the wireless channel for connection.
Select the maximum transmission rate for the wireless network.
Choose the data encryption method for wireless security.
Configure WEP security settings for wireless networks.
Select authentication mode for WEP (Open, Shared).
Choose the key length for WEP encryption (64 or 128 bits).
Select the format for WEP keys (Hexadecimal or ASCII).
Enter the WEP network key for wireless authentication.
Configure WPA-PSK security with TKIP or AES algorithms.
Configure WPA2-PSK security with AES algorithm.
Enable and set up dynamic DNS service.
Setup guide for using the Safe100.net DDNS provider.
Setup guide for using the CustomSafe100 DDNS provider.
Configure general access list settings, like connection limits.
View current connection information and status.
Set up allowed and denied IP lists for access control.
Define IP address or network range rules for the access list.
Define IP address range rules for the access list.
Allow specific IP addresses to always access the device.
Adjust video parameters such as title, color, exposure, and orientation.
Set the iris to maximum value and adjust zoom factor.
Tune white balance, brightness, saturation, contrast, and sharpness.
Configure exposure time, level, AGC, and WDR settings.
Set video compression standards (MPEG-4, MJPEG) and parameters.
Determine the frequency of I-frames for video quality.
Adjust video quality settings for constant or fixed quality modes.
Configure microphone gain, audio type, and bit rate.
Activate the motion detection feature.
Set and manage specific camera positions for easy recall.
Select and arrange preset locations for automatic camera patrolling.
Automatically return camera to home position after inactivity.
Shows a preview of the current homepage layout settings.
Change or upload a custom logo for the homepage.
Steps to set up a personalized homepage layout using color pickers.
Upload XML scripts to automate configuration tasks.
Assign a descriptive name to an event setting.
Activate or deactivate a specific event setting.
Set the importance level (High, Normal, Low) for event execution.
Specify delay between detecting consecutive events.
Define the conditions that initiate a camera event.
Specify the days and times for event execution.
Define the actions the camera performs when a trigger is activated.
Assign a descriptive name to the server configuration.
Select the type of server (Email, FTP, HTTP, Network Storage).
Configure settings for sending media files to an FTP server.
Configure settings for sending media files to an HTTP server.
Configure settings for sending media files to network storage.
Assign a descriptive name to the media setting.
Select the type of media: Snapshot, Video clip, or System log.
Configure settings for capturing and sending still images.
Configure settings for capturing and sending video clips.
Configure settings for sending system log files.
Configure sending of notification messages for recording events.
Define recording source, schedule, and storage capacity.
Assign a descriptive name to the recording setting.
Activate or deactivate video recording.
Set the importance level for recording settings.
Select the media stream source for recording.
Specify the days and times for video recording.
Select the network storage for recorded video files.
Configure recording capacity (free space or limited size).
Set the prefix for recorded video file names.
Enable overwriting oldest files when storage is full.
Access the Recording Settings page to modify a recording.
Stop the current video recording.
Access the recorded file list for network storage.
Enable and configure settings for sending logs to a remote server.
View the camera's system log in chronological order.
Restart the network camera to apply changes or resolve issues.
Reset camera settings to factory defaults or retain specific configurations.
Export DST settings to configure starting and ending times.
Upload a DST configuration file to the camera.
Export current language strings from the camera.
Upload a custom language file for the user interface.
Export all device parameters and user scripts.
Upload a previously saved configuration backup file.
Details on using URLs for camera control and parameter access.
Adjust the speed for pan, tilt, and zoom operations.
Set the speed for automatic pan and patrol movements.
Interface for manual PTZ movement and zoom adjustments.
Configure settings for joystick control of camera movement.
Set the speed of movement for the camera.
| Maximum resolution | 640 x 48 pixels |
|---|---|
| Sensor type | CMOS |
| Optical sensor size | 1/4 \ |
| Focal length range | 2.8 - 7.3 mm |
| Built-in microphone | Yes |
| Dimensions (WxDxH) | 104.1 x 103.5 x 118 mm |
| Power requirements | 12V DC |
| Compliance industry standards | 802.3af |
| Supported network protocols | IPv4, TCP/IP, HTTP, UPnP, RTSP/RTP/RTCP, IGMP, SMTP, FTP, DHCP, NTP, DNS, DDNS & PPPoE |
| Power source type | PoE |
| Power consumption (typical) | 12 W |
| Ethernet LAN (RJ-45) ports | 1 |
| Minimum illumination | 1.25 lx |
| Certification | CE, C-Tick, FCC, LVD, VCCI |
| Processor model | VVTK-1000 SoC |
| Flash memory | 8 MB |
| Internal memory | 64 MB |
| Operating temperature (T-T) | 0 - 50 °C |
| Operating relative humidity (H-H) | 20 - 80 % |
| Weight | 352 g |
|---|