Ceramic Master E10 en v2 6
4. INSTALLATION AND INITIAL START-UP
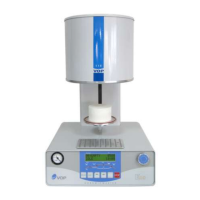
UNPACKING
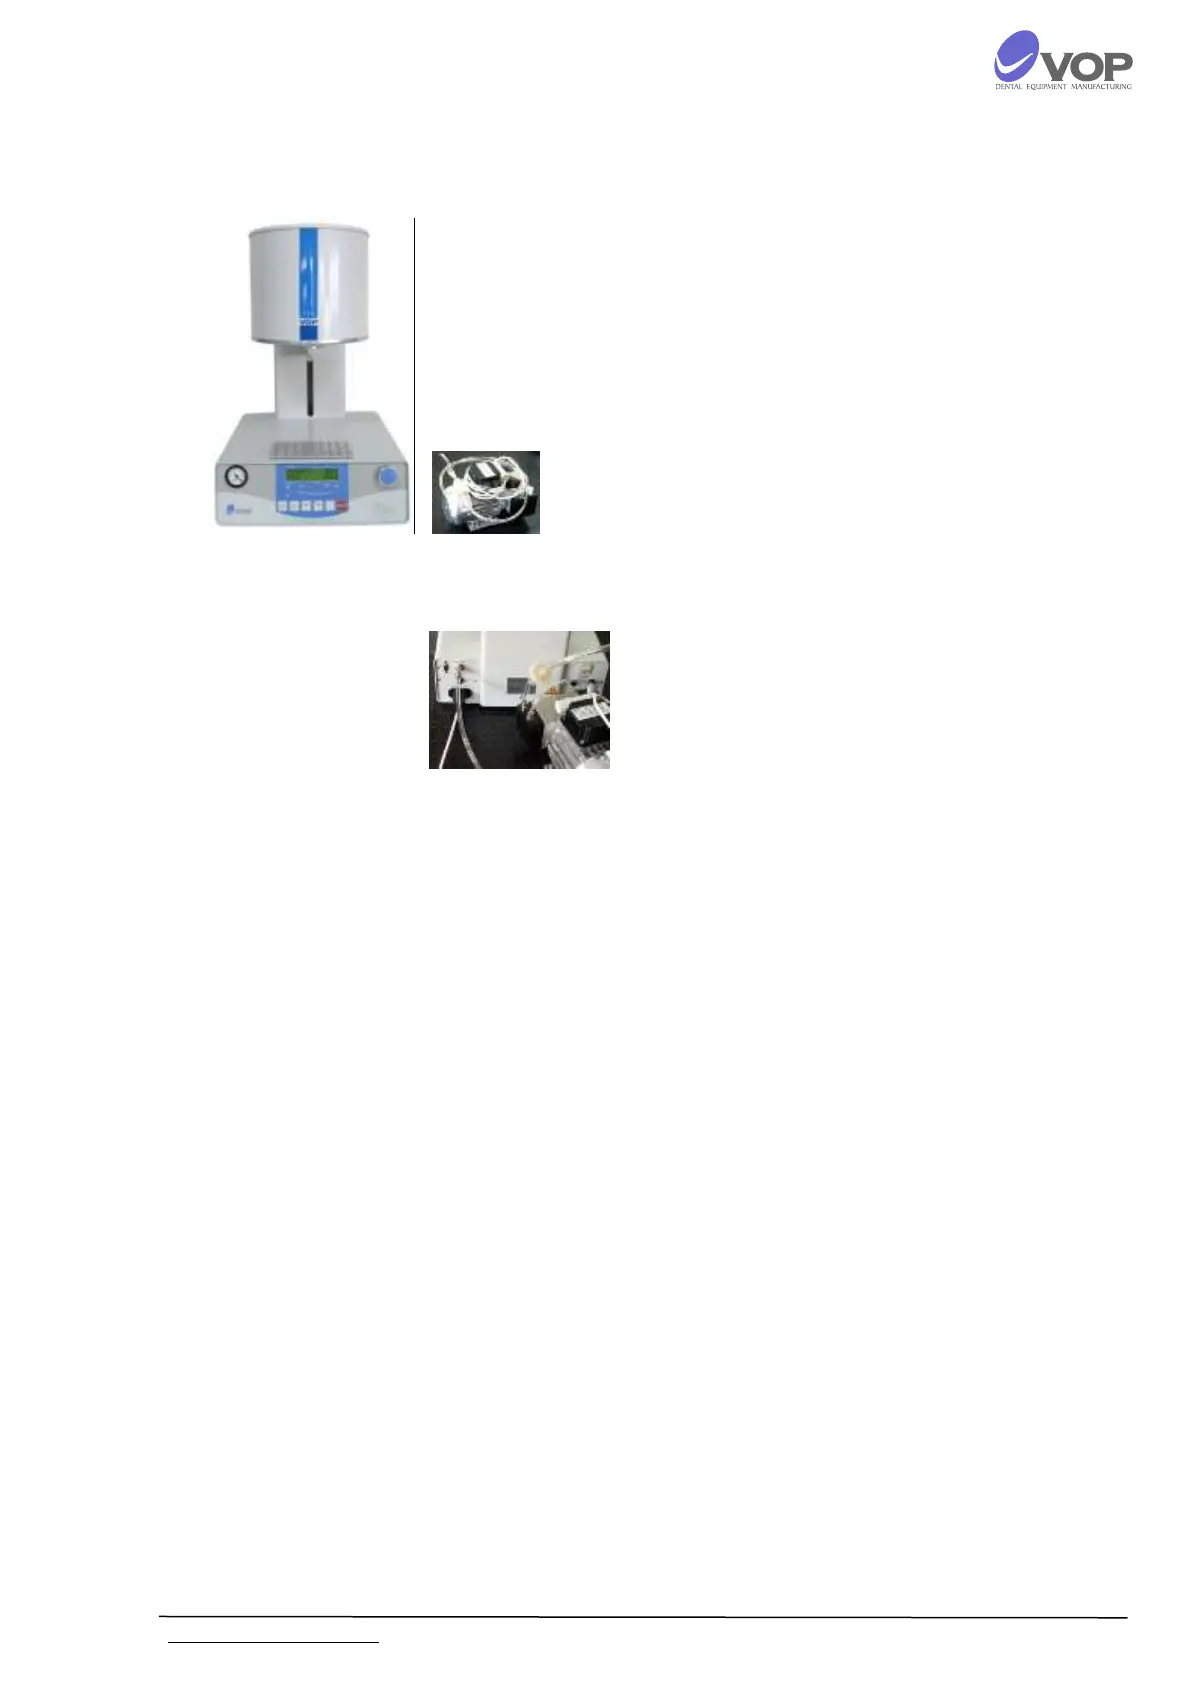
CONNECTIONS
TEMPERATURE CORRECTIONS BY THE USER
IMPORTANT!
Carefully remove modules from packages;
Make sure that the mains voltage is ~230V and
the contact is reliably grounded.
Connect pump supply cable to the terminal with
label "VACUUM PUMP" on the rear panel;
Connect the power supply cable to the terminal
with label "POWER" on the rear panel;
Connect vacuum hose to the vacuum fitting with
label "VACUUM” on the rear panel.
The net switch is on the rear panel, on the right.
Put the furnace in a position which enables its
easy engaging turning off from the master
switch as well as from the contact.
It is possible to calibrate the temperature T within
the limits of plus/minus 50°C. In order to do this you
must proceed with the following steps: open the
furnace; switch it off; switch it on again while
pressing the buttons "RUN" and "STOP" at the same
time. Now you are in service mode. You see the
following indication on the display:
0:00:00 000 0XXX
TERMO CORRECT: + 0000
The current value of the correction can be changed
with the turning of the multi-functional rotary knob.
Push the button “PROG” to store the new value.
After turning on the furnace it will show SELF
TESTING for a few seconds. Do not release the
buttons before you hear the sound of the buzzer -
otherwise you will not enter into the mode for
temperature adjusting but in normal operating
mode.