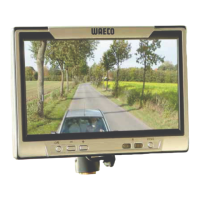
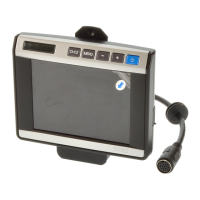
Using the LCD monitor PerfectView M5L, M7L, M7LX
34
Page 2:
– Language: “English” or “German”
– Reset (“Default”): Default setting for all parameters
– Camera1/Camera2: “Normal” or “Mirrored”
– M7LX: Camera3: “Normal” or “Mirrored”
– M7LX: Distance: Distance markers (“Setting distance markers (M7LX) (fig. 0,
page 5)” on page 35)
➤ Press the “–” button (4) or “+” button (5) to set the parameter of your choice.
➤ Press the “–” button (4) to reduce the value of the selected parameter.
➤ Press the “+” button (5) to increase the value of the selected parameter.
8.4 Setting the video source (fig. 0, page 5)
I
NOTE
If you have connected the green cable to the reversing light and voltage is pre-
sent, reversing camera V1 is activated automatically (see “Using the monitor
with two reversing cameras (trailer operation) (fig. c, page 6)” on page 35).
M5L, M7L
➤ If you wish to switch to a different video source (from camera 1 to camera 2), press
the “C1/C2” button (1).
✓ The monitor switches from camera 1 to camera 2 or vice-versa.
M7LX
➤ If you would like to switch to a different video source, press the “C1/C2/C3” button (1).
✓ The monitor changes the camera in the order “camera 1 – camera 2 – camera 3”.
➤ If you wish the cameras to run automatically, press and hold the “C1/C2/C3” button
(1) for at least three seconds.
✓ The monitor display the “AUTO” mode.
✓ The monitor changes the cameras in the order “camera 1 – camera 2 – camera 3”
automatically in the preset time intervals.
No sound is available in this operating mode.
➤ If you wish to set the display time (2 s to 16 s):
Press the “–” button (4) to reduce the camera display time.
Press the “+” button (5) to increase the camera display time.
➤ To end the automatic function, press the “C1/C2/C3” button (1) again.
✓ The monitor displays the “MANUAL” mode.
_M5L_M7L_M7LX.book Seite 34 Montag, 7. Mai 2012 10:59 10
 Loading...