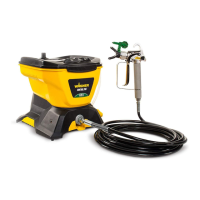
24
Control Pro 250 R / 350 R
GB
•
The key to obtaining a high quality result is even coating of the entire surface.
Keep your arm moving at a constant speed and keep the spray gun at a constant distance from the surface. The best spraying
distance is approx. 20 to 25 cm between the spray nozzle and the surface. (Fig. 17, A)
•
Keep the spray gun at right angles to the surface. This means moving your entire arm back and forth rather than just exing your
wrist. (Fig. 17, B)
•
Keep the spray gun perpendicular to the surface, otherwise one end of the pattern will be thicker than the other. (Fig. 17, C)
•
Trigger gun after starting the stroke. Release the trigger before ending the stroke.
(Fig. 17, D)
The spray gun should be moving when the
trigger is pulled and released. Overlap each stroke by about 30%. This will ensure an even coating.
i
During operation the pump switches on and o continuously, in order to regulate the pressure.
This is normal and is not a malfunction.
Unclogging the Spray nozzle
If the spray pattern becomes distorted or stops completely while the gun is triggered, follow these steps.
Danger
Do not attempt to unclog or clean the nozzle with your nger. High pressure uid can cause injection injury.
1. Release the trigger and secure the gun. Rotate the reversible nozzle arrow 180º so that the point of the arrow is toward the
rear of the gun. (Fig. 18).
i
Under pressure, the nozzle may be very dicult to turn. Turn the switch to the PRIME position (vertical) and pull the
trigger. This will relieve pressure and the tip will turn more easily.
2.
Turn the switch to the SPRAY position (horizontal).
3.
Unlock the gun and squeeze the trigger, pointing the gun at a scrap piece of wood or cardboard. This allows pressure in the spray
hose to blow out the obstruction. When the nozzle is clean, material will come out in a straight, high pressure stream.
4. Release the trigger and secure the gun. Reverse the nozzle so the arrow points forward again. Unlock the gun and resume
spraying.
i
The HEA Filter Set keeps nozzle blockages to a minimum (see “HEA Filter Set”).
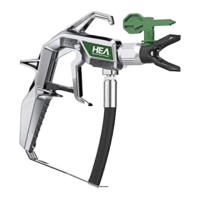
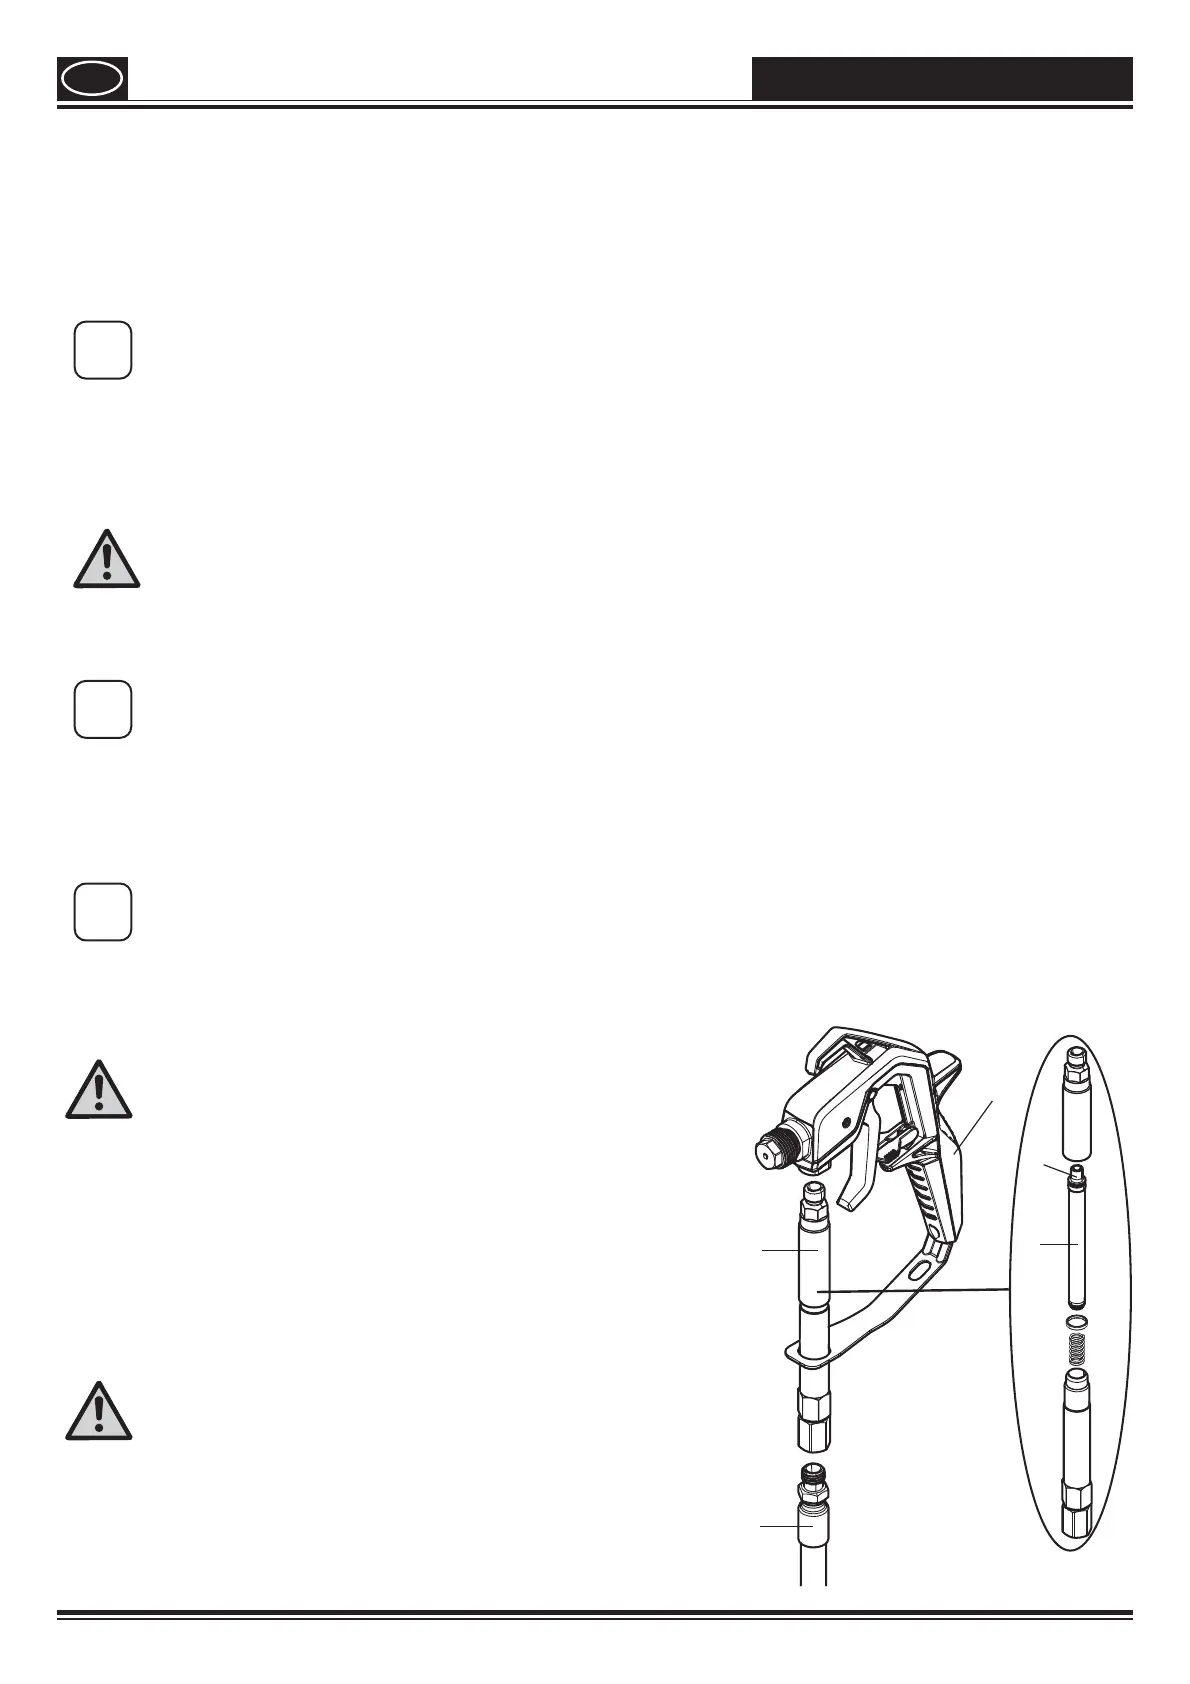
HEA Filter Set
Assembly
Danger
The gun and high-pressure hose must be de-pressurised before
the lter set is installed / removed.
1. Disconnect the high-pressure hose from the gun (1).
2. If necessary, screw on the lter housing (2) and insert a lter (3) appropriate
to the nozzle (the conical side (A) must point upwards).
Nozzle 311
Æ
Filter red
Nozzle 517 / 619
Æ
Filter white (pre-installed in the lter housing)
3. Screw the lter housing (2) to the gun (1).
4. Screw the high-pressure hose (4) rmly to the lter housing (2).
Cleaning
Danger
The gun and high-pressure hose must be de-pressurised before
the lter set is installed / removed.
1. Remove the lter housing (2) from the hose (4) and the gun (1).
2. Screw on the lter housing (2) and remove the lter (3).
3.
Thoroughly clean the lter (3) and lter housing (2) (if worn, replace the lter).
4. During reassembly, take care not to lose the seal and spring.
3
1
2
4
A