DRILLING TEMPLATE PROCEDURE
Use the drilling template as a guide to mark the location on the wall for the three mounting screws. Pay special attention when levelling the
template. The use of a spirit level is highly recommended.
Drill the marked mounting holes with the diameter specified for the selected installation hardware
and check the positioning of the holes. For installation on concrete, brick and wood walls,
use the included installation hardware.
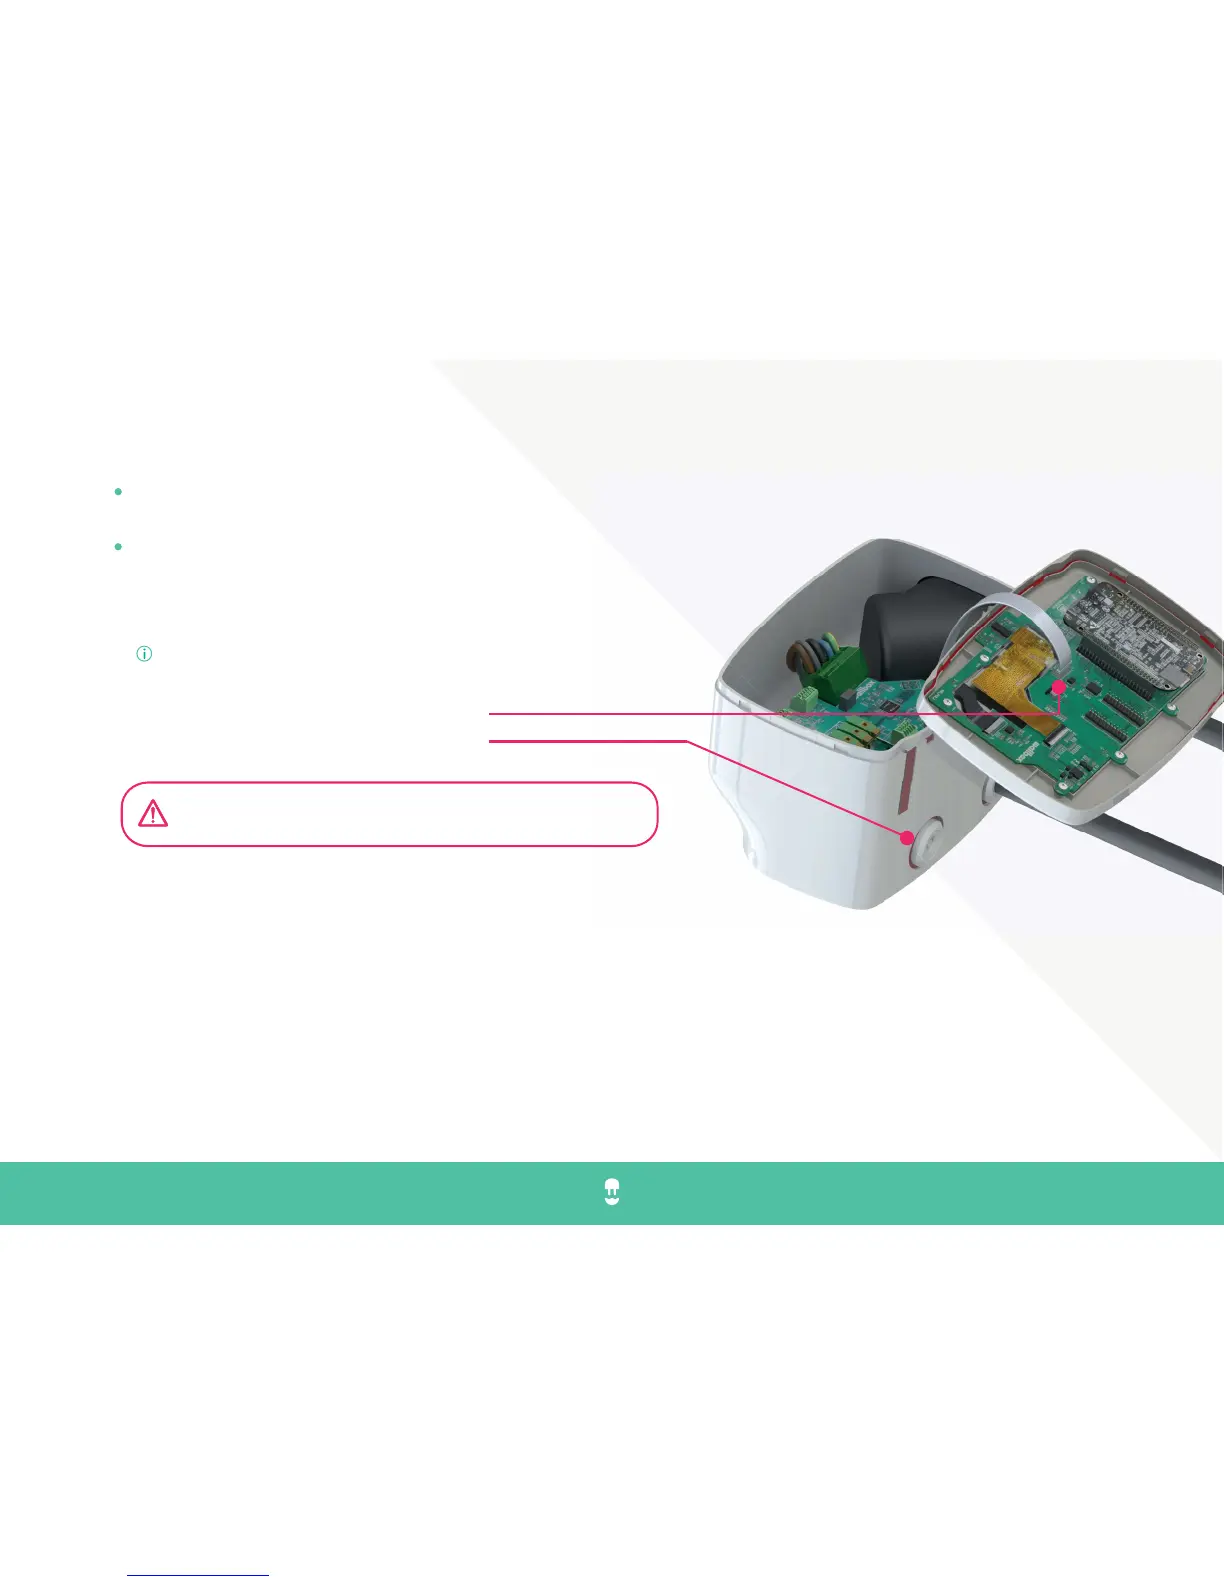
Before start mounting:
Open carefully the cover (Use the underneath cavities to loosen the fittings)
Disconnect the cover communication cable.
Insert fittings in the cavities underneath
MOUNTING
IMPORTANT: In case your Wallbox is using a backside-wall cable connection, please follow steps 0 and Step 00. If not using such cable connection,
please go to step 1.
Step 0: In the backside of the Wallbox charger you will find an insertion with a thinner wall; use a cutter, razor or a sharp tool and carefully make an
incision into the cable opening. Please meticulously remove all sharp edges. Take a Rutaseal bushing and install it.
Step 00: Very carefully, firmly insert your cable supply through the bushing. Bush hole sealing is prepared for a range that can vary from 11 to 17mm
which falls within the standard for cables that can carry up to 22kW.
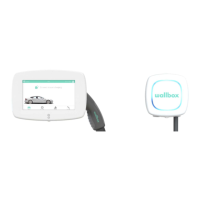
COMMANDER - installation guide en
DRILL & MOUNT 1/3
13
Make sure the power supply is turned o during all mounting steps