WARN INDUSTRIES PAGE 11 84855A2
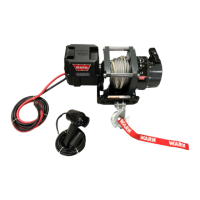
22. Switch the winch clutch to freespool. Manually
feed the winch cable through the roller fairlead.
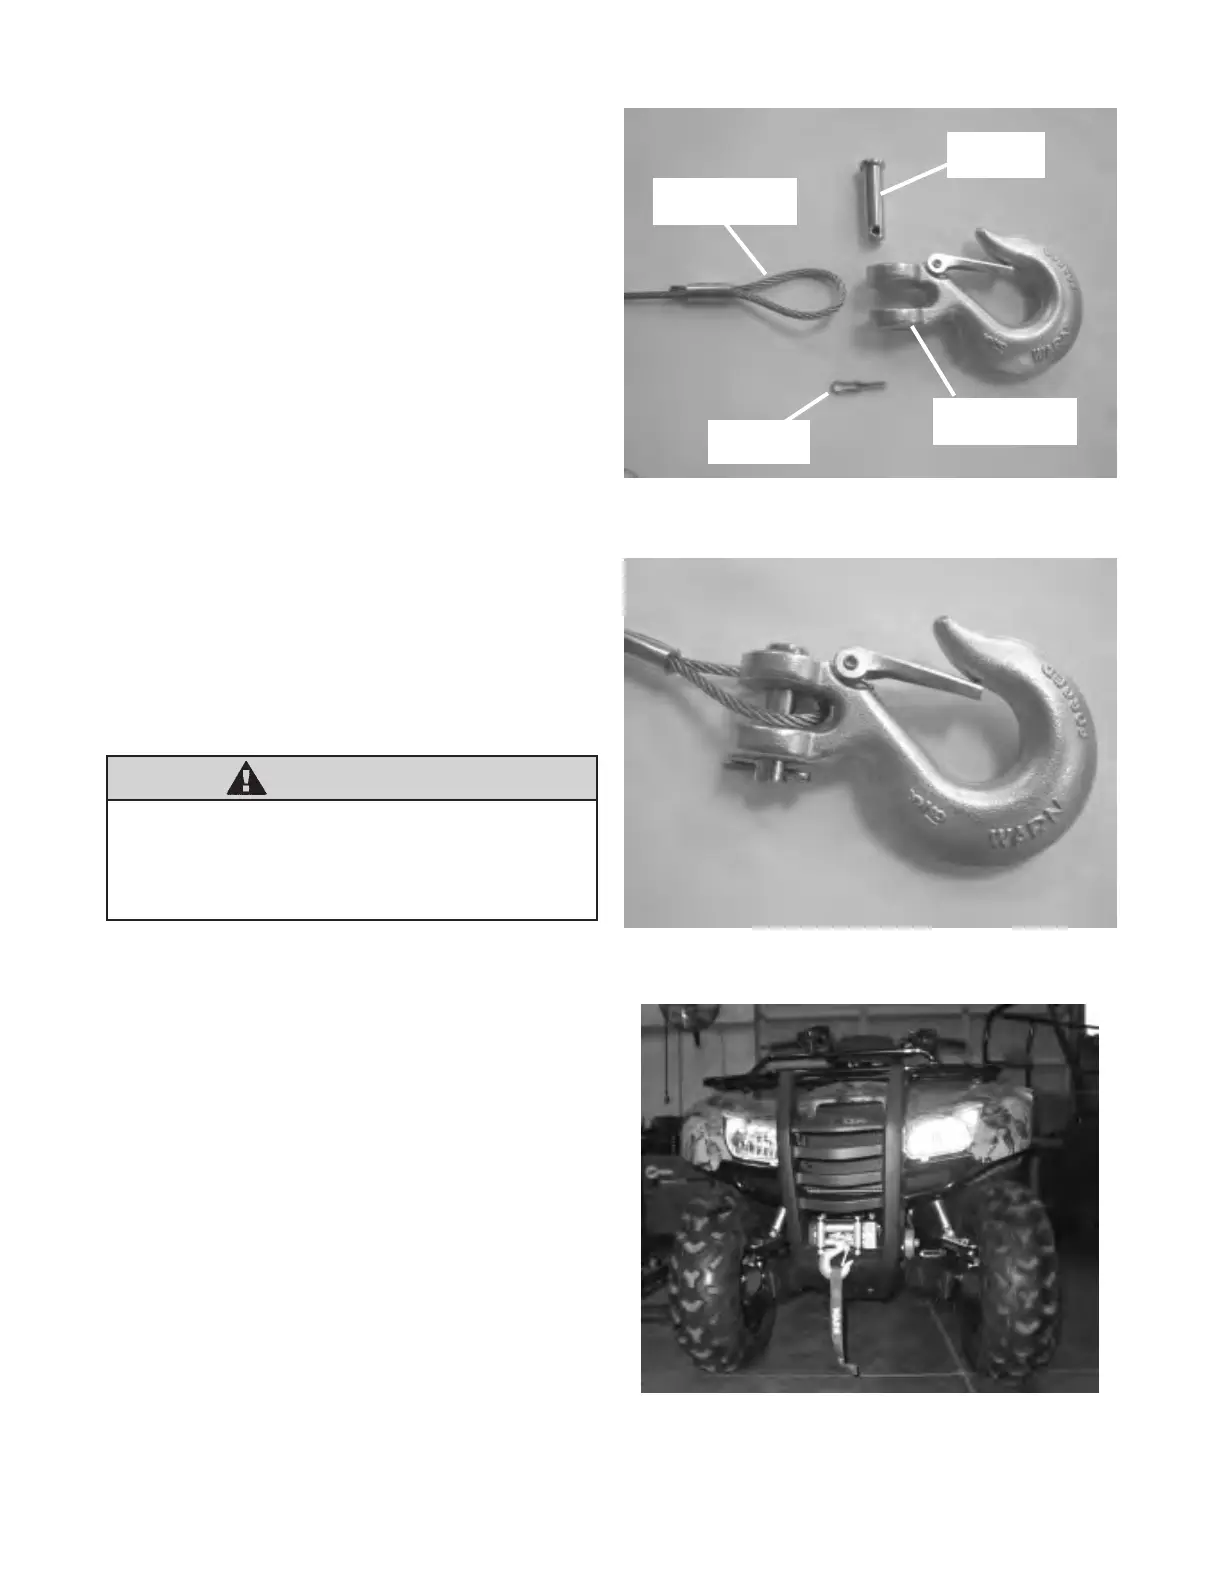
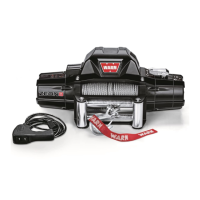
Attach the clevis hook, supplied with the winch,
to the end cable loop as shown in gure 23. This
is done by placing the winch wire loop between
clevis pin tabs on hook. Insert clevis pin through
clevis pin tabs and the winch wire loop. Insert
cotter pin into clevis pin retaining hole, gure 22
and gure 23.
23. Complete the winch installation as described in
the winch installation and specication guide that
came with the winch.
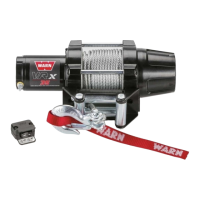
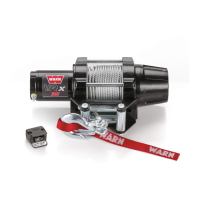
Winch and winch mount installation is now com-
plete and should look like gure 24. Proceed to
section IV, entitled “Winch Wiring”.
Figure 22 Hook Assembly - Exploded View
Winch Wire Loop
Cotter Pin
Clevis Pin
Clevis Pin Tabs
Figure 23 Hook Assembly - Assembled
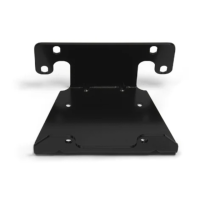
Figure 24 Winch and Mount Installed
WARNING
Tighten all nuts and bolts securely. Failure to
check all nuts and bolts prior to use can result in
product failure which can lead to vehicle damage
and operator injury or death.