32
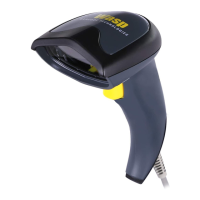
Your Wasp WLR8950 Scanners are ready for use. The default settings of
the scanners have been pre-programmed for the most common barcode
configurations. Use the “WLR8950 Setup & Configuration” sections only
to customize the scanners settings. Please review the “Enable Barcode
Symbologies” configuration in the WLR8950 User Manual to see the list of
barcode symbologies which are enabled by default.
Tip:
• Usethe“BarcodeTestSymbols”sectionbeginningonpage11asa
test chart to practice scanning.
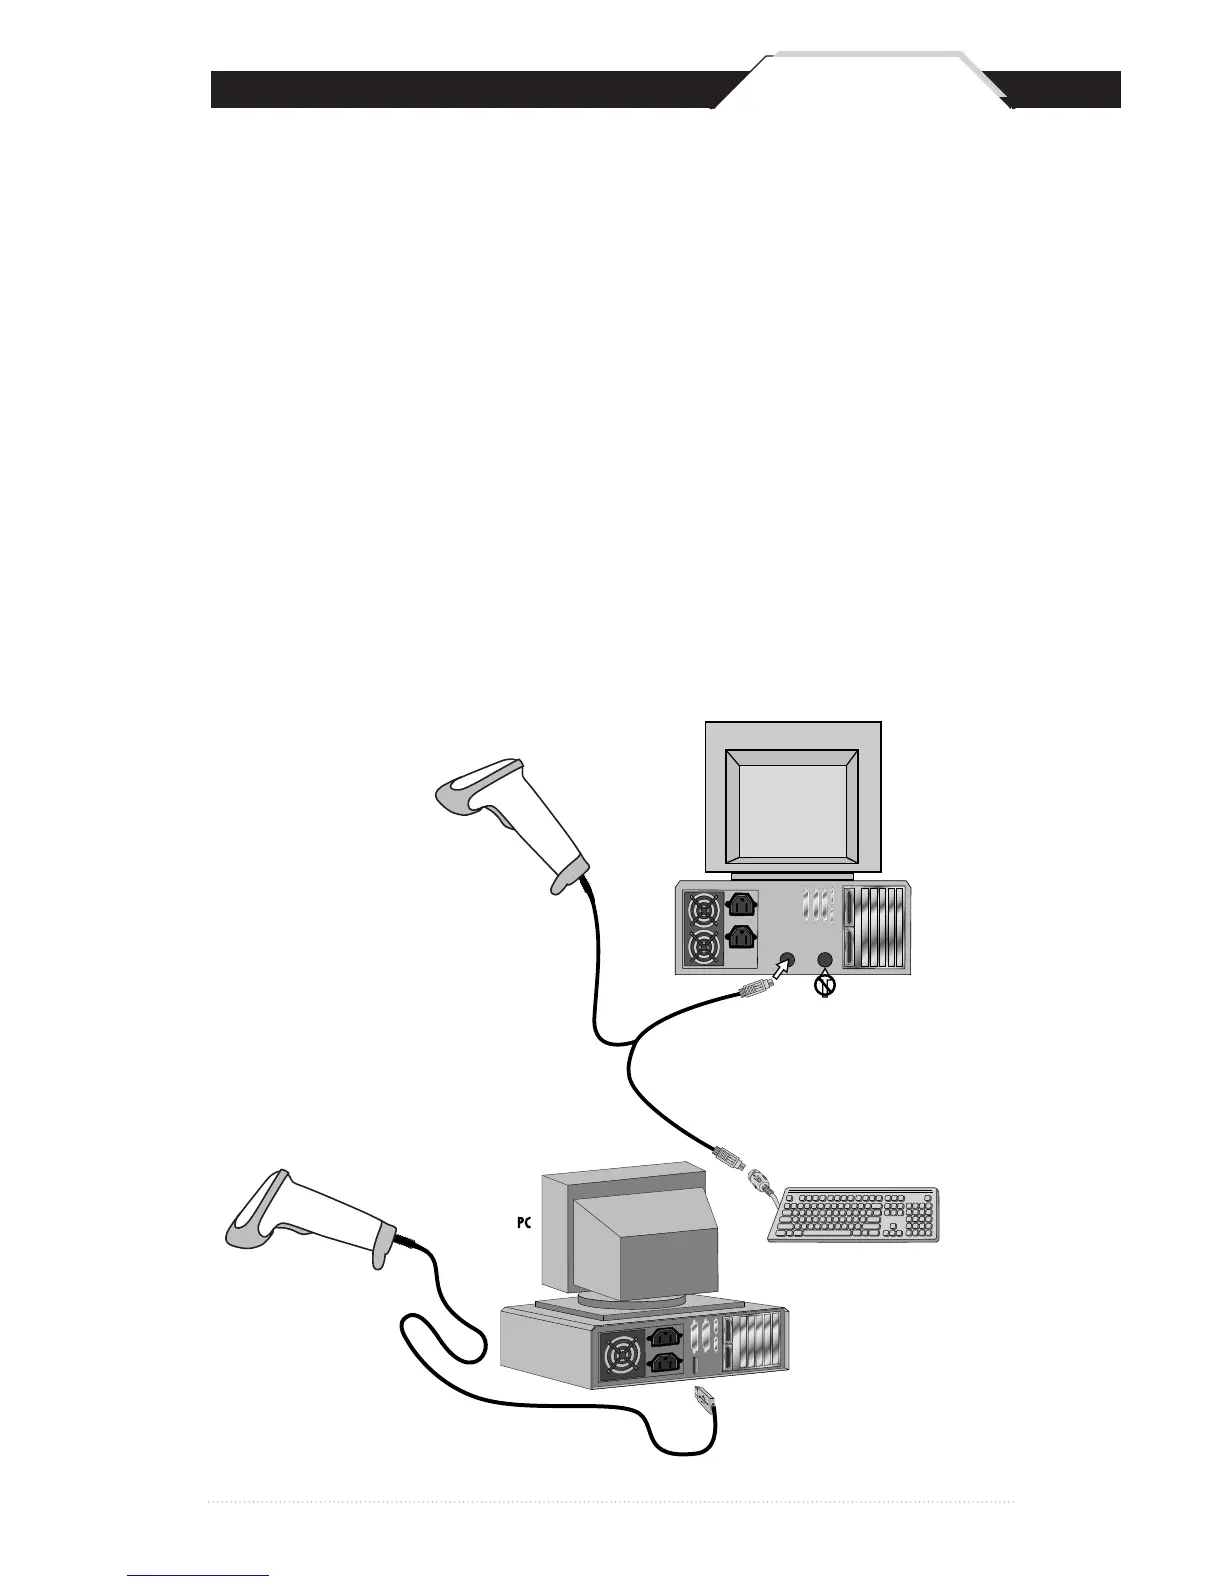
USB Connection
PS2 Connection
1. Plug the USB of the WLR8950 Scanner directly into your PC’s USB port.
KEYBOARD
Y-CABLE
BACK OF PC
KEYBOARD MOUSE
DO
NOT
PLUG
IN MOUSE PORT!
KEYBOARD
WLR 8900
PS2 Scanner
 Loading...