
C
Carolyn RamirezAug 2, 2025
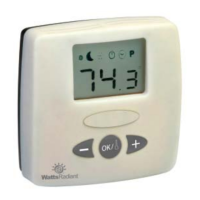
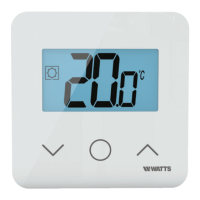
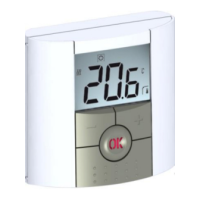
What does it mean when the battery logo blinks on my Watts Thermostat?
- ZzhernandezAug 3, 2025
If the battery logo is blinking on your Watts Thermostat, it means the battery level is too low. Replace the batteries to resolve this.