7
Wiring Instructions
This section explains how to wire individual devices to the Smart Steam Control 289. Please refer to technical data table on pg 36
for sensors that are included in the standard packaging of the Smart Steam Control 289.
Pressure Sensor 089 (Terminals 1, 2, 3)
An optional Pressure Sensor 089 (sold separately) can connect to the 289 to provide staging
for a second steam boiler and to monitor steam pressure up to 15 psi (104 kPa). The pressure
sensor requires the installation of the following on the steam riser pipe:
• Tee with a ¼"-18 NPT port
• ¼" brass pigtail
• ¼" x
1
⁄8" reducing elbow
Thread the 089 into the reducer coupling. The pigtail protects the sensor diaphragm from
premature failure.
• Connect the Red reference voltage wire to terminal 1.
• Connect the Green pressure signal wire to terminal 2.
• Connect the Black power common wire to terminal 3.
FCC ID: 2AHQR-11500A
Contains FCC ID:
2AC7Z-ESP32WROOM32E
QOQMGM12P0
Contains IC ID:
21098-ESPWROOM32E
5123A-MGM12P0
CAN ICES-3 (A)/NMB-3(A)
Class 2 Circuits
Input Power:
115 V (ac) ±10%, 60 Hz, 4 W
Relays:
230 V (ac), 5 A, 1/3 hp
Calls:
24 V (ac) or Short
Operating Temperature:
32°F to 122°F (0°C to 50°C)
Use Copper Conductors Only
Wi-Fi: 802.11b/g/n, 2.4GHz
12
10/100
Ethernet
14
13
Boiler 1
Enable
1615
Boiler 2
Enable
1817
Comb
Air Relay
2019
Power
N
DANGER
To Reduce the Risk of Electric
Shock - Do not connect to a
circuit operating at more than
150 volts to ground.
Pour réduire les risques
d'électrocution choc - ne pas
raccorder à un circuit
fonctionnant à plus de 150 V à
la terre.
L
54
Outdoor
76
Cond
Sensor
98
Aux
Sensor
1110
DHW
231
Ref In Gnd
Pressure Sens
Call
+
Sensor
H2065A
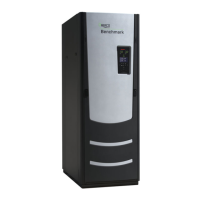
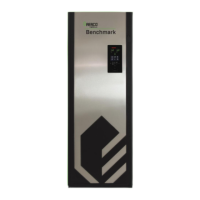
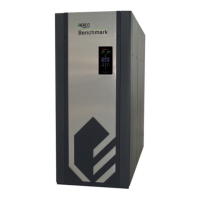
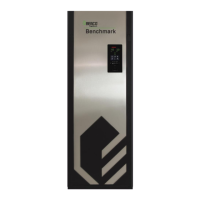
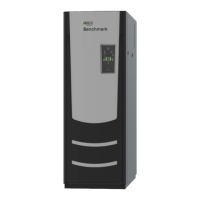
Smart Steam Control 289
For product literature:
Pour la documentation
du produit:
tekmarControls.com
tektra 1150-02
Designed and assembled
in Canada
N
G
L
TT TT
L
NG
The Pressure Sensor 089 must be installed downstream of a ¼" steam gauge siphon (pigtail)
to prevent premature failure.
Outdoor Sensor 070 (Terminals 4, 5)
• The 070 can be mounted directly onto a wall with the
wiring entering through the back or bottom of the enclosure.
Do not mount the 070 with the conduit knockout facing
upwards as rain could enter the enclosure and damage
the sensor.
• In order to prevent heat transmitted through the wall from
affecting the sensor reading, it may be necessary to install
an insulating barrier behind the enclosure.
• The 070 should be mounted on a wall which best represents
the heat load on the building (a northern wall for most buildings
and a southern facing wall for buildings with large south
facing glass areas). The 070 should not be exposed to heat
sources such as ventilation or window openings.
• The 070 should be installed at an elevation above the
ground that will prevent accidental damage or tampering.
Remove
cover by
sliding
upwards
away from
the base.
S1
S1
To wire from
the back,
remove the
knock-out in
the sensor
base.
S1
S1
If using
conduit,
remove the
flexible plug
from the base
bottom.
S1
S1
Attach the
base to
the wall,
soffit or
electrical
box.