Do you have a question about the Webasto 40 Series and is the answer not in the manual?
Symbols indicating mechanical operations.
Symbols indicating electrical connection tasks.
Symbols indicating danger, information, or special features in text.
List of additional materials needed for installation.
List of tools required for installation.
Guidance on the number of people needed for installation.
Recommendations for protective clothing and measures.
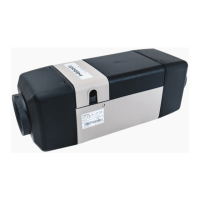
Key advantages and features of the Webasto 40 Series marine roof.
Description and function of the control panel.
Preparing the deck/roof surface and removing the glass panel.
Drilling holes, applying sealant, and fitting the top frame.
Attaching optional brackets and motor cover.
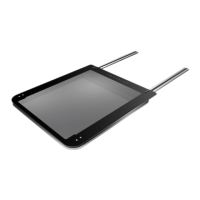
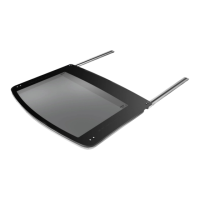
Attaching the glass panel assembly and sliding rails.
Aligning and securing the rails to the roof.
Drilling and securing rails with screws.
Fitting rail covers and applying grease for smooth sliding.
Installing rail end caps, covers, and final checks.
Warnings about using the roof as an escape hatch and closing obstructions.
Warning against standing or walking on the roof.
Verifying cleanliness of parts, rails, and mechanisms.
Ensuring proper greasing of guides and rails.
Confirming the correct fuse is installed.
Verifying rail positioning and alignment.
Ensuring the glass panel assembly seals the outline.
Checking smooth operation, opening, and closing.
| Brand | Webasto |
|---|---|
| Model | 40 Series |
| Category | Marine Equipment |
| Language | English |