WWW.WEBER.COM
®
9
GAS INSTRUCTIONS
TYPE OF GAS
Your natural gas grill is factory built to operate using natural gas only. Never attempt to
operate your grill on gases other than the type specified on the grill rating plates.
Your grill operates at 7" of water column pressure. If replacement of the hose becomes
necessary, factory specified parts are required. See your local dealer.
For safety and design reasons, the conversion of a Weber
®
grill from operation using
Natural gas to operation using LP gas is not allowed.
X
WHAT IS NATURAL GAS?
Natural gas, often called methane, is a safe modern fuel. Natural gas is supplied by your
local utility and should be readily available if your house is already heated with gas.
X
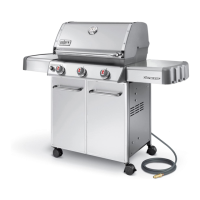
NATURAL GAS CONNECTION
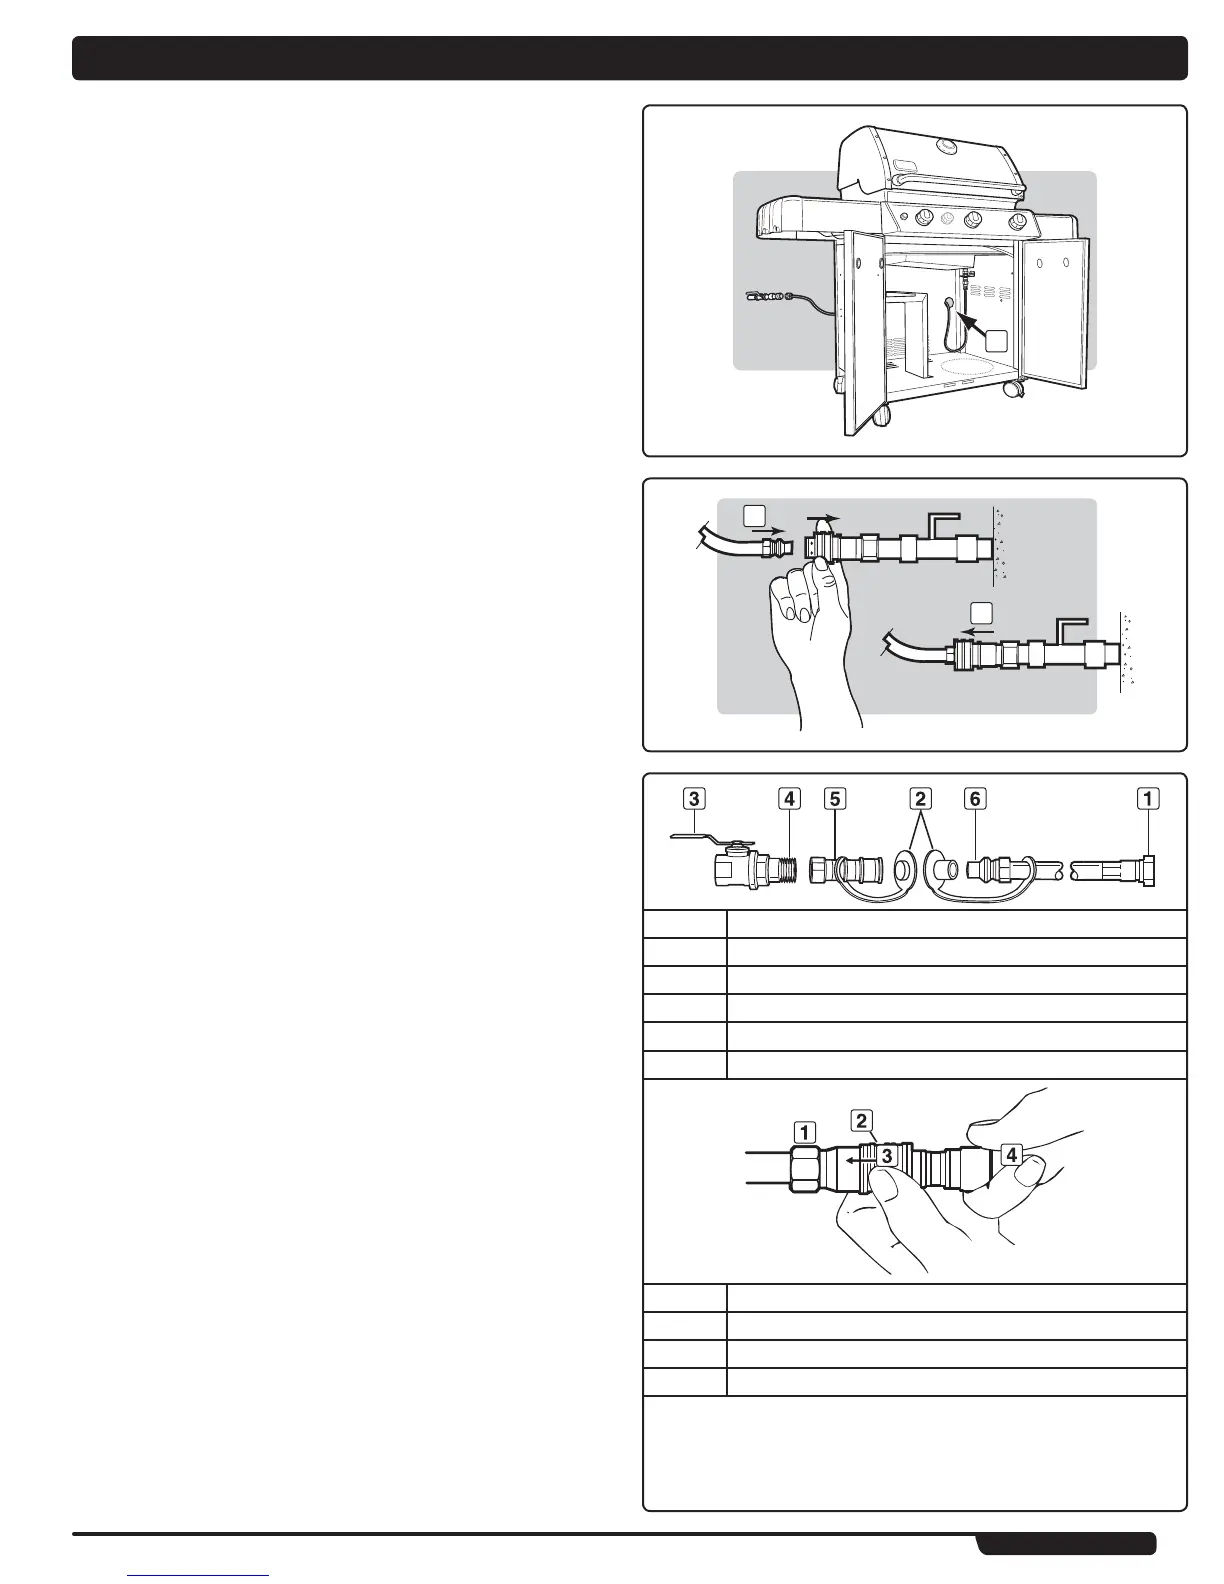
Uncoil the NG supply hose and route the end out the access hole at the back panel of
the cabinet (1). The 330 unit requires a 1/2" hose as opposed to the 3/8" hose for the
310 & 320. Weber
®
recommends moving the grill at least 24" from the gas supply and
any combustible surfaces. After the gas supply has been run and checked for leaks in
accordance to the assembly instructions, you are ready to grill. To connect the hose
to the gas supply, pull back the outer fitting, insert the hose fitting all of the way, and
release the outer fitting. This process will produce a gas joint.
X
LEAK CHECK PREPARATION
Check That All Burner Valves Are Off
Valves are shipped in the OFF position, but you should check to be sure that they are
turned off. Check by pushing in and turning clockwise. If they do not turn, they are off. If
they do turn continue turning them clockwise until they stop, then they are off.
Check The Flexible Hose To Manifold Connection
The natural gas hose was attached during the manuafacturing process. We do
recommend that the hose to gas manifold connnection be leak tested, following
guidelines in this Owner’s Guide, prior to barbecue operation.
To perform leak checks: Slide back the collar of the quick disconnect (2). Push male
fitting of the hose into the quick disconnect, and maintain pressure. Slide the collar
closed (3). If it does not engage or lock, repeat procedure. Gas will not flow unless the
quick disconnect is properly engaged.
X
1 Swivel Connection
2 Install covers when hose is disconnected
3 Shut Off Valve
4 Coat this pipe nipple with gas resistant pipe dope
5 Socket
6 Male Connection
1 Socket
2 Sleeve
3 Push Sleeve Back
4 Plug
Push plug until sleeve snaps forward locking plug in socket.
(This turns on gas automatically.)
When properly assembled the plug cannot be removed without pushing the sleeve back.
To disconnect, push sleeve back and pull out plug.
(This automatically shuts off gas.)