Do you have a question about the Weber Genesis II E-315 GBS and is the answer not in the manual?
Comprehensive visual reference and quantity breakdown of all hardware fasteners.
Steps 1-3 detail the secure attachment of the main wheels to the grill's base frame.
Steps 4-6 cover fitting casters and final securing mechanisms for the grill wheels.
Steps 7-8 illustrate securing the primary side panels to the grill's base structure.
Steps 9-10 focus on mounting lower shelves and attaching initial front/side panels.
Steps 11-12 involve fastening shelves and attaching more front panels to the frame.
Step 13 shows how to attach the main cookbox and begin routing internal wires.
Step 14 emphasizes correct routing for the gas line and electrical wires for safety.
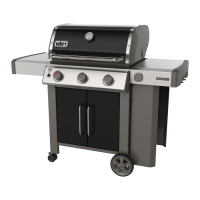
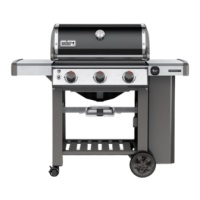
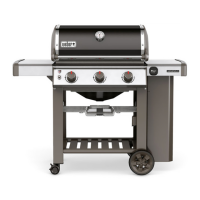
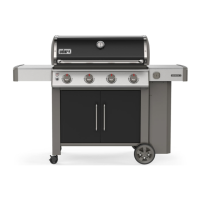
| Main Burners | 3 |
|---|---|
| Total Cooking Area | 669 square inches |
| Primary Cooking Area | 513 square inches |
| Warming Rack Area | 156 square inches |
| BTU-per-hour Input | 39, 000 |
| Burner Material | Stainless steel |
| Side Burner | Not included |
| Fuel Type | Liquid Propane |
| Dimensions - Lid Open | 59 in W x 31 in D |
| Dimensions - Lid Closed | 47 in H x 59 in W x 29 in D |
| Ignition System | Infinity Ignition |
| Cooking Grates | Porcelain-enameled, cast-iron |
| Flavorizer Bars | Porcelain-enameled |