m DANGER
NEVER store a spare LP tank under or near
Weber
®
gas appliances. NEVER fill the tank
beyond 80% full. Failure to follow these
statements exactly may result in a fire
causing death or serious injury.
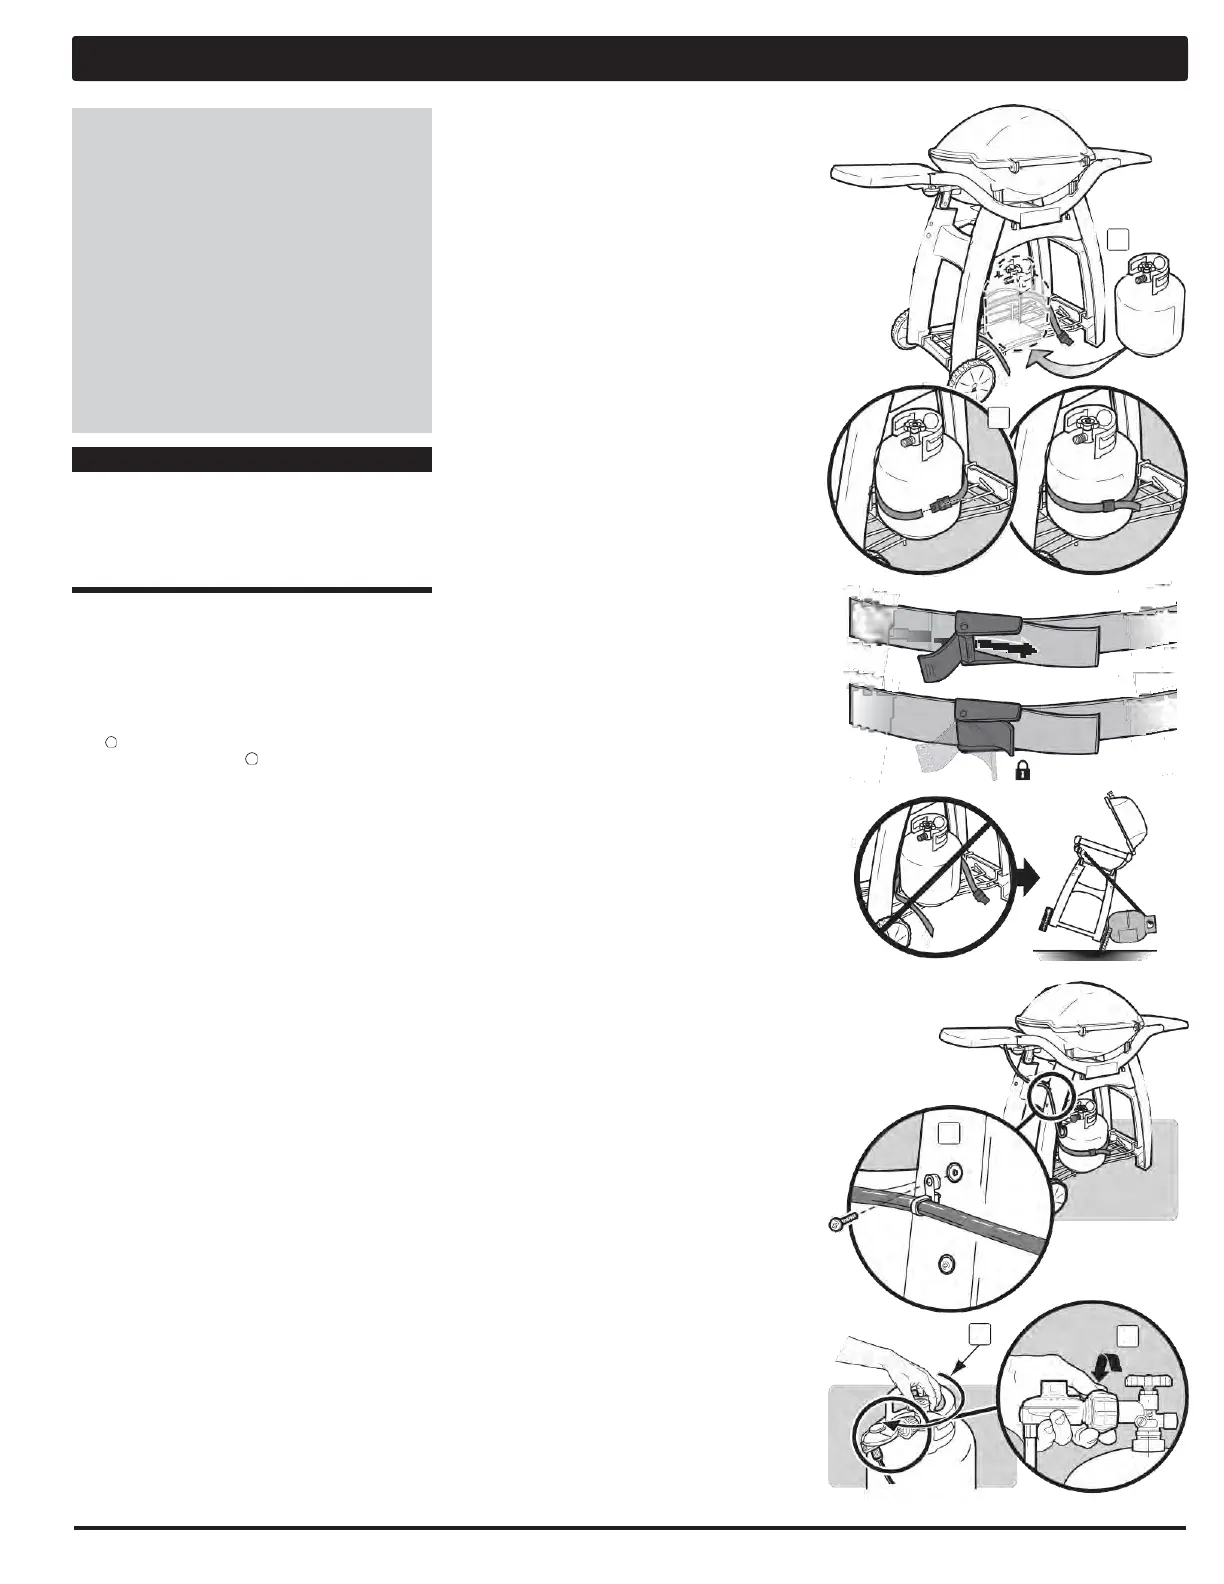
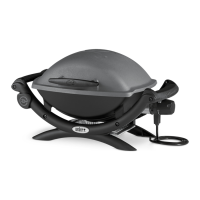
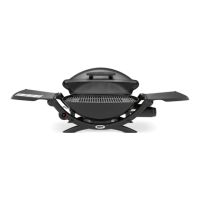
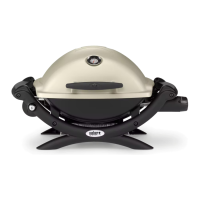
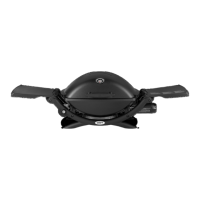
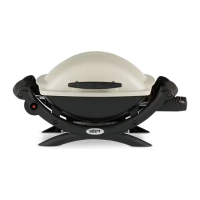
INSTALLING THE LP TANK
The LP tank is installed under the grill, on the tank
rest. Weber recommends LP tanks with a 47.6lb water
capacity.
Prepare Grill for Tank Installation
A) Check that all burner control knobs are in the off
( ) position. Your grill was shipped with burner
control knobs in the off ( ) position, but you should
check to be sure that they are turned off. Check by
pushing in and turning knobs clockwise. If they do
not turn, they are off. If they do turn, continue turning
them clockwise until they stop; then they are off.
Install the LP Tank
A) Turn the LP tank so the opening of the valve is facing
the right side or back of the grill.
B) Place the LP tank on the tank rest (1).
C) Secure the tank to the tank bracket using the tank
strap (2).
m WARNING: The tank must be secured to
the tank bracket when grill is in use.
m WARNING: Make sure that the LP tank
valve is closed. Close by turning valve
clockwise.
Connect the Regulator / Hose to the Tank
A) Remove screw from right leg of cart. Insert hose
retention clip. Reinstall screw (3).
m WARNING: The hose must be secured to
the cart leg by the hose retention clip.
Failure to do so could cause damage
to hose resulting in a fire or explosion,
which can cause serious bodily injury or
death and damage to property.
B) Remove the plastic dust cover from the tank valve.
C) Screw the regulator coupling onto the tank valve,
turning clockwise, or to the right. Hand-tighten only.
NOTE: This connection tightens clockwise and will not allow
gas to flow unless the connection is tight.
m WARNING: Do not use a wrench to
tighten the connection. Using a wrench
could damage the regulator coupling and
could cause a leak.
REMOVING THE LP TANK FOR REFILLING
OR REPLACEMENT
A full LP tank will last about 18–20 hours of cooking time
at normal use. You do not have to run out of fuel before
you can refill the tank. In fact, we recommend that you
refill the LP tank before it is completely empty.
Removal of the LP Tank
A) Close tank valve (turn clockwise) (4).
B) Unscrew regulator coupling by turning
counterclockwise, by hand only (5).
C) Unbuckle the tank strap. Lift tank off tankrest.
FILLING THE LP GAS TANK
Proper filling of your tank is done by weight or volume,
as described in NFPA 58. Please make sure your filling
station uses one of these two methods, and ask your
filling station to read the purging and filling instructions
on the LP tank before attempting to fill it.
m WARNING: We recommend that your LP
tank be filled at an authorized LP gas
dealer, by a qualified attendant, who fills
the tank by weight. IMPROPER FILLING
IS DANGEROUS.
NOTE: Be certain tank is purged of trapped air prior to first
filling. Your LP dealer is equipped to do this.
FUELING YOUR GRILL
Before using your grill for the
first time, you need to obtain
an LP tank. New tanks can be
purchased full; empty tanks
can be refilled or exchanged.
You may choose to purchase a
spare LP tank so that you don't
run out of fuel in the middle of
cooking a meal.
LP TANK INSTALLATION AND REMOVAL