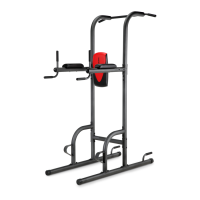
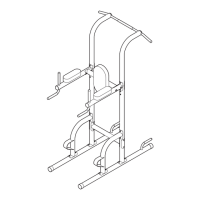
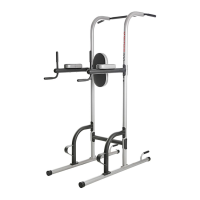
7. Attach the Top Crossbar (7) to one of the Dip
Arms (5) with two M8 x 75mm Bolts (17), two M8
Washers (23), and two M8 Locknuts (22); do not
tighten the Locknuts yet.
Attach the Top Crossbar (7) to the other Dip
Arm (5) in the same way.
7
5
17
22
7
5
23
23
6. Attach a Dip Arm (5) to the right Upright (3) and
the Upright Base (2) with two M8 x 77mm Bolts
(28), a Support Plate (13), and two M8 Locknuts
(
22); do not tighten the Locknuts yet.
R
epeat this step with the other Dip Arm (5)
and the left Upright (not shown).
13
5
3
22
5
2
28
22
8
26
26
12
12
9
Indents
19
3
3
19
8. Attach the Pull-up Bar (9) to the Uprights (3) with
two M10 x 50mm Screws (19) and two M10
Washers (26). Make sure that the indented
holes in the Pull-up Bar are on the side
shown. Then, press the two Rubber Caps (12)
into the ends of the Uprights.
See steps 2–7. Tighten all the M8 Locknuts
(22).
9
6
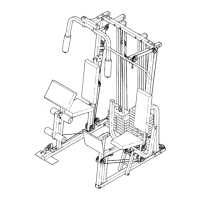
 Loading...
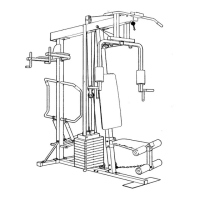