3
4
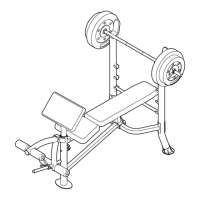
FRAME ASSEMBLY
6
1
21
42
4
19
25
Pin
Groove
62
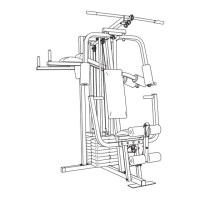
3. Attach the Front Upright (42) to the Base (4)
using two 3/8Ó x 2 1/4Ó Bolts (1) and two 3/8Ó
Nylon Locknuts (21). Do not tighten the
Nylon Locknuts yet.
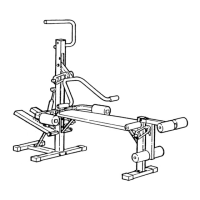
4. Slide a Weight Bumper (19) down over each
Weight Guide (62).
Slide the Weights (25) onto the Weight Guides
(62) as indicated. Make sure all of the
Weights are oriented exactly as shown,
with the deep pin grooves on the bottom
and facing the indicated direction.
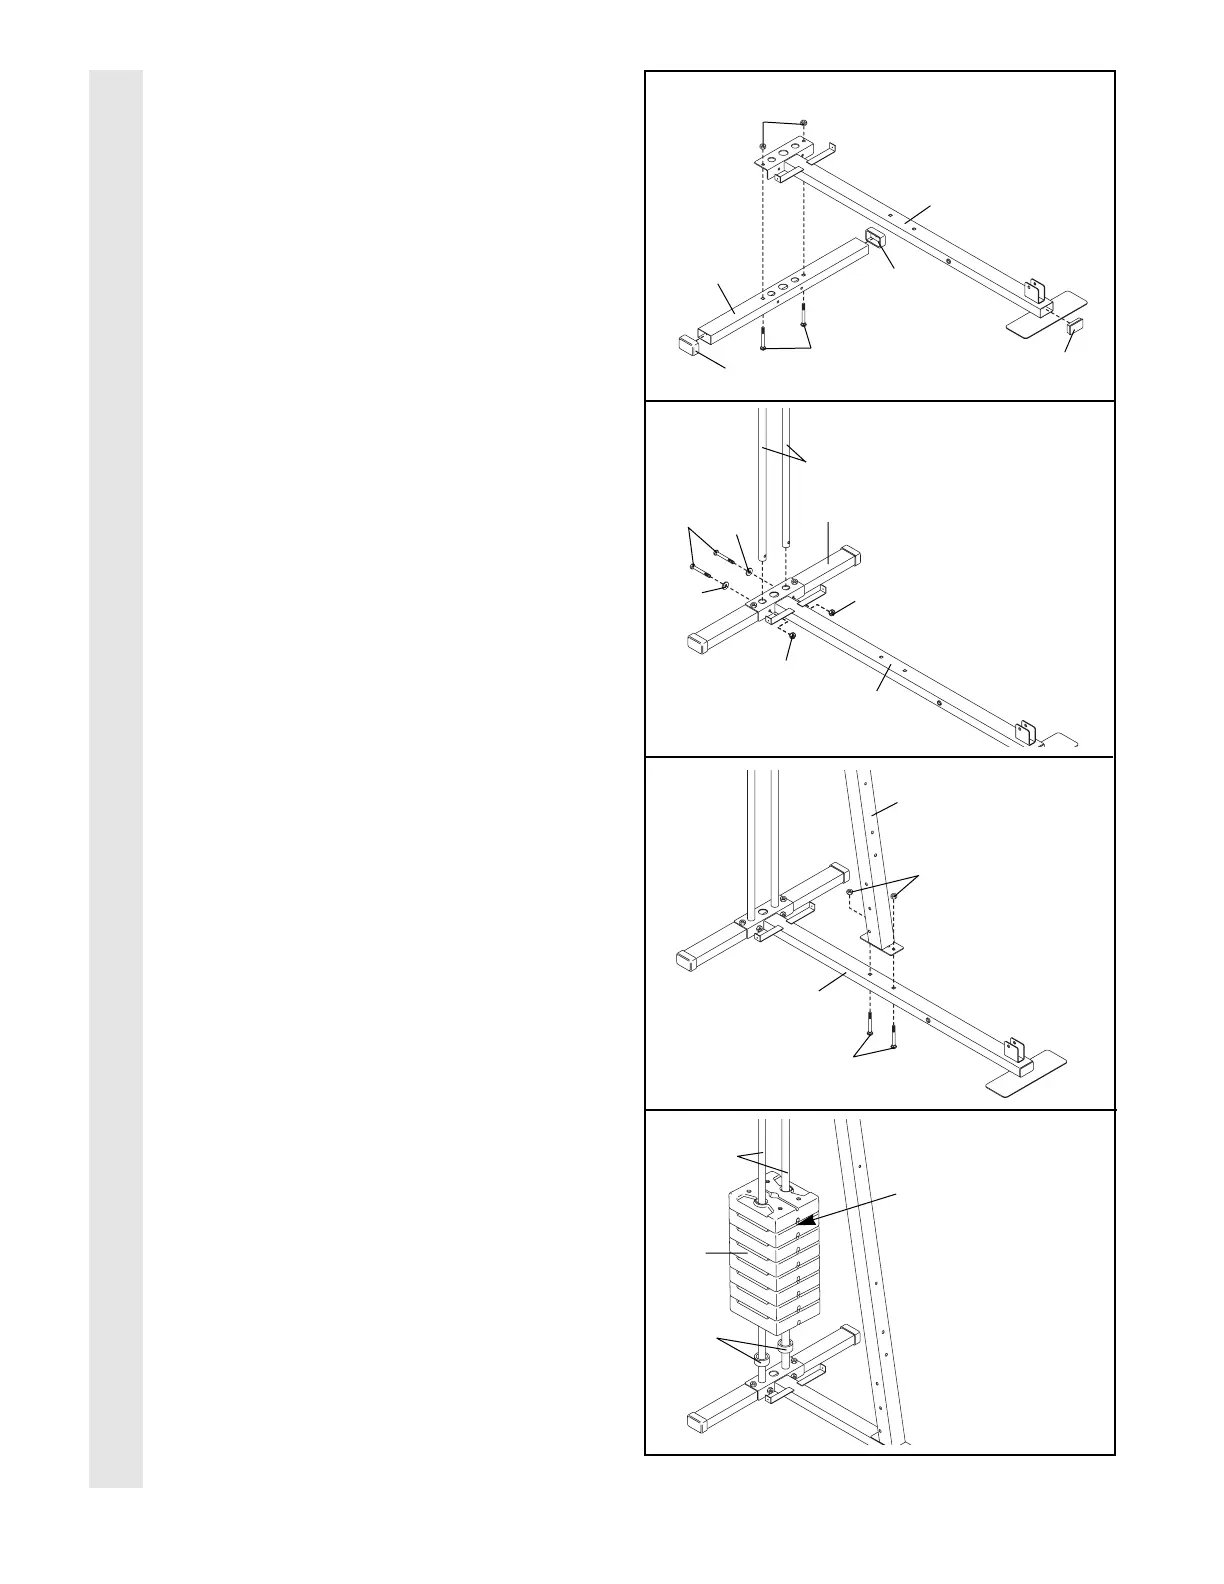
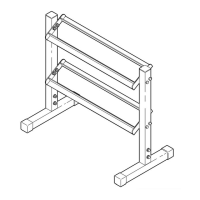
1. Press a 1 1/2Ó x 2 1/2Ó Outer Cap (73) onto
each end of the Stabilizer (5). Press a 1 1/2Ó x
2 1/2Ó Inner Cap (27) into the indicated end of
the Base (4).
Attach the Base (4) to the Stabilizer (5) using
two 3/8Ó x 2 1/4Ó Carriage Bolts (1) and two
3/8Ó Nylon Locknuts (21). Make sure that the
Base is oriented exactly as shown.
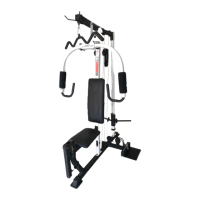
2. Insert the Weight Guides (62) into the indicated
holes in the Base (4) and the Stabilizer (5).
Attach the Weight Guides to the Base and the
Stabilizer using two 5/16Ó x 3 1/4Ó Bolts (14),
two 5/16Ó Flat Washers (70), and two 5/16Ó
Nylon Locknuts (3).
2
62
14
70
3
4
5
3
70
73
27
21
1
5
4
73
1