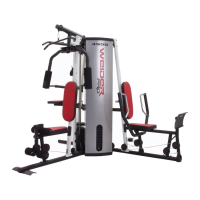
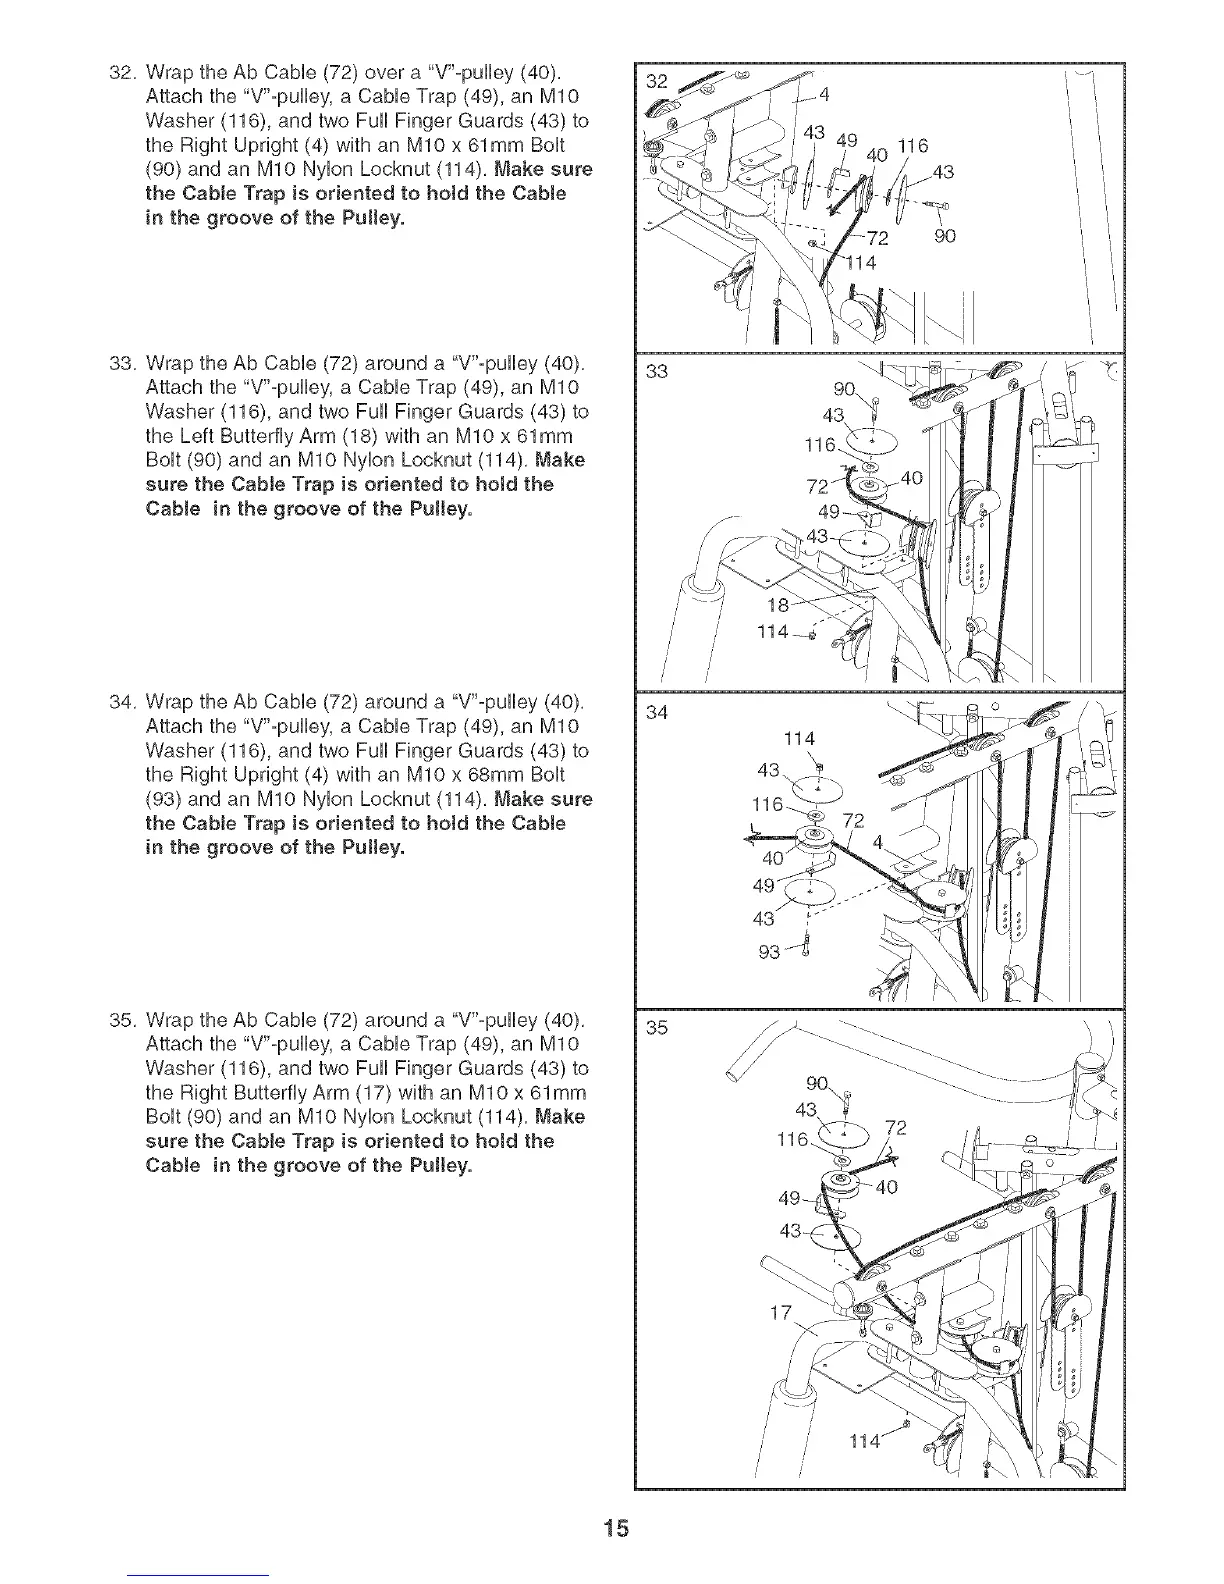
32, Wrap the Ab CaMe (72) over a "V"-puHey (40),
Attach the "V"opuHey, a CabUeTrap (49), an M10
Washer (116), and two Full Finger Guards (43) to
the Right Upright (4) with an MIO x 61mm BoUt
(90) and an MIO NyUonLocknut (114), Make sure
the Cable Trap is oriented to hold the Cable
in the groove of the Pu[ley.
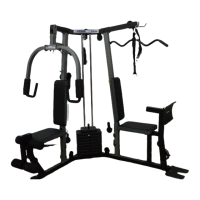
33, Wrap the Ab CaMe (72) around a "V"-puHey (40),
Attach the "V"opuHey, a CabUeTrap (49), an M10
Washer (116), and two Full Finger Guards (43) to
the Left Butterfly Arm (18) with an MIO x 61mm
BoUt(90) and an MIO NyUonLocknut (114), Make
sure the CabJe Trap is oriented to hold the
Cable in the groove of the Pu[ley.
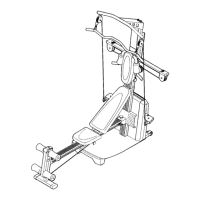
34, Wrap the Ab CaMe (72) around a "V"opuHey (40),
Attach the "V"opuHey, a CaMe Trap (49), an MIO
Washer (116), and two Full Finger Guards (43) to
the Right Upright (4) with an MIO x 68mm BoUt
(93) and an MIO NyUonLocknut (114), Make sure
the CabJe Trap is oriented to hold the Cable
in the groove of the PuIIey.
35, Wrap the Ab Cable (72) around a "V"opulley (40),
Attach the "V"-pulley, a Cable Trap (49), an MIO
Washer (116), and two Full Finger Guards (43) to
the Right Butterfly Arm (17) with an MIO x 61mm
Bolt (90) and an MIO Nylon Locknut (114), Make
sure the Cable Trap is oriented to hold the
Cable in the groove of the Pulley.
33
/
34
35
49
116.
11
17
/
/
/
/
116
90
\\/ \1
Jl
15