4
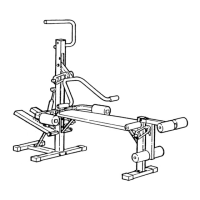
BEFORE YOU BEGIN
DIMENSIONS:
Height: 192 cm (75 1/2 in.)
Width: 142 cm (56 in.)
Length: 183 cm (72 in.)
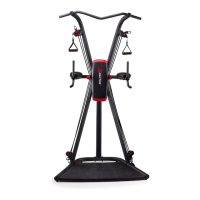
Foot Plate
Low Pulley Station
High Pulley Station
Lat Bar
Leg Lever
Arms
Stepper
Weight Stack
Backrest
Resistance Cylinders
VKR Arms
Weight Pin
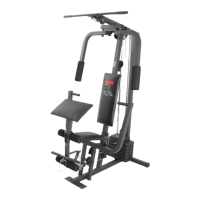
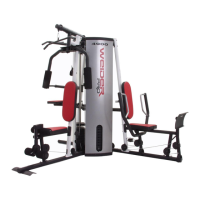
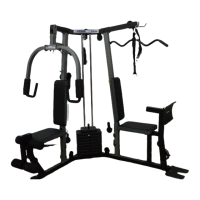
Thank you for selecting the versatile WEIDER
®
VIPER
2000. The WEIDER
®
VIPER 2000 weight system
offers a selection of weight stations designed to devel-
op every major muscle group of the body. Whether
your goal is to tone your body, build dramatic muscle
size and strength, or improve your cardiovascular sys-
tem, the WEIDER
®
VIPER 2000 will help you to
achieve the specific results you want.
For your benefit, read this manual carefully before
using the weight system. If you have additional
questions, please call our Customer Service
Department. To help us assist you, please note the
product model number and serial number before call-
ing. The model number is WEEMSY60420. The serial
number can be found on a decal attached to the weight
system (see the front cover of this user's manual).
Before reading further, please review the drawing
below and familiarise yourself with the parts that are
labelled.
17
WEIGHT RESISTANCE CHART
WEIGHT PRESS ARM BUTTERFLY ARM LEG LEVER HIGH PULLEY LOW PULLEY
PLATES (lbs.) (lbs.) (lbs.) (lbs.) (lbs.)
129 26 18 16 18
248 39 32 30 32
369 50 45 43 45
483 64 58 56 58
5 107 80 71 68 71
6 129 96 84 80 84
7 145 112 98 93 98
8 163 130 110 105 110
9 181 149 125 117 125
10 183 Do not use 134 128 134
The actual resistance at each weight station may vary due to differences in individual weight plates, as
well as friction between the cables, pulleys, and weight guides.
Note: 1 lb. = .454 kg