Stripping and crimping machine Crimpfix 2.5 M
08-09-19-DK-Operating Manual_gb.doc / 2008-09-19 9
7.4 Changing the ferrule belt
• Open the flap.
• Release the locking pin (see Figure 3) and remove the magazine.
• Push the transport pin completely up and take out the ferrule belt.
• Put on the new ferrule reel, so that it rotates in clockwise direction.
• While inserting the ferrules, the transporting pusher must be retracted. If the pusher juts out, you have to
press it back.
• Insert the new belt until the first ferrule snaps in. Be careful that no ferrule sticks out of the magazine.
• If the locking lever was pressed, the transporting pusher must be retracted and the ferrule belt must be
reloaded again.
• Put in the magazine until it snaps in and close the flap.
• Take care that you have selected the correct cross-section program.
7.5 Adjustment of the cross-section
program
E
confirm
select the right cross-section (P1 - P6)
E
confirm and back to the operating menu
7.6 Control of the stripping quality
Neccesary after each change of wire type, cross section or wire manufacturer!
• Choose the right cross section program.
• Open the flap.
• Release the locking pin (see figure 3) and remove the magazine.
• Close the flap.
• Put the wire in the feeding funnel until a new cycle starts.
• Check the stripping and if necessary adjust the stripping depth. (See chapter 9.2)
1
3
b
a
=
a
b
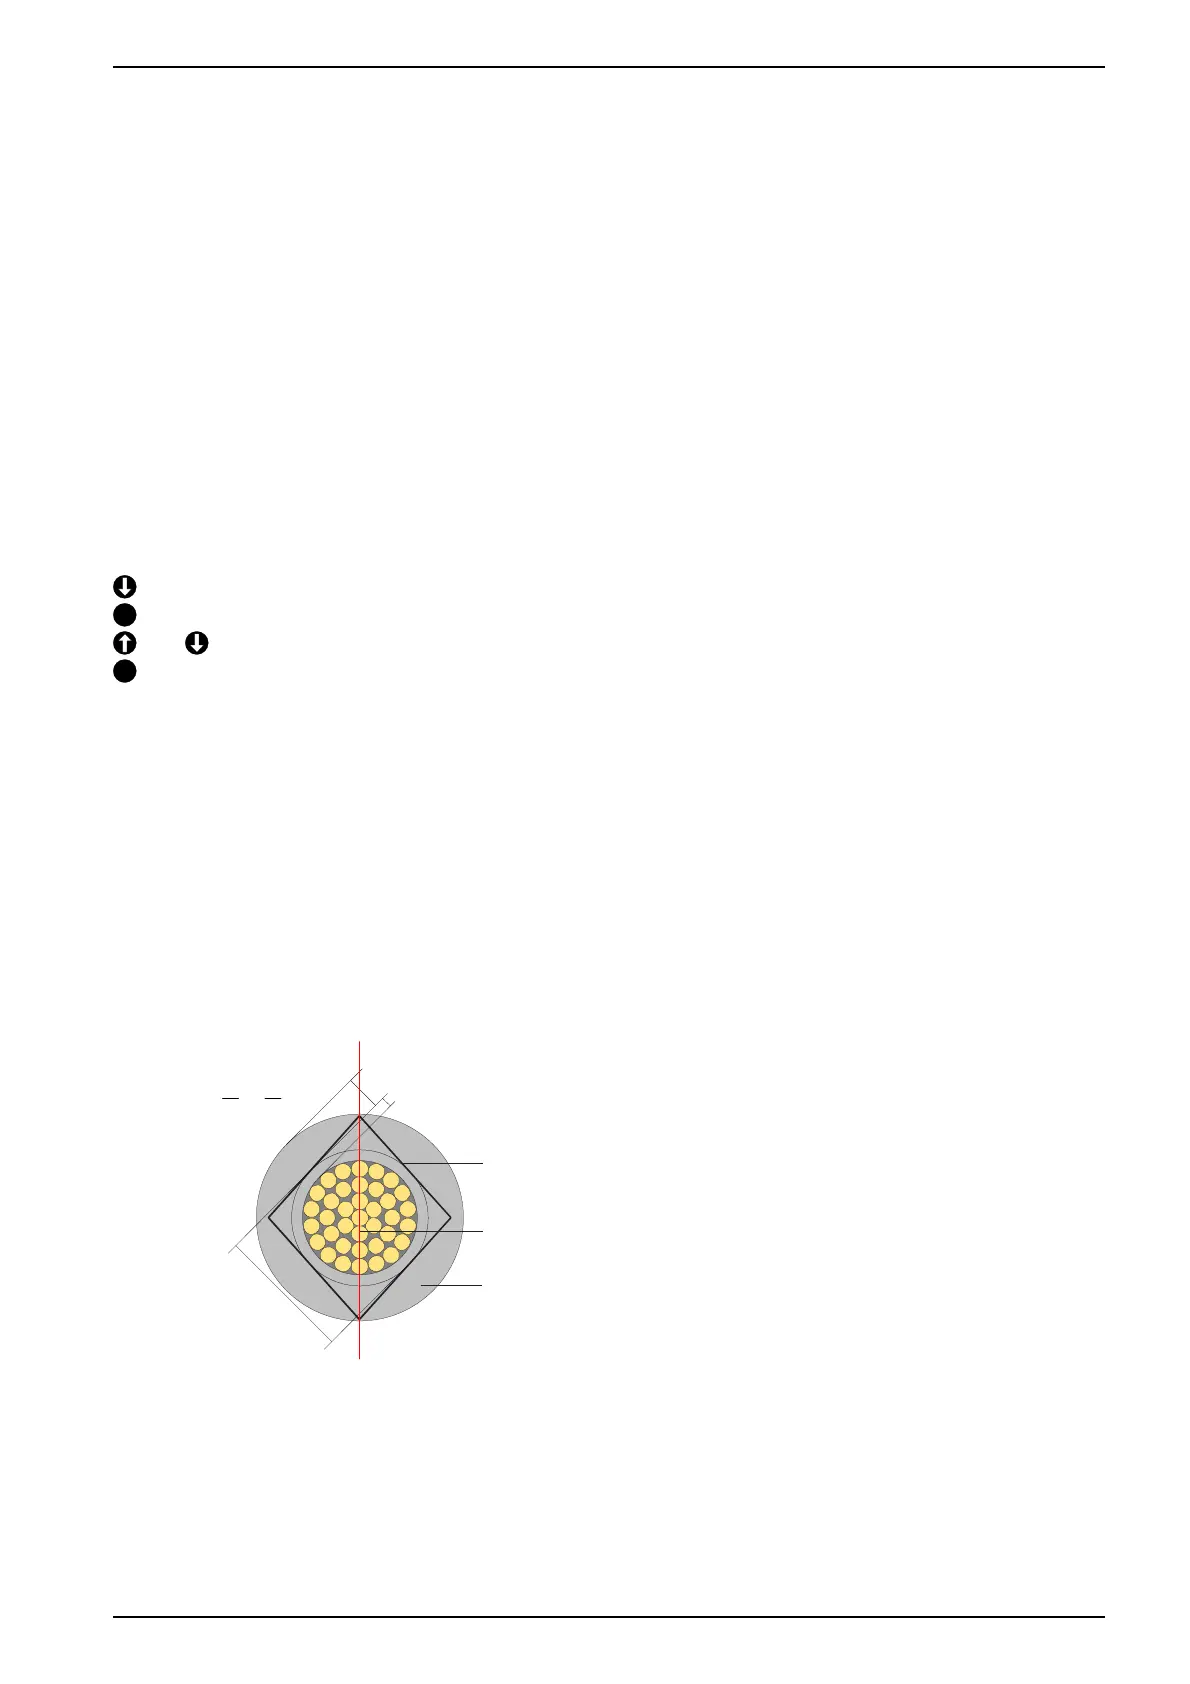
D
Isolation
Cutting edge of the stripping blades
Stranded wires
The cut edge of the
stripping blades have to
look like a rue and must
be symmetrical to the
stranded wires
Figure 4: Top view of a correct stripping