Skip to content
Manuals+
User Manuals Simplified.
Home » Weiser » Powerbolt 1 Touchpad Keyless Entry Deadbolt SED9400 User Manual
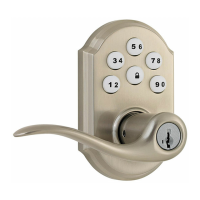
Powerbolt 1 Touchpad Keyless Entry Deadbolt
SED9400 User Manual
Contents [ hide
1 Installation and User Guide
2 Prepare the door and check dimensions
3 Install the latch and strike
3.1 Install exterior assembly
4 Install interior assembly
5 Set Locking and Unlocking Direction
6 Add a User Code and Test Your Lock
7 Reinstall battery cover
8 Low Battery
8.1 Regulatory Compliance
8.2 Troubleshooting
8.3 Important Safeguards
8.4 Read More About This Manual & Download PDF:
9 Related Manuals:
Installation and User Guide