AT-2plus User Guide Spirometry Supplement Page 8
AT-2plus Spirometry Supplement Page 8
Procedure Overview
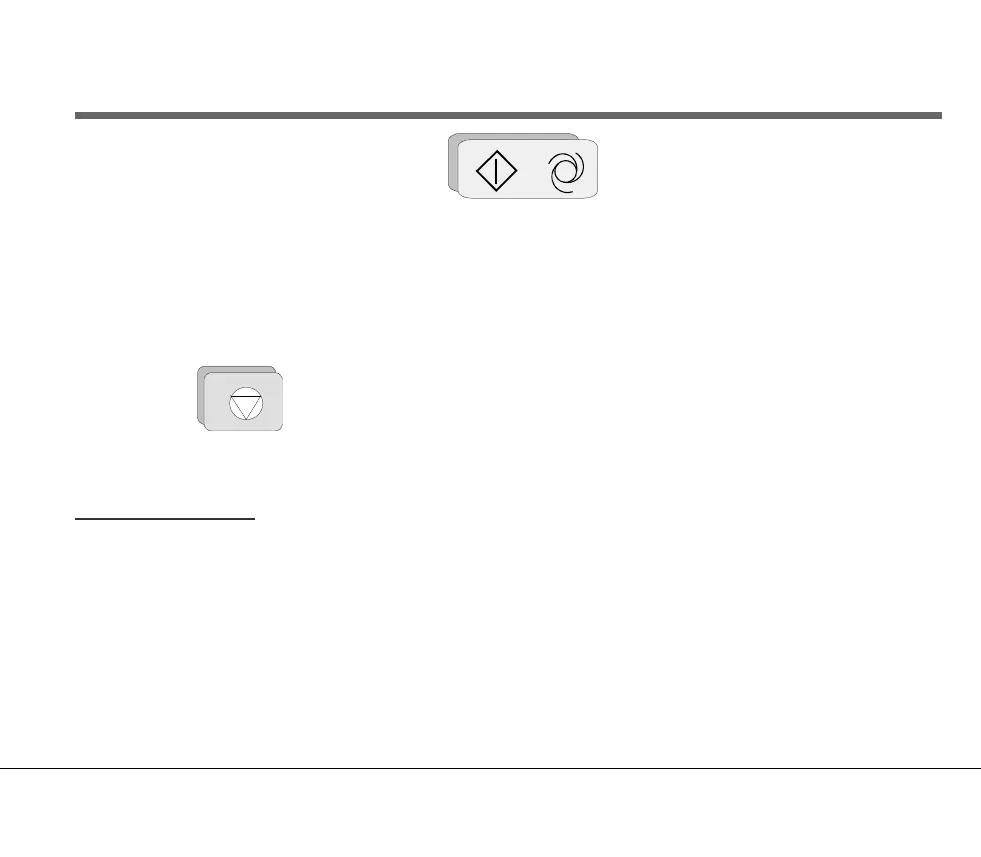
9. Click the Auto (START) key .
The flow sensor must be held quite still and no air should be breathed into the device for at least one second
before and after the START key is pressed.
The message ‘’READY FOR MEASUREMENT’’ appears on the display together with a volume counter graph
for the value. As soon as the patient starts to breathe into the flow sensor, the unit begins to record the
expiratory flow. The corresponding curve is represented on the display. The break-off point for the expiration
measurement is reached automatically (or the Stop key is pressed).
10. Press the STOP key on completion of the test.
Screen Information
Once the test is completed, the measurement results are calculated and given on the display. When subsequent tests
are made, the result with the highest FVC + FEV
1
value will always be saved and given in the column MEAS 1.
The result with the lowest FVC + FEV
1
value of the tests already made and stored will be overwritten.
NOTE: The marked results correspond to the displayed test curve.
Procedure Overview
9. Click the Auto (START) key .
The flow sensor must be held quite still and no air should be breathed into the device for at least one second
before and after the START key is pressed.
The message ‘’READY FOR MEASUREMENT’’ appears on the display together with a volume counter graph
for the value. As soon as the patient starts to breathe into the flow sensor, the unit begins to record the
expiratory flow. The corresponding curve is represented on the display. The break-off point for the expiration
measurement is reached automatically (or the Stop key is pressed).
10. Press the STOP key on completion of the test.
Screen Information
Once the test is completed, the measurement results are calculated and given on the display. When subsequent tests
are made, the result with the highest FVC + FEV
1
value will always be saved and given in the column MEAS 1.
The result with the lowest FVC + FEV
1
value of the tests already made and stored will be overwritten.
NOTE: The marked results correspond to the displayed test curve.