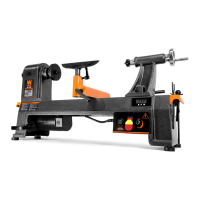
ASSEMBLY & ADJUSTMENTS
12
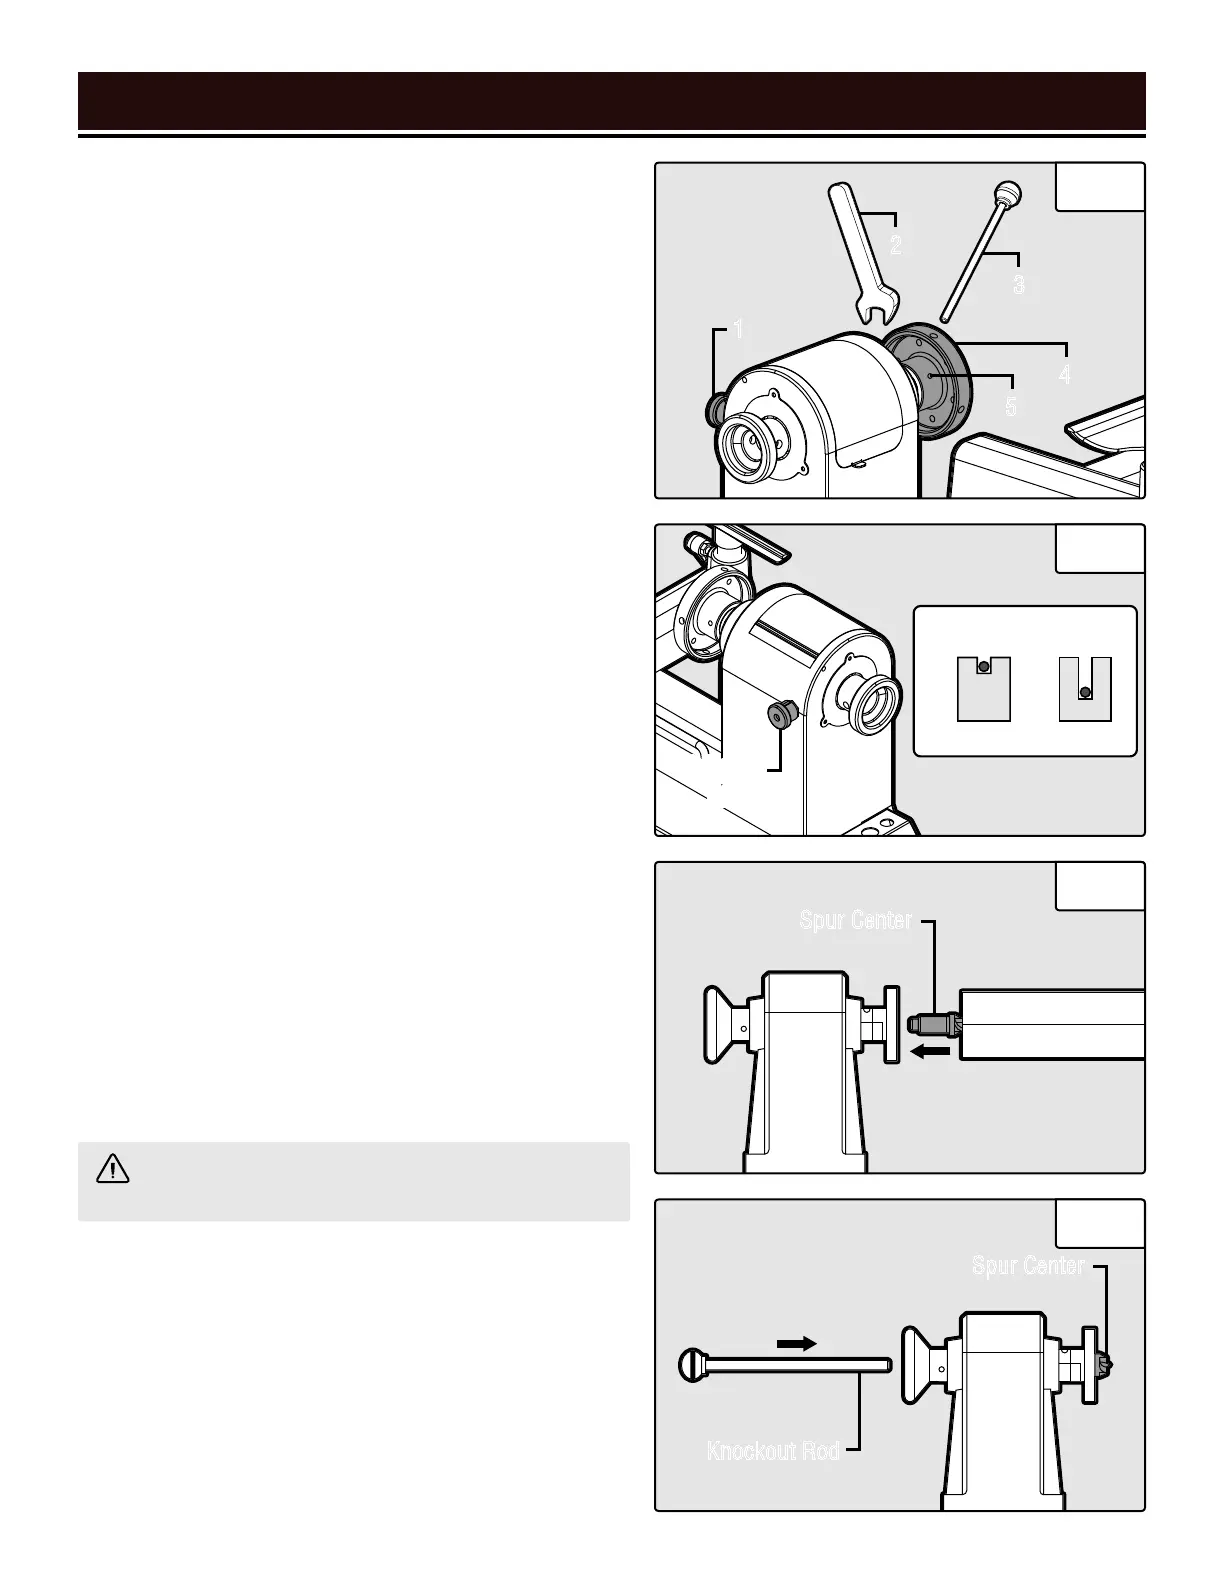
INSTALL THE FACE PLATE
When installing the face plate for turning bowls and plates,
mount the workpiece onto the face plate prior to installing
the face plate on the headstock (see "Mount The Workpiece
Onto The Face Plate" on page 19).
To install the face plate:
1. Thread the face plate (Fig. 5 - 4) onto the headstock
spindle by turning it clockwise as far as it will go, and then
tighten the two set screws (Fig. 5 - 5) with a hex wrench.
2. Lock the spindle lock (Fig. 5 - 1) by engaging the knob in
the deep groove (Fig. 6). Insert the knockout rod (Fig. 5 - 3)
into a hole on the side of the face plate and use the wrench
(Fig. 5 - 2) to fully tighten the face plate.
To remove the face plate:
1. Loosen the two face plate set screws (Fig. 5 - 5).
2. Lock the spindle lock (Fig. 5 - 1) and insert the knock out
rod into the face plate side hole. Use the wrench to unscrew
the face plate by turning it towards the operator.
INSTALL THE HEADSTOCK SPUR CENTER
Install the headstock spur center to turn workpiece between
centers.
To install the spur center:
1. Make sure the mating surfaces of both the spur center
and the headstock spindle are clean. You can use an ace-
tone-moistened cloth to remove any other debris, oil, etc.
2. Drive the spur center into the workpiece using a rubber
mallet or a piece of scrap wood (Fig. 7). See page 16,
step 3 for detailed instructions.
Spindle Lock
Disengaged Locked
CAUTION! Never drive the workpiece into the spur
center while the spur center is in the headstock.
3. Push the spur center through the face plate into the
headstock spindle.
To remove the spur center:
1. Hold the spur center (Fig. 8) to prevent it from falling.
Use a rag to protect your hand from the sharp edges.
2. Insert the knockout rod (Fig. 8) through the spindle hole
to tap out the spur center.
Fig. 5
Fig. 6
Fig. 7
Fig. 8
1
Spindle
Lock
3
2
4
5
Spur Center
Spur Center
Knockout Rod
Workpiece
 Loading...