7
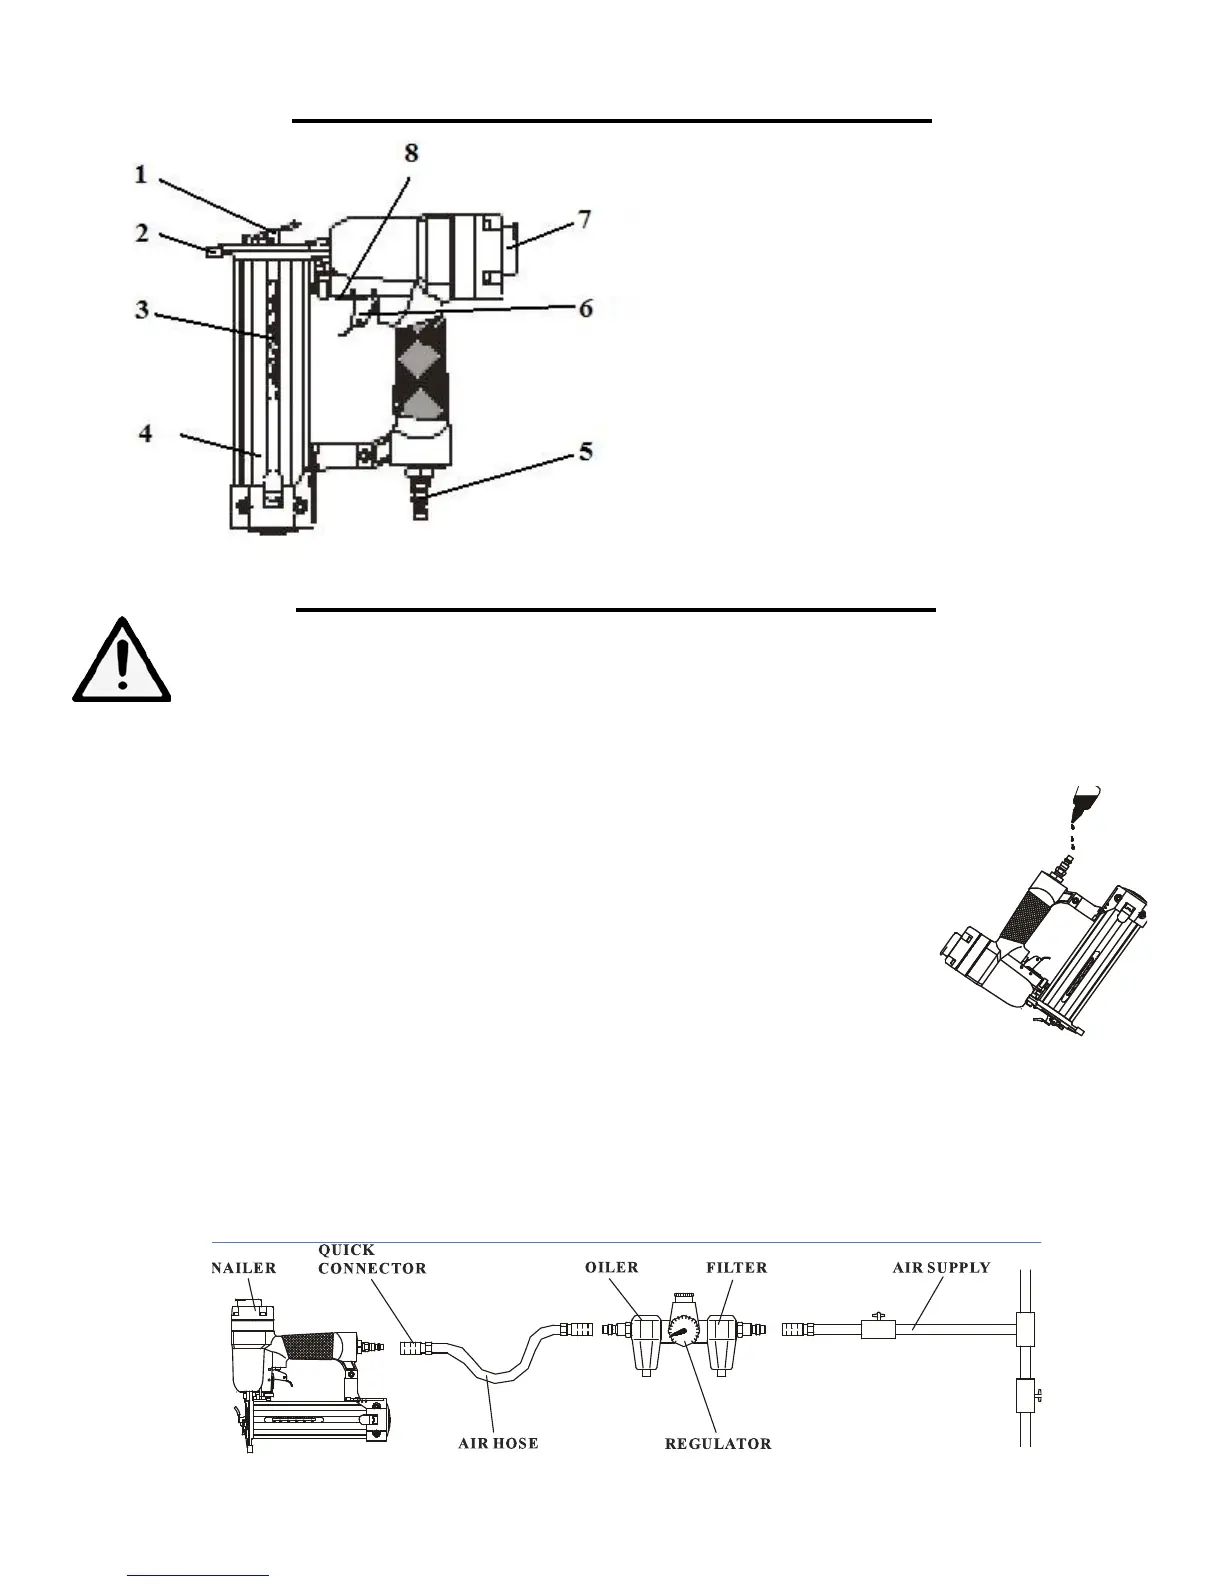
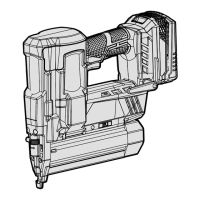
KNOW YOUR NAILER
OPERATION
WARNING - if any parts are missing, do not operate this tool until the missing parts are replaced.
Failure to do so could result in a possibly serious personal injury.
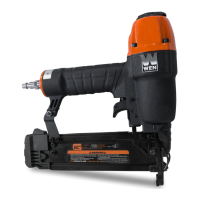
LUBRICATION
This tool requires lubrication before each use (especially the first use). If an inline oiler is used, manual lubrica-
tion through the air inlet is not required.
Note: The work surface can become damaged by excessive lubrication. Proper lubrication
is the owner’s responsibility. Failure to lubricate the tool properly will dramatically shorten
the life of the tool and void the warranty.
1. Disconnect the air supply from the tool to add lubricant.
2. Turn the tool so the air inlet is facing up. Place 4-5 drops of 30W non-detergent oil (in-
cluded) into the air inlet.
3. After adding oil, run toll briefly. Wipe off any excess oil from the exhaust.
RECOMMENDED HOOKUP
Your air tool is fully assembly when you receive it. Before using it, attach the air line and desired air system acces-
sories. See the diagram on the right for the recommended accessories and connection order. Be sure the air hose
is depressurized when installing or removing adapters to the air line.
1- Jam-Clearing Latch
2- Contact Trip
3- Low Nail Indicator Window
4- Magazine
5- Air Inlet
6- Trigger
7- Exhaust
8- Depth Adjustment Wheel