1
2
10
ASSEMBLY & ADJUSTMENTS
NOTE: Prior to making adjustments, mount the scroll saw on a
stable surface. See “Bench mounting the saw.”
ALIGN THE BEVEL INDICATOR
The bevel indicator has been adjusted at the factory, but should
be rechecked prior to use for best operation.
1. Loosen the blade guard knob (Fig. 2 - 1) and move the blade
guard (Fig. 2 -2) all the way up.
2. Loosen the table bevel lock knob (Fig. 3 - 1) and bevel the
table until it is approximately at a right angle to the blade.
3. Use a combination square (Fig. 4 - 1) to set the table exactly
90° to the blade (Fig. 4 - 2). If there is space between the square
and blade, adjust the table angle until the space is closed. You
may feel the 0-degree table detent engage.
4. Tighten the table bevel lock knob (Fig. 3 - 1).
5. Loosen the screw (Fig. 3 - 2) holding the bevel scale pointer
and position pointer to 0°. Tighten the screw.
6. Lower the blade guard foot.
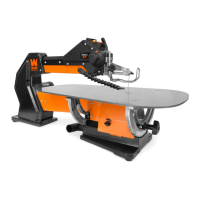
BENCH MOUNTING THE SAW
Before operating the saw, it must be firmly mounted to a work-
bench or another rigid frame. Use the base of the saw to mark
and pre-drill the mounting holes on the mounting surface. If
the saw is to be used in one location, permanently secure it to
the work surface. Use wood screws if mounting to wood. Use
bolts, washers, and nuts if mounting into metal. To reduce noise
and vibration, install a soft foam pad (not supplied) between the
scroll saw and the workbench.
NOTE: Mounting hardware is not included.
1
2
1
2
Fig. 2
Fig. 3
Fig. 4
Fig. 5

 Loading...