15
OPERATION
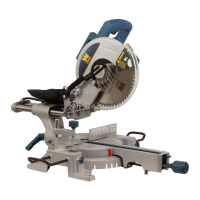
POWER SWITCH & SPEED CONTROL KNOB
Always wait for the saw to come to a complete stop before re-
starting.
1. To turn the saw on, flip the ON/OFF switch (Fig. 12 - 1) to ON.
When first starting the saw, it is best to move the speed control
knob (Fig. 12 - 2) to the middle speed position.
2. Adjust the blade speed to the desired setting between 550
to 1600 strokes per minute (SPM). Turning the control knob
away from you increases speed; turning it towards you reduces
speed. Use the numbers on the knob as a reference. 1 repre-
sents the minumum speed; 8 represents the maximum.
3. To turn the saw off, flip the ON/OFF switch back to OFF.
4. To lock the switch in the OFF position, remove the yellow
safety key from the switch. This will prevent accidental opera-
tion. Store the safety key in a safe place.
WARNING! To avoid injury from accidental start-ups,
always turn the switch OFF and unplug the scroll saw before
moving the saw, replacing the blade, or making adjustments.
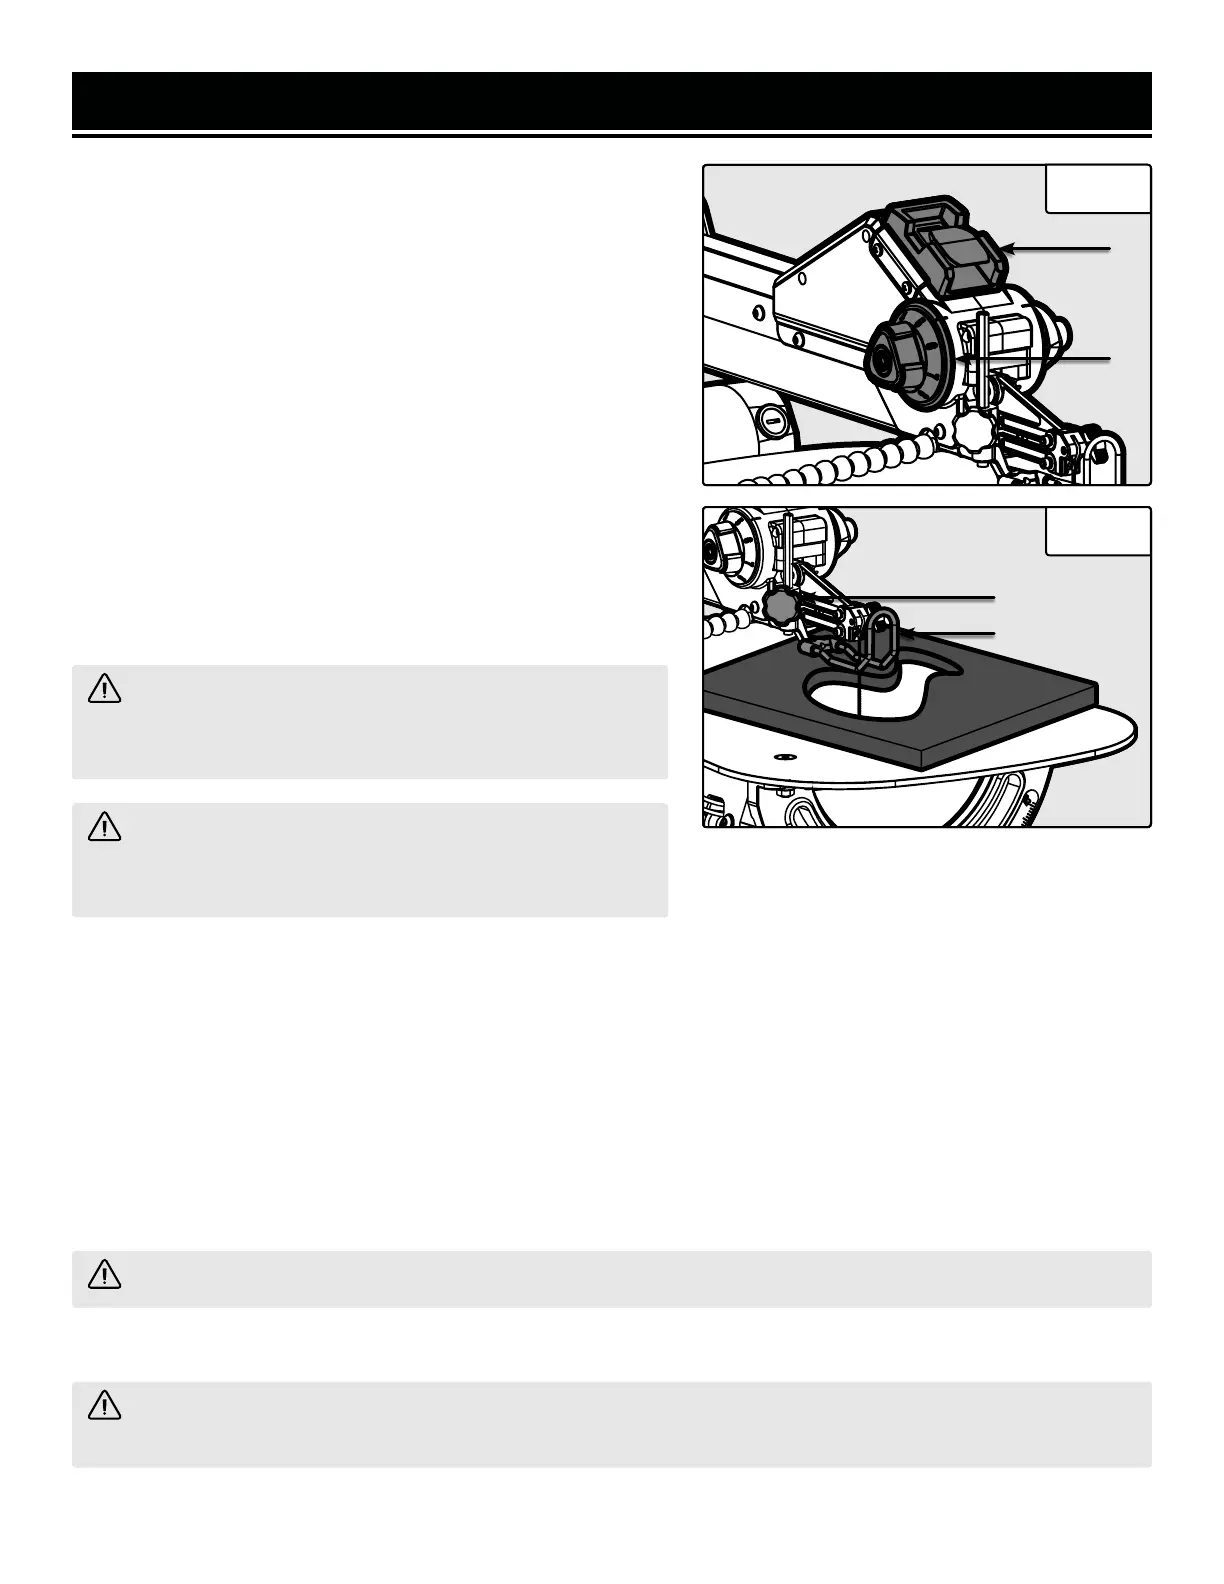
FREEHAND CUTTING
1. Lay out desired design, or secure design to the workpiece.
CAUTION! Always make sure the blade is not in contact with the workpiece before turning the saw ON.
6. Slowly feed the workpiece into the blade while holding the workpiece securely against the table.
2
2. Raise the blade guard foot (Fig. 13 - 1) by loosening the height adjustment knob (Fig. 13 - 2).
3. Position the workpiece against the blade and place the blade guard foot just above the top surface of the work-
piece.
4. Secure the blade guard foot (Fig. 13 - 1) by tightening the height adjustment knob (Fig. 13 - 2).
5. Remove the workpiece from the blade prior to turning the scroll saw ON.
CAUTION! Do not force the leading edge of the workpiece into the blade. The blade will deflect, reducing
accuracy of cut, and may break
WARNING! Remove the safety key whenever the saw is
not in use. Place the key in a safe place and out of the reach
of children.
7. When cutting is complete, move trailing edge of the workpiece beyond the blade guard foot. Turn the switch OFF.
1
2
Fig. 12
1
Fig. 13

 Loading...