Do you have a question about the Whirlpool AQUALIFT and is the answer not in the manual?
Safety instructions to reduce risk of fire, electric shock, or injury.
Details on setting the 12- or 24-hour clock cycle and time of day.
Explains how to turn the oven light on and off, and when it automatically activates.
Guide to setting the timer in hours/minutes and cancelling it.
Describes the function of the Start keypad and how the Cancel keypad stops oven functions.
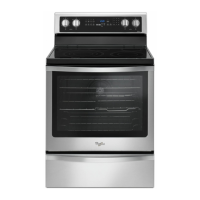
Steps for setting temperature and initiating the bake or roast function.
Steps for using the Frozen Bake feature for prepackaged foods.
How to set temperature and start the broil function for optimal results.
Guide to using convection baking, roasting, and broiling modes.
How to use the Keep Warm function and set the temperature.
Explains setting a future start time or cooking duration for oven functions.
How to use the Rapid Preheat feature for faster oven preheating.
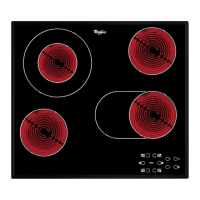
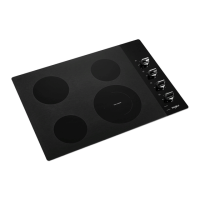
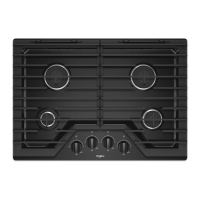
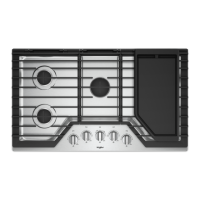
Instructions for turning the cooktop warming zone on and off.
Details on using the Aqualift Self-Cleaning Technology for oven cleaning.
Steps for locking and unlocking the oven controls using the Control Lock feature.
How to personalize oven operation and audible tones using the Settings key.
Precautions regarding hot surfaces, drawers, and oven vents during operation.
Crucial warning to turn off controls to prevent fire hazard.
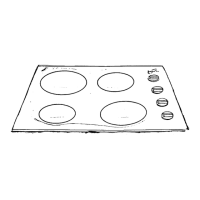
Guidance on cleaning, maintaining, and preventing damage to the ceramic glass cooktop.
Tips to avoid scratches and damage to the cooktop from cookware.
Information on the Cooktop On and Hot Surface Indicator lights.
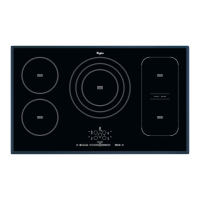
Guide to using the Triple Zone cooking element for various cookware sizes.
Instructions for using the Dual Zone cooking element for different cookware sizes.
How to use the Rapid Boil element for faster liquid boiling and other cooking tasks.
Instructions for using the Melt Cooking element for delicate foods and low heat.
Guide to keeping cooked foods warm using the Warm Zone element.
Characteristics and recommendations for various cookware materials.
How to adjust the oven temperature for personalized cooking needs.
Instructions for switching between Fahrenheit and Celsius temperature units.
How to disable or manage audible tones for keypad presses and cycle completion.
Controls for activating or deactivating end-of-cycle and reminder tones.
Options for managing keypad tones and adjusting the pitch of audible signals.
Information on activating demo mode and the automatic 12-hour oven shutoff feature.
How to change the oven clock display between 12-hour and 24-hour formats.
Guide to enabling, activating, and deactivating Sabbath Mode for baking.
Illustration and table showing rack positions for various cooking needs.
Recommendations for safe and effective home canning on the cooktop.
Explanation of normal odors and smoke during initial oven use.
Explanation of the control display and indicator lights.
Description of the different audible tones indicating oven status.
Information on the ACCUBAKE® Temperature Management System.
Guide to oven preheating and the use of the Rapid Preheat function.
Detailed steps for broiling, including temperature control and rack placement.
Explanation of how convection cooking improves food preparation and results.
Details on different convection modes like Bake, Roast, and Broil.
Instructions for setting a timed cook or a delayed timed cook for oven functions.