For Service Technician Use Only
DIAGNOSTICS & TROUBLESHOOTING
2-6
n
Whirlpool
®
Smart Wall Ovens
Code Description Explanation and Recommended Procedure
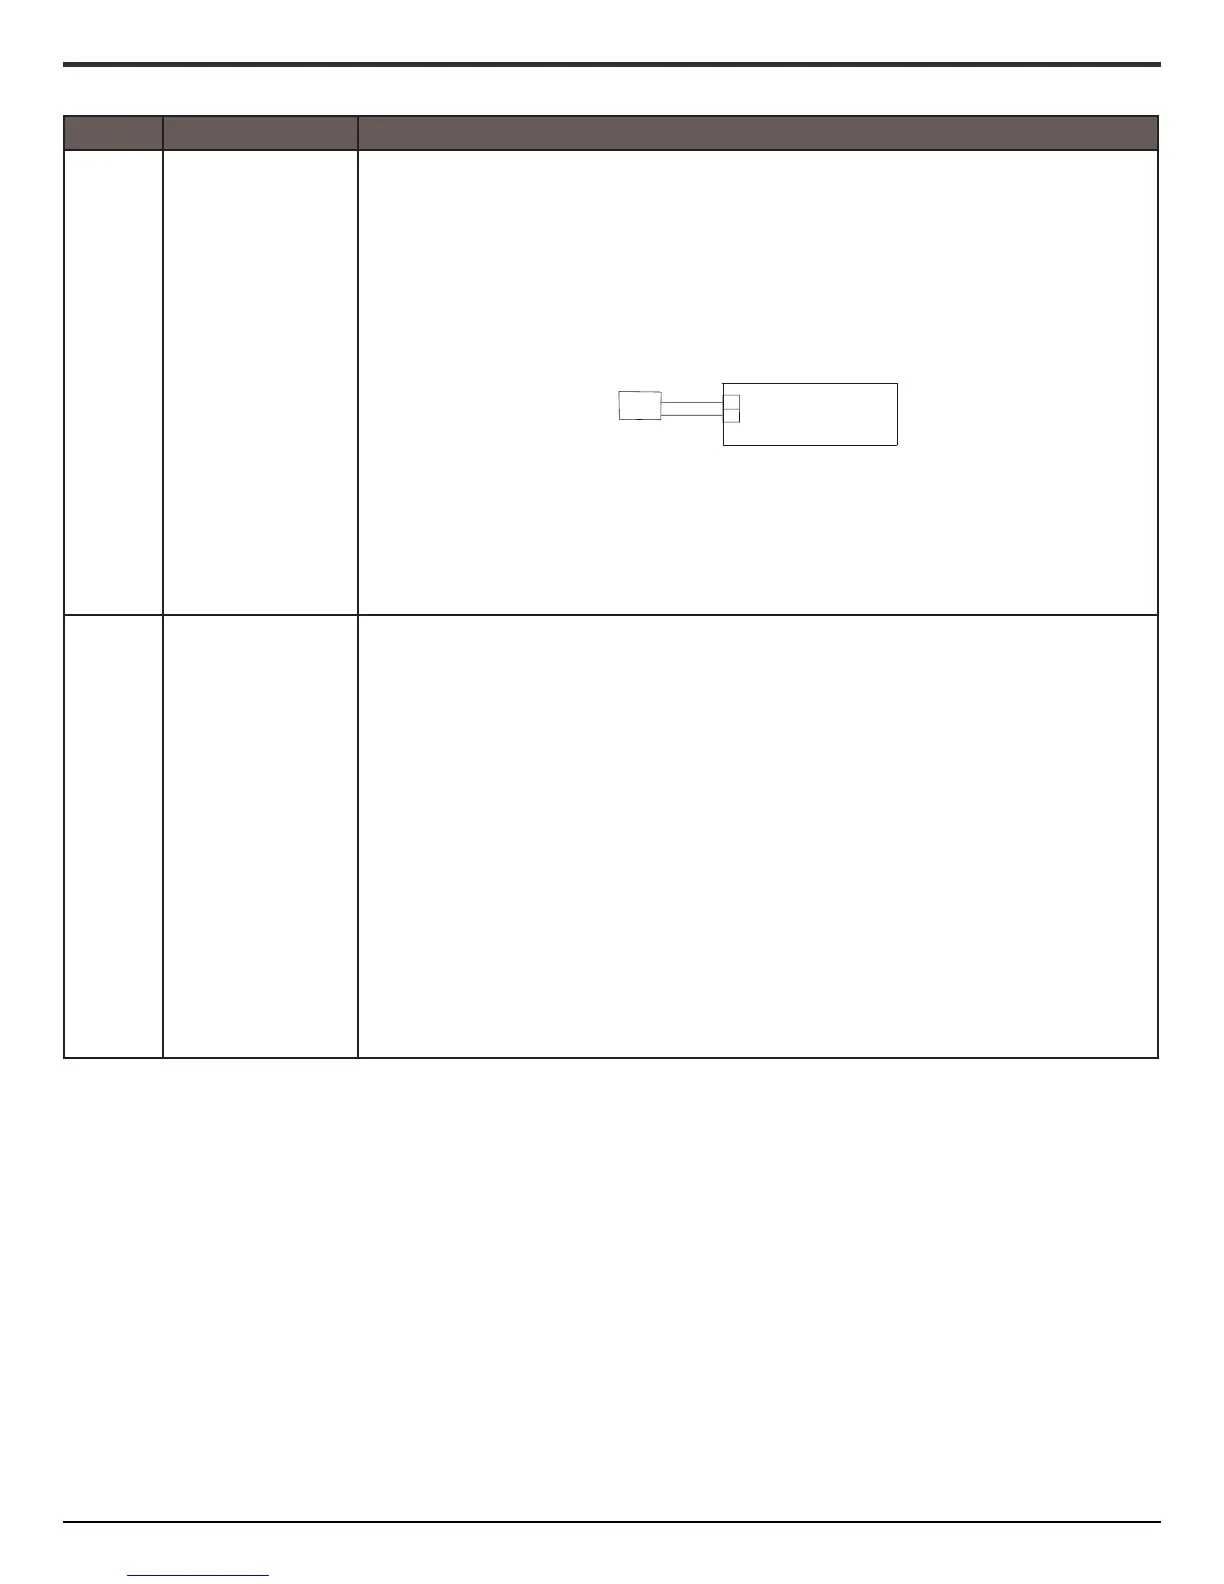
No Sound Speaker, HMI-Central/
UI board Control
Panel Assembly
NOTE: Before starng any test, cycle power to the oven (power o, wait 10 seconds, and power
on).
1. Verify sound is enabled. Touch the Tools menu, and then scroll to the Sound menu. Conrm
Key Press, Timer & Alert, and Power On & O acons are all turned on and set to the desired
volume.
2. Unplug the oven or disconnect power.
3. Conrm the speaker is rmly connected to the UI board. If speaker is rmly connected, go to
Step 4. If speaker connecon is loose, reconnect and proceed to Step 5.
4. Replace HMI-Central/UI board Control Panel Assembly.
5. Reassemble all parts and panels before operang.
6. Plug in the oven or reconnect power and follow the on-screen prompts for a model
selecon.
7. Conrm operaon of the speaker. If the problem persists, unplug the oven or disconnect
power, replace HMI-Central/UI board Control Panel Assembly, and repeat steps 5 through 7.
F1
Internal
E0
Oven User Interface
(UI) Failure
NOTE: Before starng any test, cycle power to the oven (power o, wait 10 seconds, then power
on).
PROCEDURE: Before proceeding, verify the error code by entering the Diagnoscs Menu and
selecng “Error Diagnoscs”.
NOTE: If other error codes are stored, troubleshoot those other error codes rst.
1. Unplug the oven or disconnect power.
2. Conrm the HMI-Central/UI board Control Panel Assembly is grounded to the oven chassis. If
it is, go to Step 6. If it is not, x the connecon.
3. Reassemble all parts and panels before operang.
4. Plug in the oven or reconnect power and cycle power.
5. If error persists, unplug the oven or disconnect power.
6. Replace HMI-Central/UI board Control Panel Assembly.
7. Reassemble all parts and panels before operang.
8. Plug in the oven or reconnect power and follow the on-screen prompts for a model
selecon.
9. Verify operaon is normal. Enter Diagnoscs mode, select “Error Diagnoscs”, and clear the
history. If the HMI-Central/UI board Control Panel Assembly was replaced, there is no need
to clear the error history.
HMI-C
User Interface
BK
RD
1
2
J8