For Service Technician Use Only
COMPONENT TESTING
Whirlpool
®
Smart Wall Ovens
n
3-15
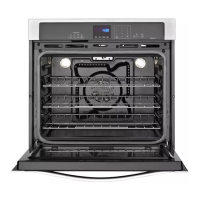
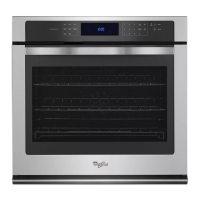
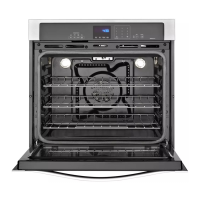
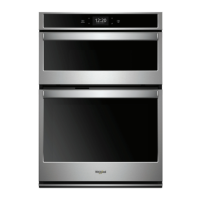
Component Location
Microwave Oven
Component Serviceable
Side
Procedure Component
ACU Top Check wiring to MW ACU
1. Unplug microwave oven or disconnect power.
2. Visually inspect connectors on the microwave
ACU, P1, P2, P8, P21, P22, P23, P26, P354,
P355, and the top connectors (relays 4903,
4904, and 4905) to see whether there are
signs of overheang or any signs of failure due
to loose wires, bad crimping, etc.
3. Reassemble all parts and panels before
operang.
4. Plug in microwave oven or reconnect power.
L
L
N
I
K
J
M
A
H
F
O
A. Turntable Motor
B. Secondary Interlock Switch
C. Magnetron Fan Motor
D. Humidity Sensor
E. Cavity Thermostat
F. Line Filter
G. Cavity Temprature Sensor
H. Inverter
I. Microwave Light Transformer
J. Magnetron Thermistor
K. Magnetron
L. ACU
M. Monitor Interlock Switch
N. Primary Interlock Switch
O. Halogen Lamp
Not shown: Monitor Fuse, Line Fuse