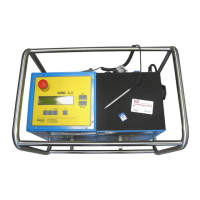
Kunststoffschweißtechnik
Starting and operating Chapter 5
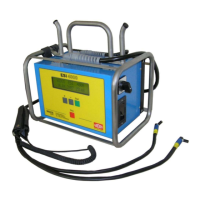
18.07.2013 Working Instructions WIDOS ESI 4000 Page 21 of 37
If pipe length has been selected with „yes“ (chapter: 5.12), the display shows:
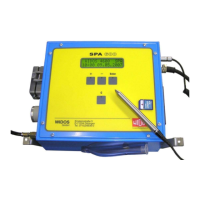
Display:
2nd line:
Dist. Joint/Code 1
0000.00m
Enter first pipe length with <+ / - / Start>
Display:
2nd line:
Dist. Joint/Code 2
0000.00m
Enter second pipe length with <+ / - / Start>
If „ask for project name“ has been selected with „yes“ (chapter: 5.13), the display shows:
Display:
2nd line:
Edit project name
Widos--------------
Current project name is indicated
Change indicated project name if necessary with <+ / -> (then the name
of the last project is overwritten)
Press <Start> to jump to the next figure,
or: keep <Start> pressed to go to the end of the figures
or: read in barcode of a project name with the barcode reading pen (barcode
may be created with WICON2000)
Display:
2nd line:
Pipe prepared?
and start
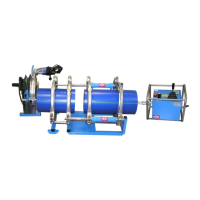
Query if pipes and socket are ok (check visually)
Either: Press <Start> - button to confirm prepared pipes and simultaneously start
the welding process.
Or: Read in the barcode from the pipe with reading pen
The welding process can be aborted with <Stop> at any time
Display:
2nd line:
Welding t= 000s
25°C 40V 14A 9 kJ
Elapsed welding time is indicated
Welding parameters are indicated
Special attention:
- vapors may escape during heating
- in unfavorable circumstances material may laterally
squirt
 Loading...