Caster Installation and use:
When using the casters to move this lift, make sure that you have more than one
person to help move and guide the lift. Make sure that the floor space is
completely clear of hazards or obstructions. Failure to do so could result in severe
personal injury, death, product or property damage.
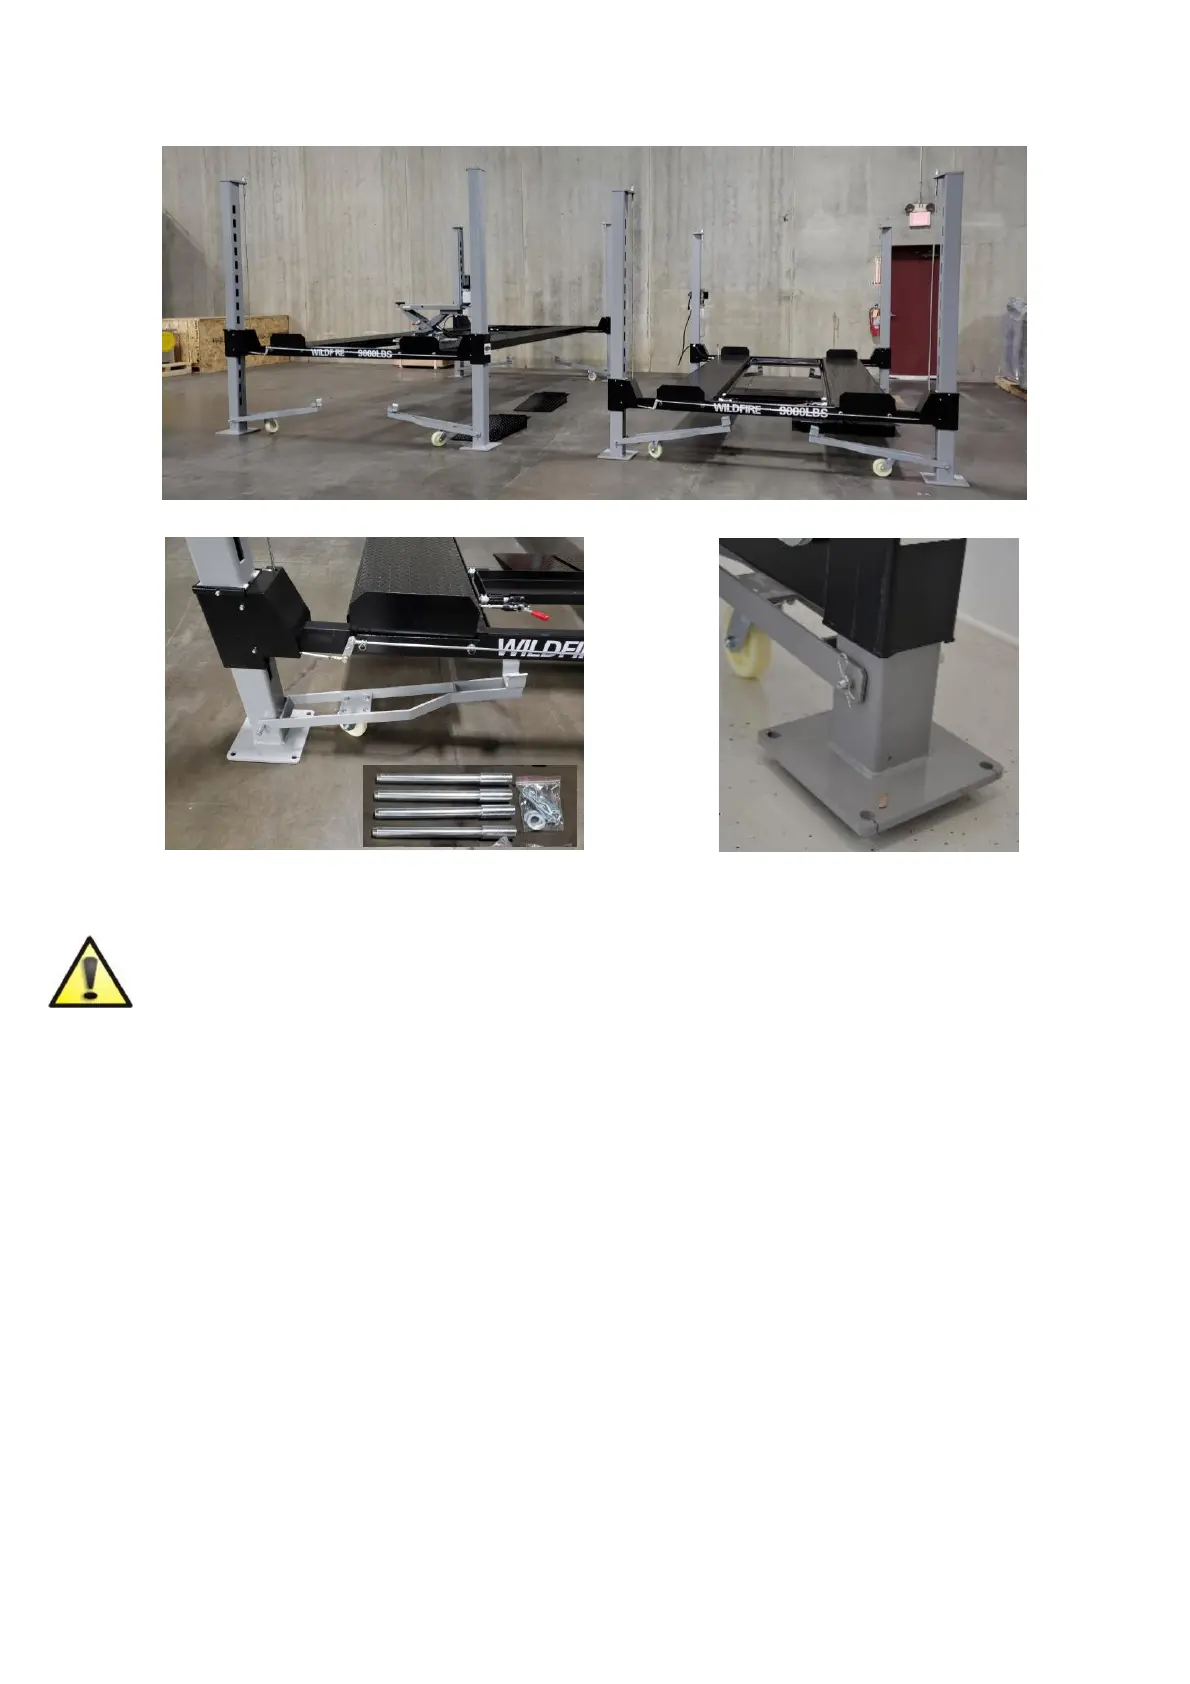
The caster kit is made up of 4 casters, 2 left and 2 right. 4 pins, washers and hair pins.
When looking at the end of the lift you will determine the left and right casters by
installing the casters with the long straight edge towards the inside of the lift as shown in
above picture. This will allow the cross beam to lower into the u-channel and set on the
nylon block. Once all 4 casters have been installed, before lowering make sure that a
second person is located on the opposite corner of the lift to help guide the lift as it is
moved. Once the second person is in place, lower the lift. As the lifts lowers and the
cross beams set into the u- channels each corner base plate will lift off the ground up to
1”. Each corner will come up independently and you will have to hold the release handle
until all 4 corners are off the ground. Move the lift to your desired location. Once the lift is
in place push the power button to raise the lift. The 4 base plates will lower back the
ground. Raise the lift high enough to remove the casters. You can now lower the lift all
the way and proceed to drive your vehicle on and lift to desired height.
ATTENTION: When attaching the caster pins, make sure if the lift is being pushed up
against a wall that caster pin is placed from the opposite side so it can be removed once
positioned near the wall.