Installation and operating instructions Wilo-Para 43
en
Preparation • The current type and voltage must correspond to the
specifications on the rating plate (6).
• Maximum back-up fuse: 10 A, slow-blow.
• Only operate the pump with sinusoidal AC voltage.
• Note the switching frequency:
- On/off switching operations via mains
voltage ≤ 100/24 h.
- ≤ 20/h for a switching frequency of 1 min.
between switching on/off via mains voltage.
• The electrical connection must be made via a fixed
connecting cable equipped with a connector device or
an all-pole switch with a contact opening width of at
least 3 mm (VDE 0700/Part 1).
• Use a connecting cable with sufficient outer diameter
(e.g. H05VV-F3G1.5) to protect against leaking water
and to ensure strain relief on the threaded cable con-
nection.
• Use a heat-resistant connecting cable where fluid
temperatures exceed 90 °C.
• Ensure that the connecting cable does not make con-
tact with either the pipes or the pump.
Mains cable
connection
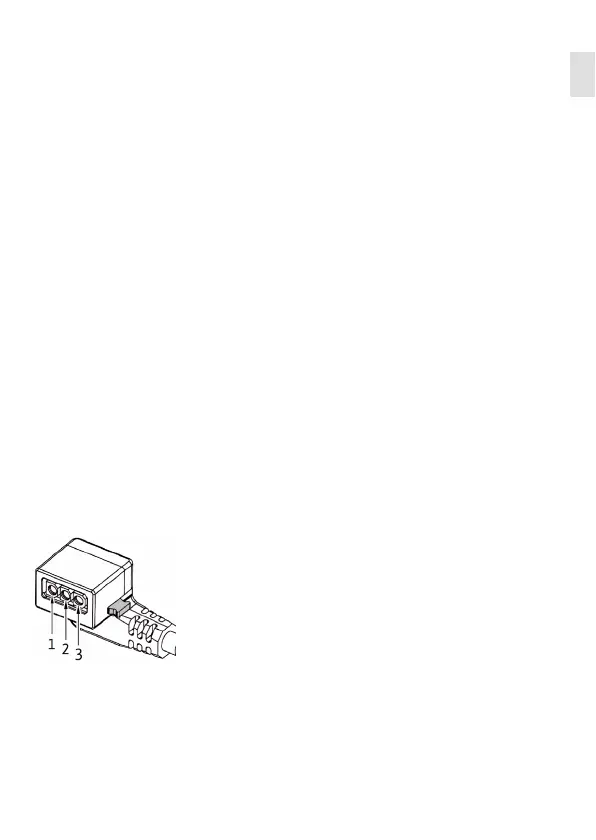
Installing the mains connection cable (Fig. 3):
1. Standard: 3-core coated cable with brass ferrules
2. Optional: Mains cable with 3-pin connection plug
3. Optional: Wilo-Connector cable (Fig. 3, item b)
• Cable assignment:
1 yellow/green: PE (
;)
2 blue: N
3 brown: L
• Press down the locking button of the 3-pin pump
plug and connect the plug to the plug connection (12)
of the control module until it snaps into place (Fig. 4).
 Loading...