the Alignment Block position, and the proper step location of the step.
Install the Upper Array As Follows:
1. Install the front pair of short (AA length) spikes into the bottom of each
module (see Figure 7).
2. Refer to the table labeled “Alexia Upper Array Spike Length” and install the
appropriate rear spike if necessary.
3. Refer to table labeled “Alexia Upper Array Alignment Block Step Position.”
Using the rear edge of the Alignment Block as the guide, align the block to
the proper front-to-back setting for the Upper Array. (Figure 7). Once the
block is in its proper position, lock it down using the 3/8” Allen wrench.
4. Refer to the table labeled “Alexia Upper Array Alignment Block Step”
Block Position table. With the front spikes pointing down, carefully lower
the Upper Array between the alignment wings and set it on top of the woof-
er enclosure
(see Figure
10). There
are alignment
tracks that
accommodate
the spikes
and guide the
Upper Ar-
ray toward its
appropriate
resting place.
Rest the rear
spike on the
appropriate
step on the
ladder.
A l e x i A O w n e r ’ s M A n u A l
38
Wilson Audio Specialties
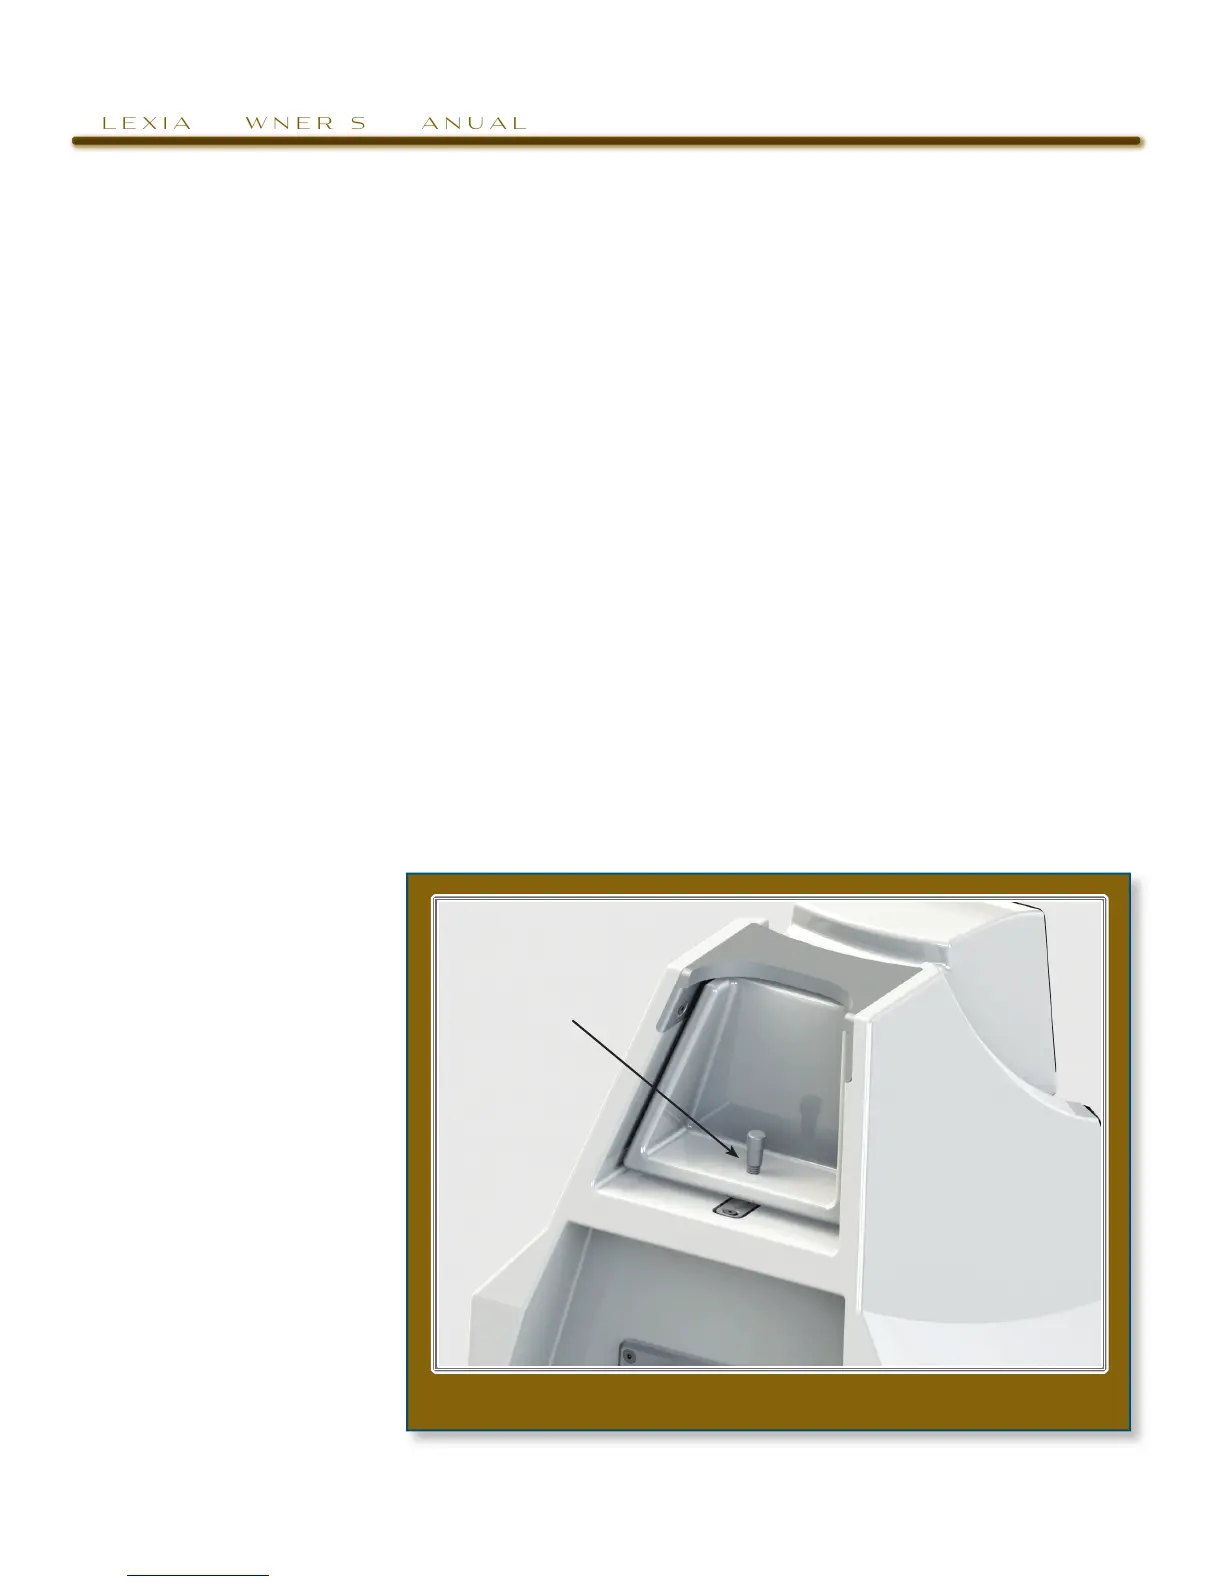
figure 11—tighten thuMb bOlt tO secure the tweeter MOdule�
tiGHten tHe tHUmB Bolt to
SecUre tWeeter modUle