43
Wilson Audio Specialties
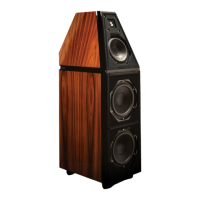
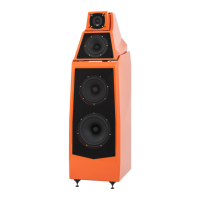
s e C T i O n 4 . 1 — s P i k i n g T h e A l e x i A
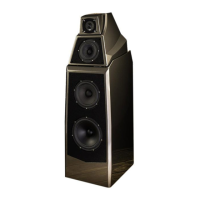
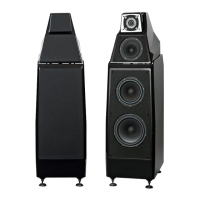
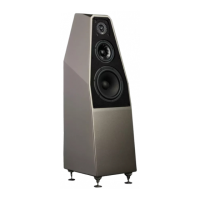
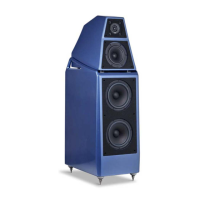
Section 4.1—Spiking the Alexia
Your dealer is trained in the art and science of the Wilson Audio Setup Procedure
(WASP) outlined in Section 1.1. Before the spike/diode assemblies are attached to the
bottom of Alexia, the set up and fine tuning of your loudspeaker should be completed.
Before spiking Alexia, use masking tape to carefully mark their location.
Spike Assembly
1. Remove the mechanical diodes and move the nut to about two threads from
the point. This will allow for greater movement when leveling the loud-
speaker system.
2. Screw the spikes into the diode until the nut is against the diode. Be care-
ful that the nut does not turn while inserting and threading spikes into the
diode.
3. Place the set screw into the other end of the diode with the Allen head
toward the spike. This will ensure that if for any reason you have to remove
your Alexia spikes, you will be able to withdraw the set screw safely using
the supplied Allen wrench. Screw the set screw into the diode until it meets
the spike (see Figure 13).
4. Assemble the rest of the spikes/diodes
5. Place the assemblies out of the traffic pattern until they are needed during
the installation.
Note: Do not tighten these assembled spikes. You will need to unscrew them when
you level the Alexia. This will ensure that if for any reason you have to remove Alexia
spikes, you will be able to withdraw the set screw using the supplied Allen wrench.
Installation Procedure
6. Take care to mark the exact location of the Alexias with masking tape to
ensure the speakers can be returned to their set up position.