8
4. Installation
4.1. Preparation
Before installation, please use the data badge to check:
• if the heater is in accordance with the order;
• if the heater is suitable for the local present
provisions (gas type, gas pressure, electrical supply
etc.)
Before leaving the factory, the air heater has been tested
for safety and has been set to the operating settings. It has
been configured for the type of gas that is stated on the
data badge. Should there be any doubt about the settings
that apply to your situation, please contact your supplier.
4.1.1. Standards
NOTICE The installation must comply with all applicable
local and national standards.
NOTICE The air heater must be installed in accordance
with the relevant requirements of the Gas Safety
regulations, Electrical installation regulations and or other
local regulations that may apply.
For United Kingdom only:
NOTICE The air heater must be installed in accordance
with the relevant requirements of the Gas Safety
regulations, Electrical installation regulations and or other
local regulations that may apply (e.g. The Institute of Gas
Engineers IGE UP-1 and 2, BS6230, BS5440 building
regulations and the IIE regulations that incorporate the gas
safety regulations).
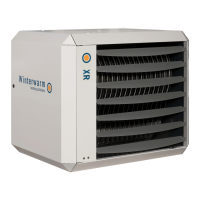
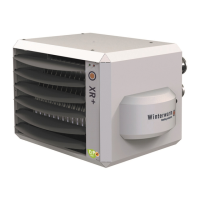
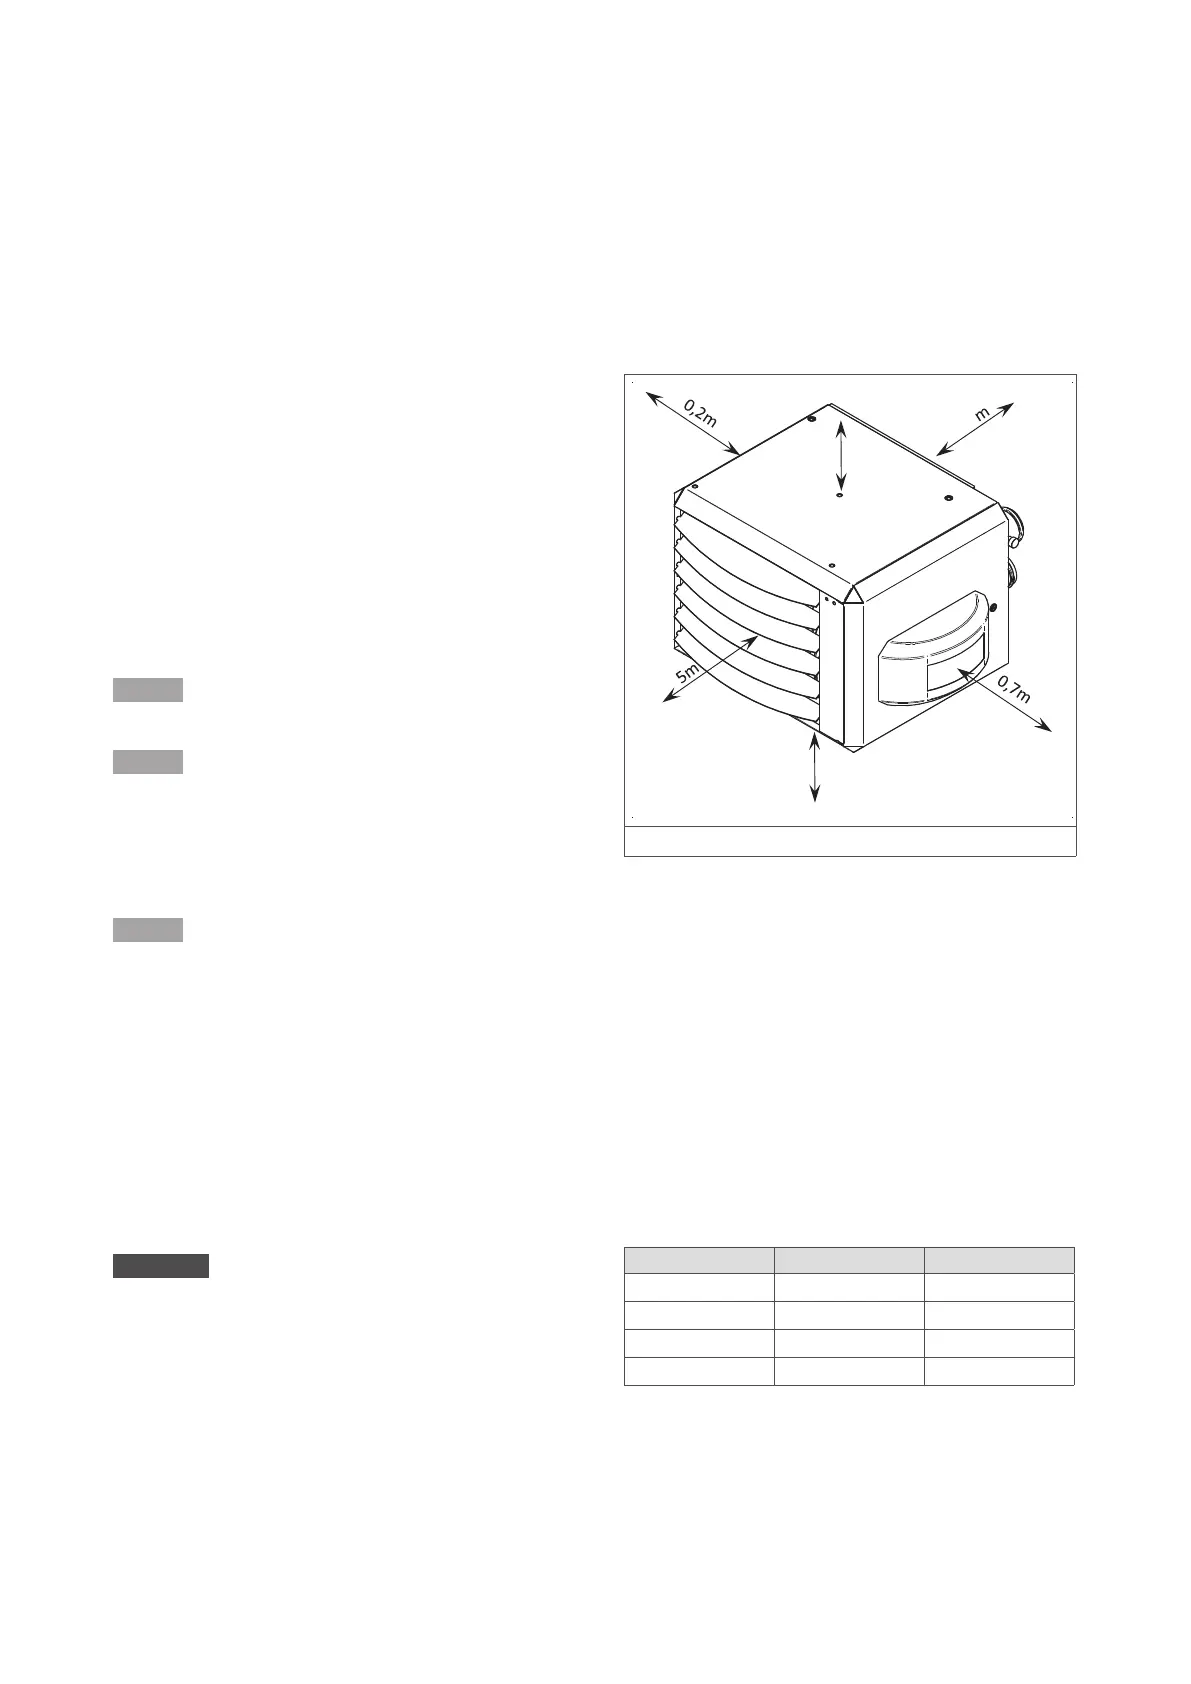
4.2. Positioning the air heater
Keep the following requirements in mind when choosing a
location to install your air heater:
WARNING! Never install an air heater close to flammable
materials.
• Keep sucient distance between the heater and
any obstructions. This is both for safety reasons
and to allow access for service and maintenance
(figure 5).
• Make sure the air flow to and from the heater is
free from obstacles at least 5 metres in front of the
heater. Also make sure the air intake is free from
obstacles.
• Make sure enough space remains to open the door
of the air heater.
• Make sure the wall can support the air heater.
• Ensure sucient clearance distance for the flue
system.
0,3
Figure 5 - Minimum clearances around the air heater
4.2.1. Orientation
• When the heater is not installed horizontally, re-
adjust the CO
2
setting from the gas valve.
• If the air heater is installed with the air stream
vertically downwards, maintain a maximum
suspension height of 8 meters to ensure that warm
air will reach the floor.
4.2.2. Suspension
Depending on the model of your air heater, five types of
wall support can be used:
Model(s) Wall support Art. Nr.
XR10+ - XR30+ Standard GA8610
XR40+ - XR60+ Standard GA8620
XR80+ - XR120+ Standard GA8622
XR10+ - XR30+ Turnable* GA8630
 Loading...