HARDWARE CONNECTION
Note: Before you starting hardware connection, you are advised to find an appropriate
location to place the Access Point. Usually, the best place for the Access Point is at the
center of your wireless network, with line of straight to all your wireless stations. Also,
remember to adjust the antenna; usually the higher the antenna is placed, the better will
be the performance.
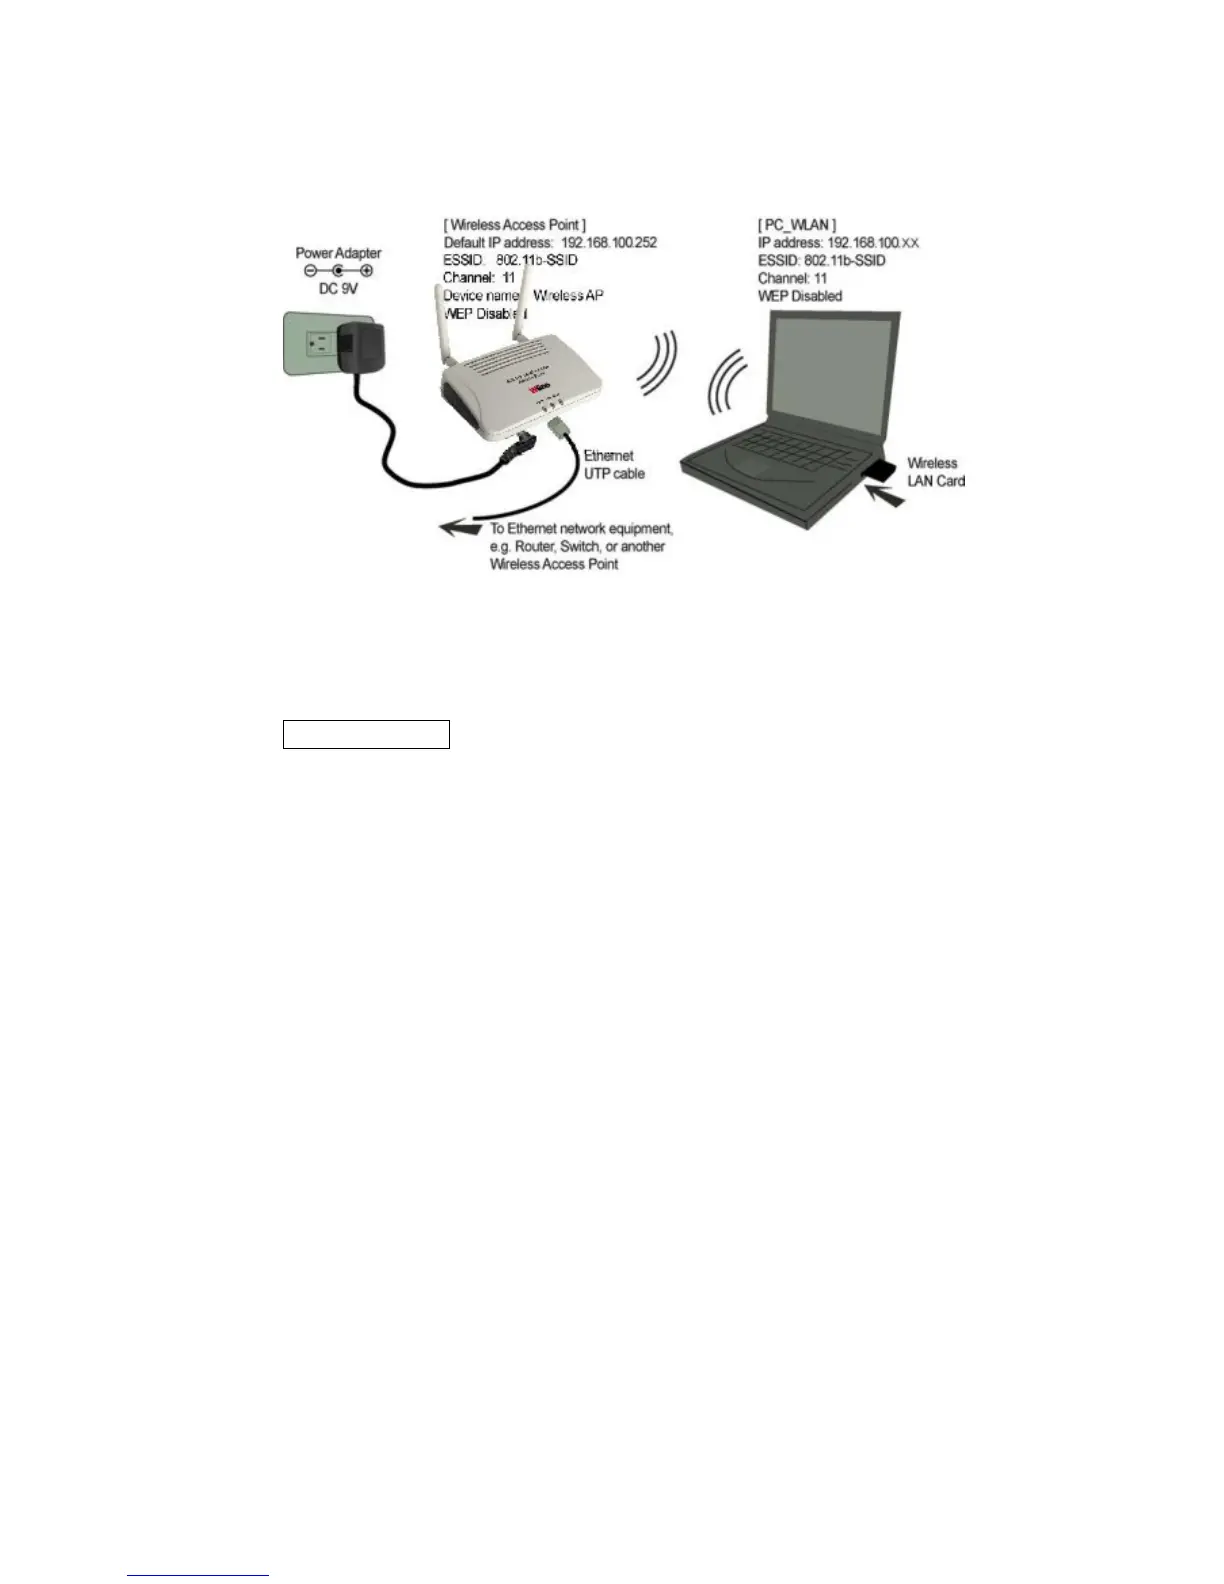
1. Connect to your local area network: connect a Ethernet cable to one of the
Ethernet port (LAN1 or LAN2) of this Wireless Access Point, and the other end to a
hub, switch, router, or another wireless access point.
2. Power on the device: connect the included AC power adapter to the Wireless Access
Point’s power port and the other end to a wall outlet.
Check the LEDs:
The Power and LAN # LEDs should be ON. LAN# LED will even blink if there is traffic.
The Link/Act LED will be on in static when associated with a station and blink whenever
this AP receives data packets in the air.
If the ErrStatus LED glows after self-test , it means this Wireless Access Point fails on
self test. Please ask your dealer for technical support.
3. Configure your PC: Make sure your local PC(s) has wireless network adapter
installed.
6