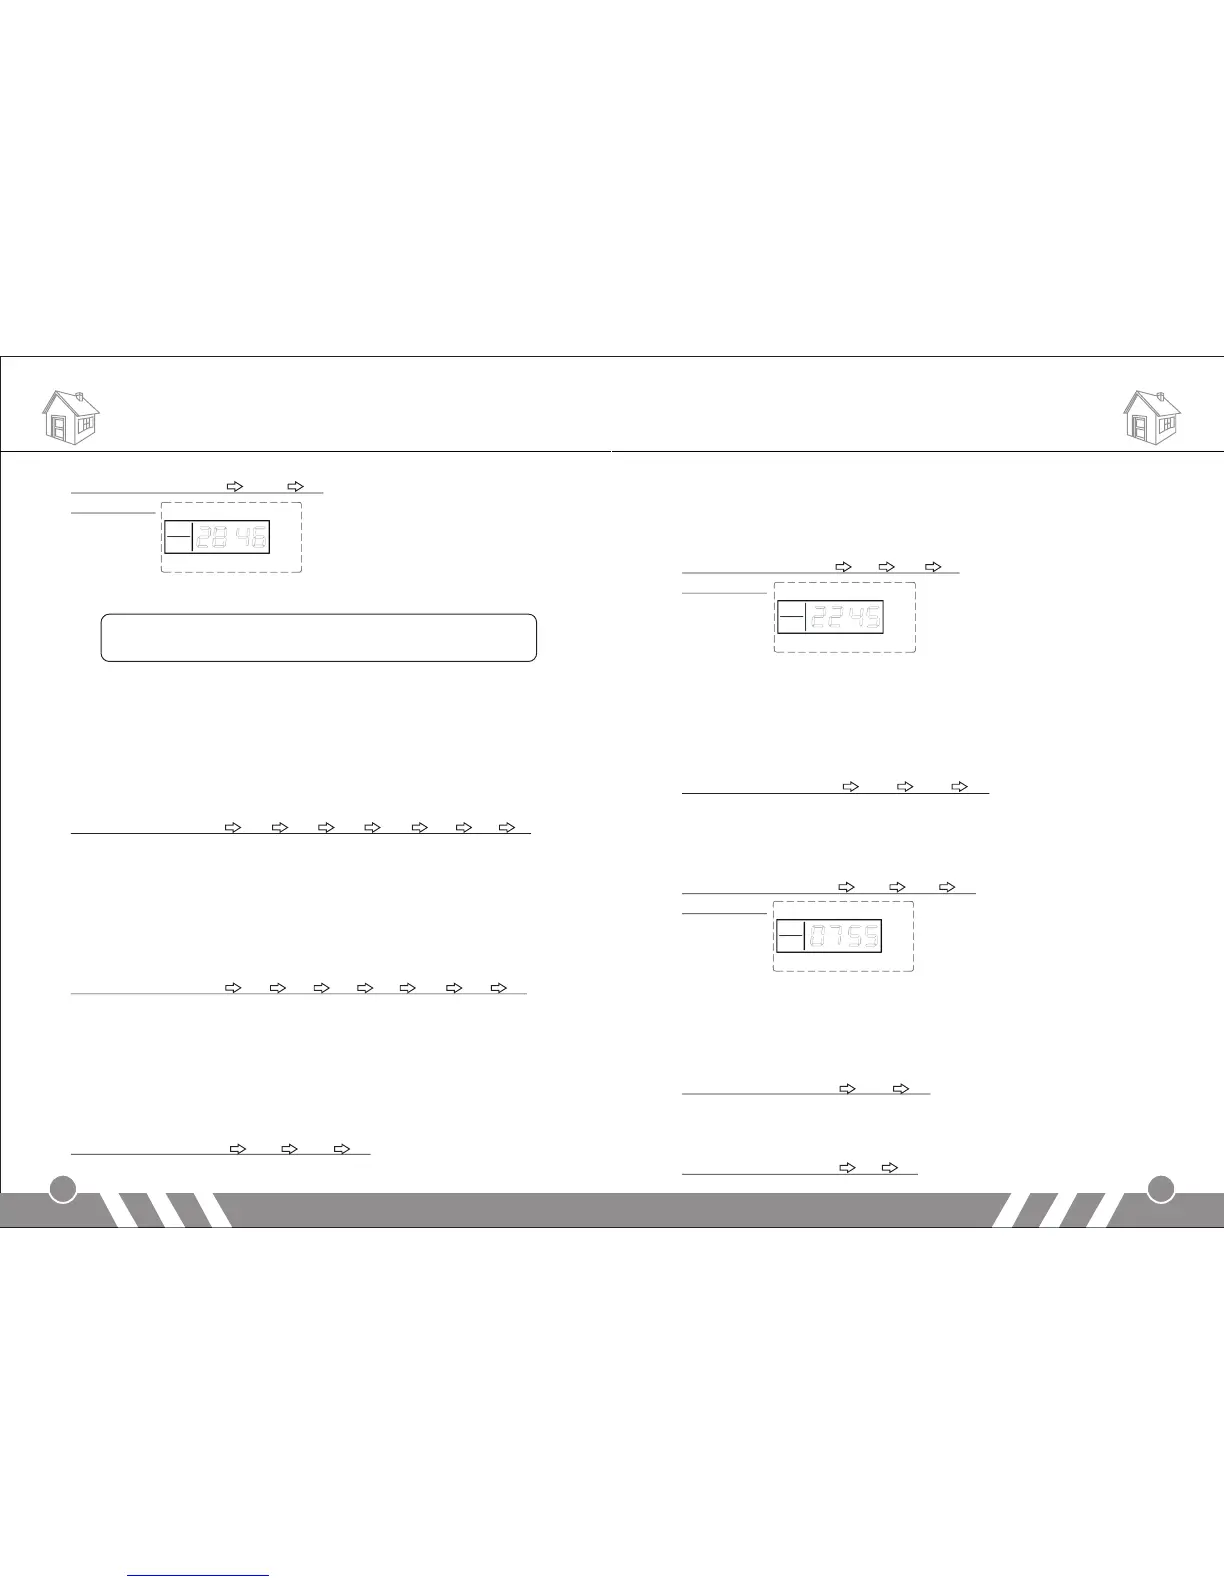
Operating method: [31] [2846] [#]
LCD display:
Note:
the operation password and the programming password can not
be set as the same number.
10.Clock Setting
In setup status, use keypad to input [32], then input the last 2 digits
[AA] of the present year, the two digits [BB] of the month, the two
digits [CC] of the date, the two digits [DD] of the hour (24-hour
system), the two digits [EE] of the minute, the two digits [FF] of the
second, and finally enter [#] to confirm. You will hear a long beep and
a voice prompt “setting completed”.
Operating method: [32] [AA] [BB] [CC] [DD] [EE] [FF] [#]
AA indicates: the last 2 digits of the present year
BB indicates: the 2 digits of the present month
CC indicates: the 2 digits of the present date
DD indicates: the 2 digits of the present hour
EE indicates: the 2 digits of the present minute
FF indicates: the 2 digits of the present second
For example: set the time as 15:35:40, Oct. 1st, 2009
Operating method: [32] [09] [10] [01] [15] [35] [40] [#]
11.Timing Settings
1) Timely Arm
In setup status, use keypad to input [33~35], then input the hour [AA]
and minute [BB] of the time you want to set to arm, and finally input
[#] to confirm. You will hear a long beep and a voice prompt “setting
completed”.
Operating method: [XX] [AA] [BB] [#]
10
XX indicates: the address code 33, 34, 35 of the timely arming
AA indicates: the hour of the setting time
BB indicates: the minute of the setting time
For example: set the arm time as 45’ 10pm
Operating method: [33] [22] [45] [#]
LCD display:
2) Timely Disarm
In setup status, use keypad to input [36~38], then input the hour [AA]
and minute [BB] of the time you want to set to disarm, and finally input
[#] to confirm. You will hear a long beep and a voice prompt “setting
completed”.
Operating method: [XX] [AA] [BB] [#]
XX indicates: the address code 36, 37, 38 of the timely disarming
AA indicates: the hour of the setting time
BB indicates: the minute of the setting time
For example: set the arm time as 55’ 7am
Operating method: [33] [22] [45] [#]
LCD display:
3) Timing Control
In setup status, use keypad to input [39], then input the number
indicating turning on timely arm/ disarm [1/0], and then input [#] to
confirm. You will hear a long beep and a voice prompt “setting
completed”. The factory default is off.
Operating method: [39] [0/1] [#]
0: turn off the function of timely arm/ disarm
1: turn on the function of timely arm/ disarm
For example: turn on the function of timely arm/ disarm
Operating method: [39] [1] [#]
Functions Settings Functions Settings
9
 Loading...