5
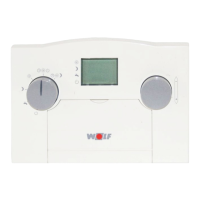
Installation
- Install the ART on an internal wall at a height
of approx. 1.5 m.
- Install the ART in a living room, which is
representative of the entire living
accommodation.
- The ART must not be subject to draughts or
radiated heat.
- The ART must not be blocked by furniture or
curtains.
- In this room, all radiator valves must be fully
opened.
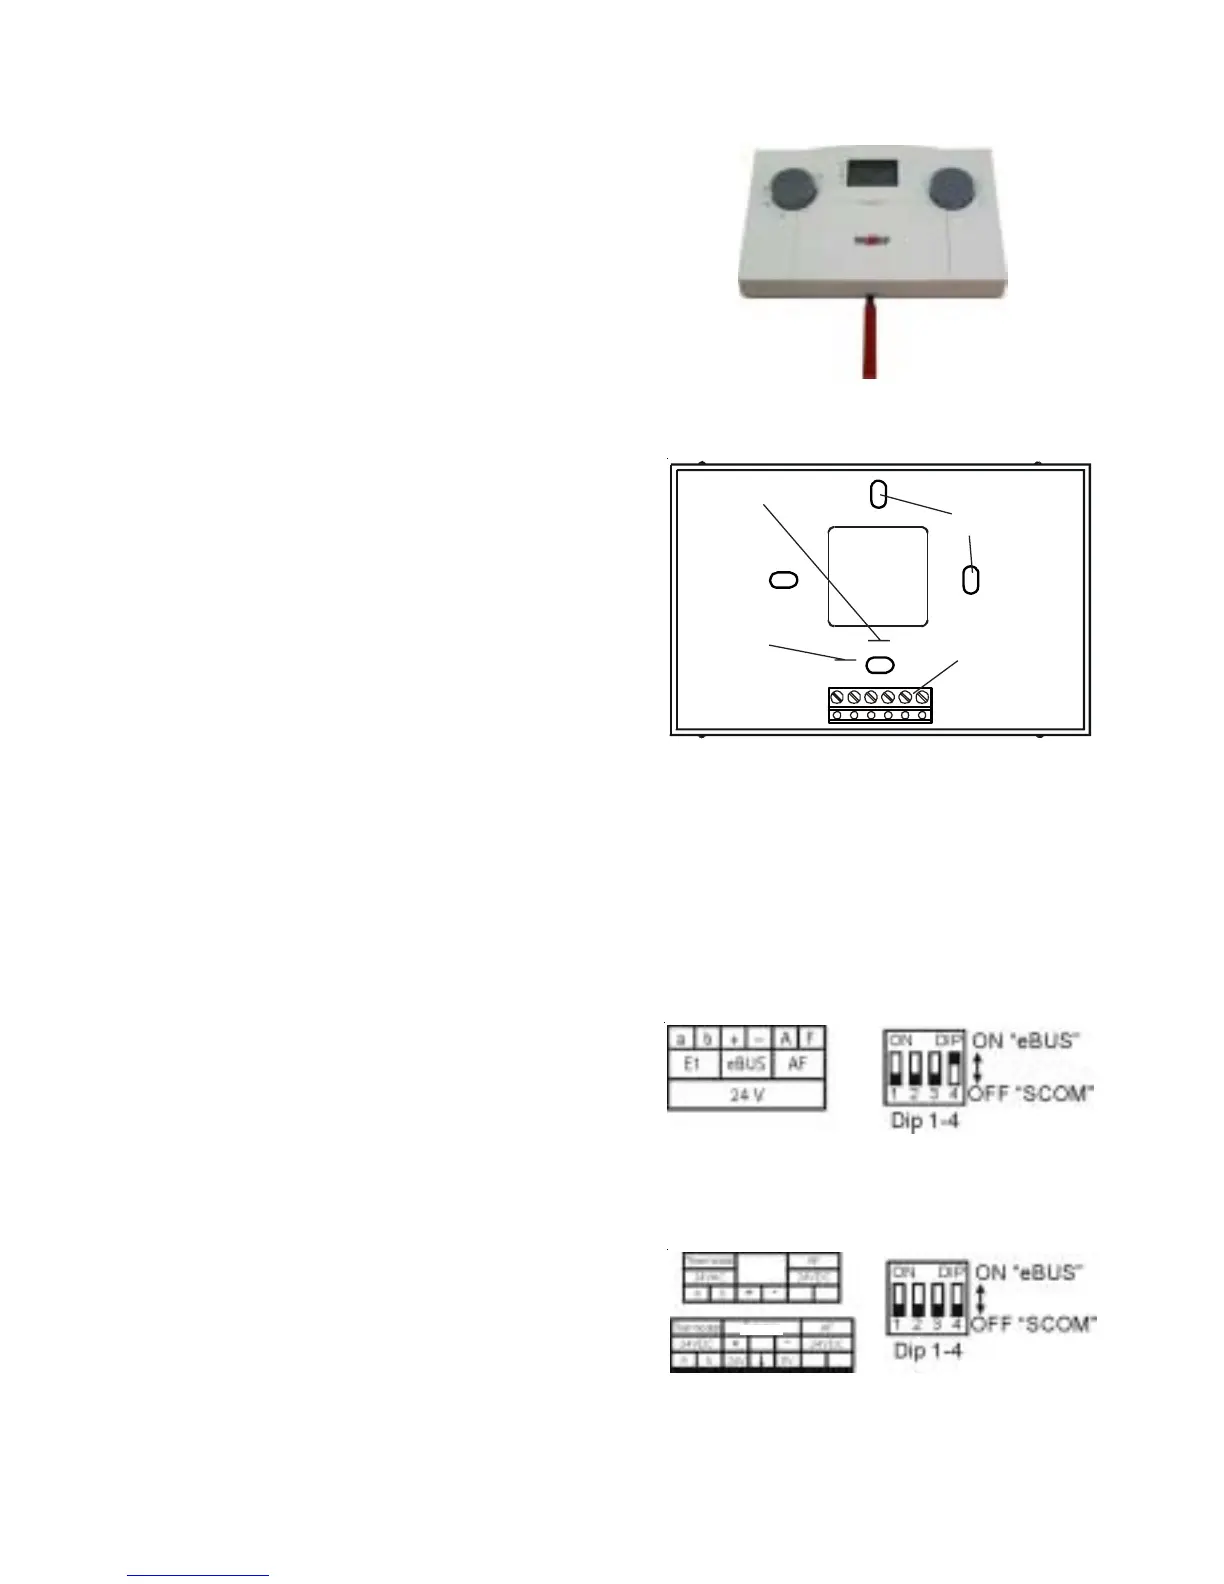
Installation / BUS interface setting
Remove the ART from its base using a screwdriver
- Lever the ART top from its base using a
screwdriver.
In doing so, insert the screwdriver into the
lower cutout of the base, and lever the base
at the terminal strip.
- Secure the base through the fixings holes.
3
1526
4
+ -
Fixing holes
Plug to the
top part
Telecontrol contact
Connection
data cable
e-BUS or
SCOM
Please note: All accessory controllers (BUS users) must be set to the same boiler interface.
Wolf boilers are equipped either with an e-BUS or a SCOM interface for control accessories. The
interface can be selected with the DIP switches on the back of the ART.
BUS interface setting
For boilers with eBUS interface, the BUS
terminals are marked “+“ and “-“ together with
“eBUS“.
The interface address for eBUS is set at the
factory (DIP switch 4 is set to “ON“, switches 1
to 3 are set to “OFF“).
Connection to Wolf boilers with eBUS interface
For boilers with SCOM interface, the BUS
terminals are marked “+“ and “-“ in accordance
with connection diagrams together with
“(Wolf) Accessory“ (DIP switches 1 to 4 are set
to “OFF“).
Connection to Wolf boilers with SCOM interface
Accessory
Accessory