Outdoor Grill (OG) Series
Installation Information
2-8
#814144 - Revision A - July, 2009
LP Gas Installation (Portable LP Connection)
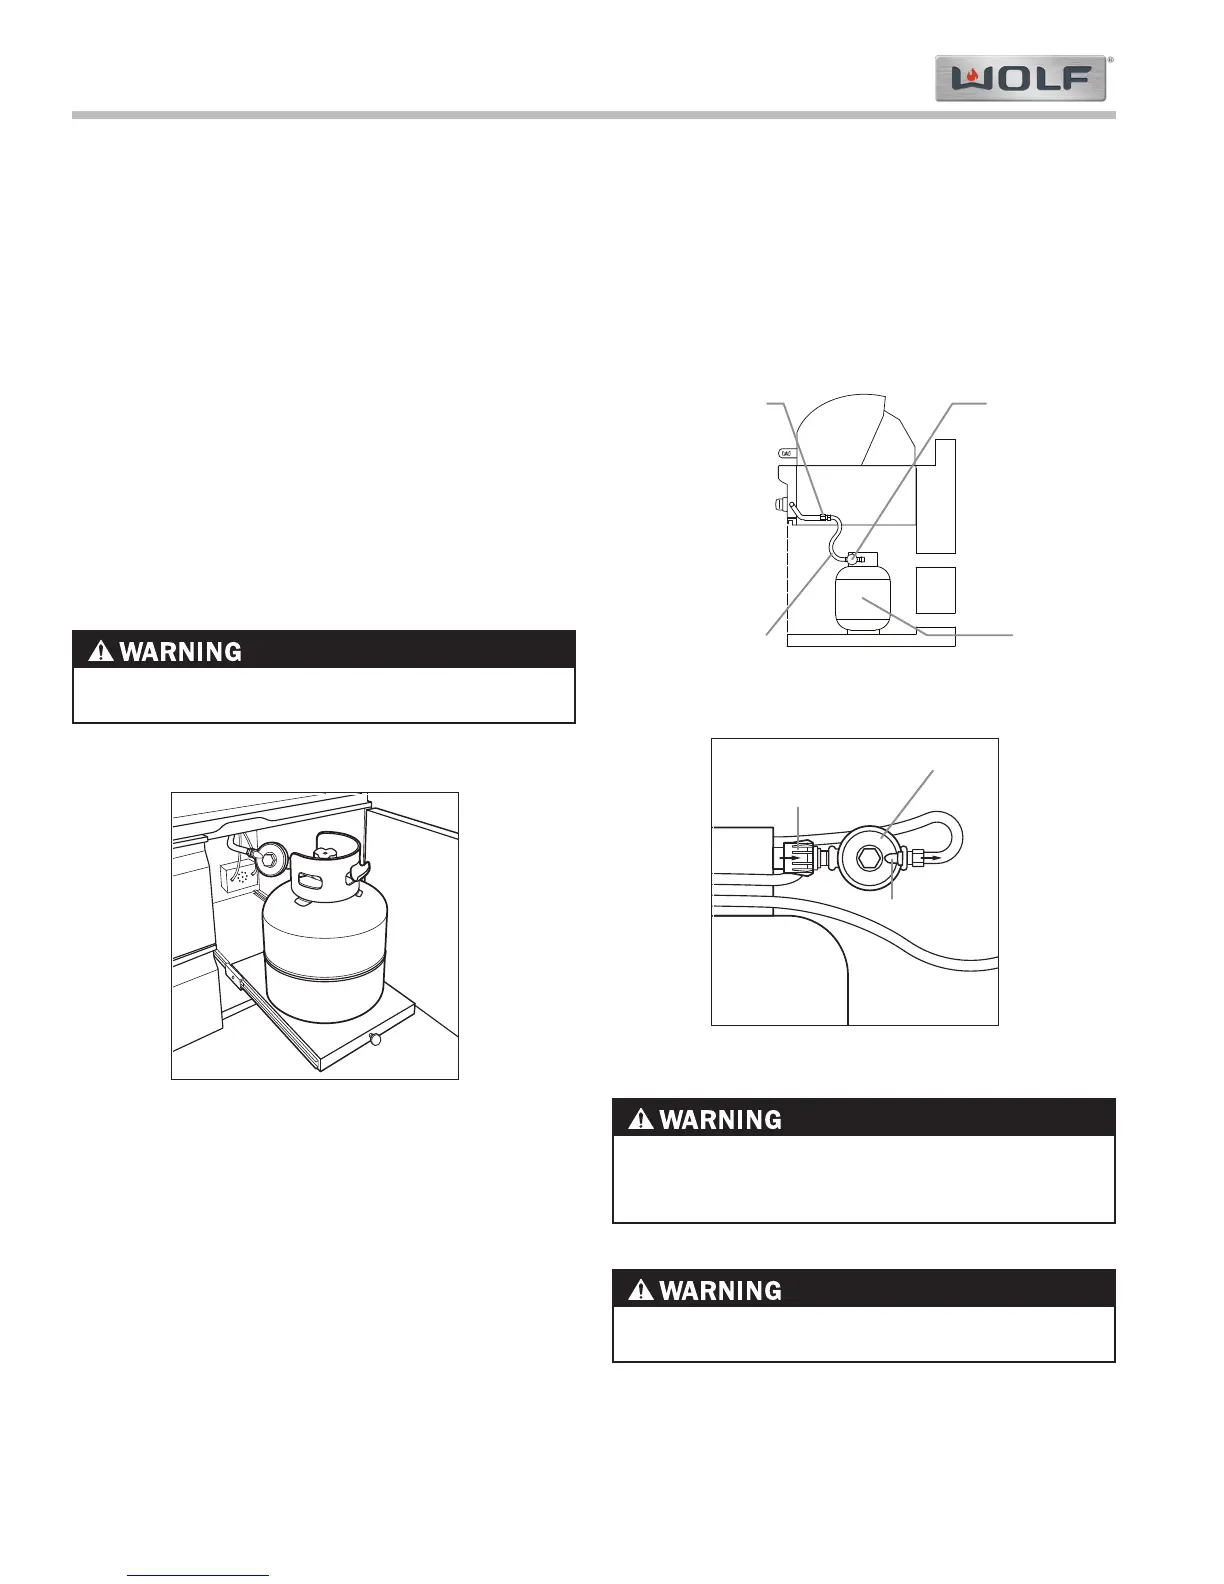
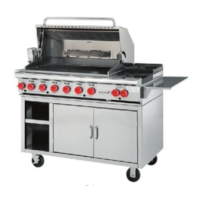
One of the features of a Wolf OG grill cart is the pull-out
shelf for easy access to the LP gas cylinder. It is
designed to hold a 20-lb (5 gallon capacity) LP gas
cylinder.
To install the LP gas cylinder on a Wolf OG grill cart
(See Figure 2-5):
1. Open the door and pull the shelf out, then place the
cylinder on it.
2. Check to ensure that the gas valve on top of the
cylinder is closed.
3. Connect the LP gas regulator to the cylinder and
hand-tighten only. Open the cylinder valve and
check for leaks.
4. Tighten the thumb screw to secure the cylinder to
the shelf.
ALWAYS CHECK FOR GAS LEAKS AFTER CHANG-
ING A LP GAS CYLINDER!
Figure 2-5. Grill Cart Pull-out Shelf
LP Gas Connection
Install the pressure regulator and hose assembly sup-
plied with the grill as shown in Figures 2-7 and 2-8
below. Connect the 3/8" flare end of the hose to the
grill coupling using a 3/4" open wrench. Do not apply
pipe sealant to the 3/8" flare connection. Connect the
regulator to the LP cylinder and hand-tighten, do not
use a wrench.
Figure 2-7. LP Gas Regulator
THE LP PRESSURE REGULATOR AND HOSE SUP-
PLIED WITH THE GRILL MUST USED WITH OUT
ALTERATION!
DO NOT PLACE MORE THAN ONE LP GAS CYLIN-
DER IN AN ENCLOSURE AT ONE TIME!