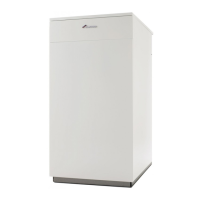
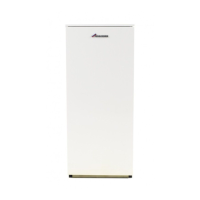
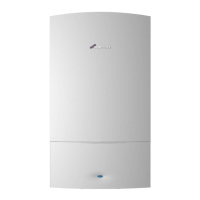
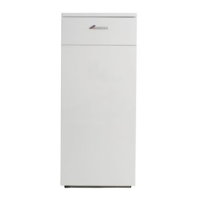
IN STALLATION
INSTALLATION & SERVICING INSTRUCTIONS FOR WORCESTER BOSCH
24
REFIT COMPONENTS
REFIT COMPONENTS
8-716-106-256a (08.05)
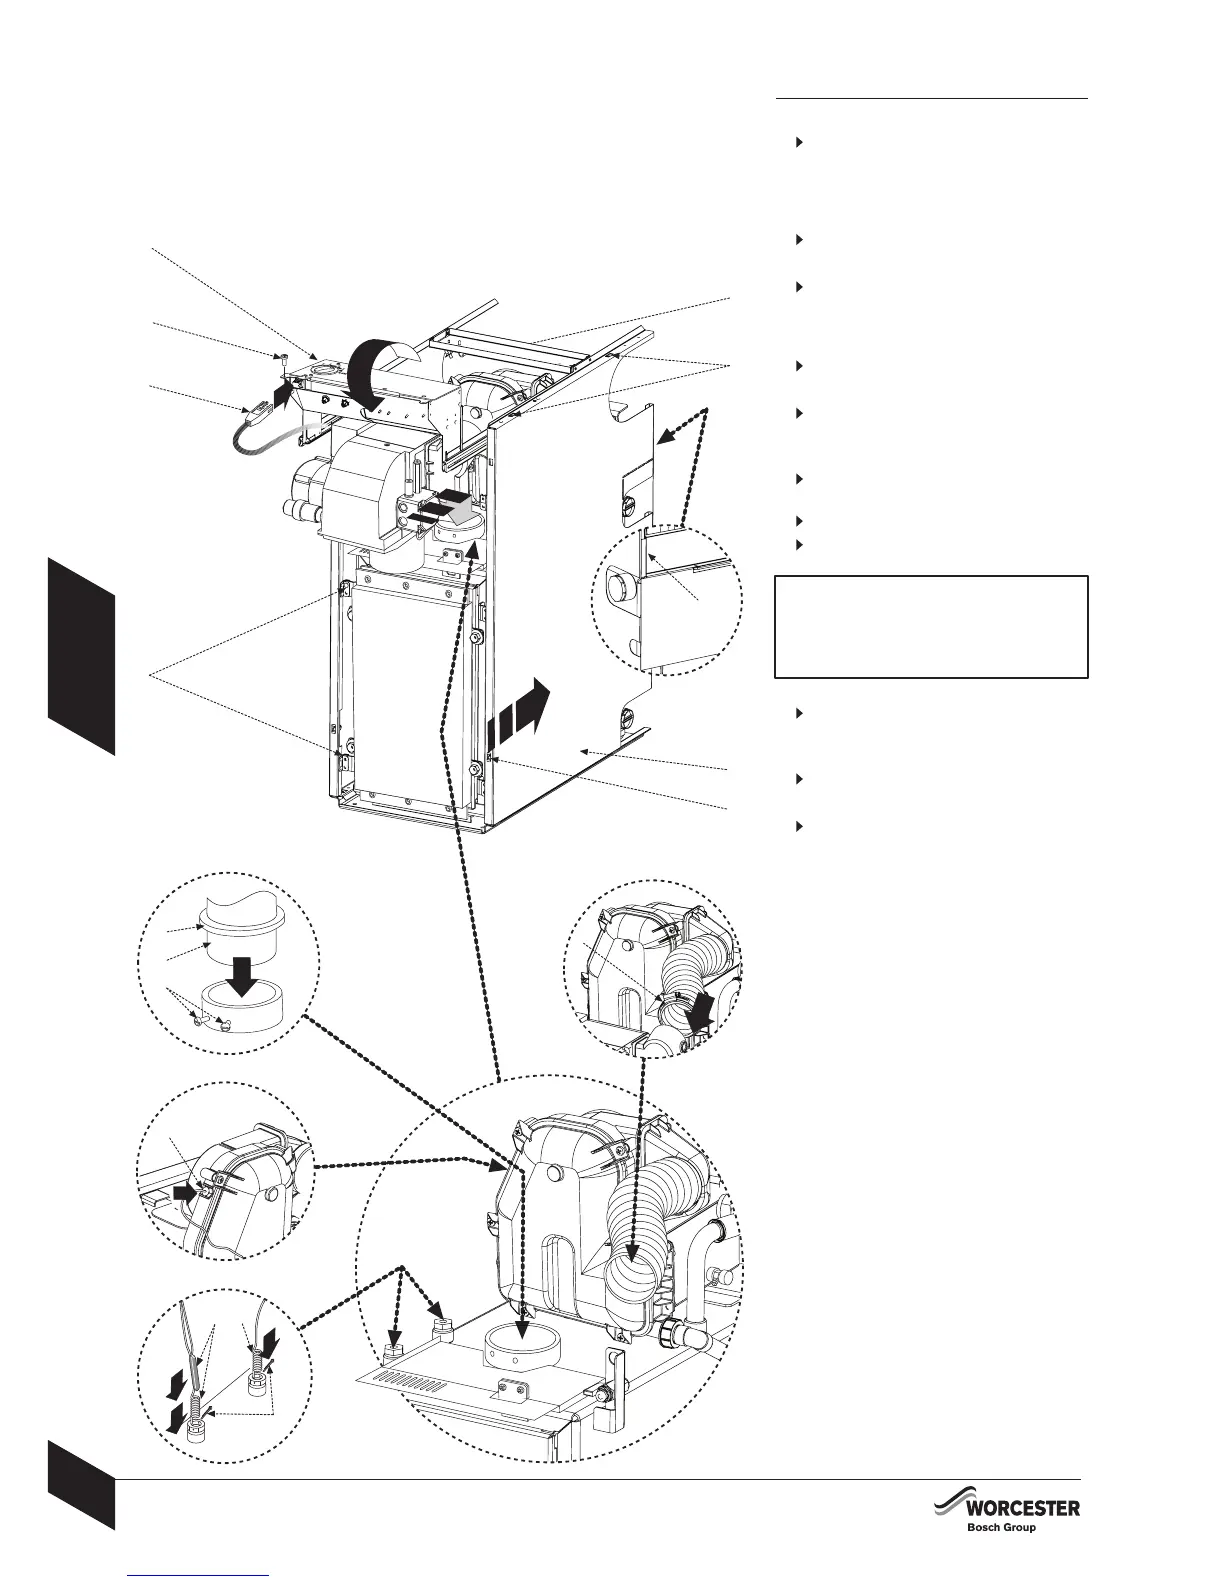
1 Slide side panels (R) and top support bracket
(L) together with control box (G) along base
rails and push to secure into the retaining lugs
on the baseplate and align with the lugs on the
rear support panel (T).
Release control box (G) if secured.
2
Carefully replace the control and high limit
manual reset thermostats (Q) into the front
thermostat pocket and the auto reset overheat
thermostat (U) into the rear thermostat pocket.
Refit split pins (P) to secure.
3
Carefully replace the flue thermostat (M) into
the flue hood and refit split pin to secure.
4
Align burner combustion head (N) into boiler
housing tube with gasket (O) correctly fitted.
Push firmly down to compress the gasket (O).
Tighten burner retainers (H) sufficiently to
ensure a good seal.
IMPORTANT:
Ensure the gasket is a good seal between
the burner combustion head and the boiler
housing to prevent flue gases escaping from
the combustion chamber into the room.
5
Attach air duct pipe and tighten clip (J) to
secure to the burner air intake.
6
Plug burner lead (F) into control box (G).
7 Pivot control box (G) and slide into boiler
casing.
6
1
B
D
S
R
7
4
M
4
3
2
Q
P
H
N
L
J
O
5
T
U
F
G
C