Lawn Mowing Robot EN
10
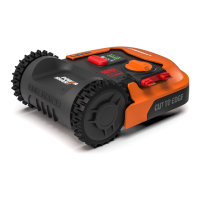
If the Landroid
®
M senses that something is wrong, it will display a fault message on the Display (17), and will turn itself off
if it does not receive any input from the user within 20 min (for information on fault messages refer to the Programming
and Troubleshooting Guide).
To resume:
Scene 1: STOP –Auto Shutdown after 20 mins
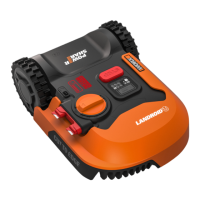
• Open the Control Panel Cover
• Press the ON/OFF Key (19) to ON
• Press 0 key to correct the problem
• Press START button again and Close the Control Panel Cover
• Now the Landroid
®
M will begin to mow!
Scene 2: STOP– Without Auto Shutdown
• Open the Control Panel Cover
• Press 0 key to correct the problem
• Press START button again and Close the Control Panel Cover
• Now the Landroid
®
M will begin to mow!
3.3 How big an area can my Landroid
®
M mow?
Your Landroid
®
M is capable of mowing areas of up to different size areas, although this depends on various factors, such as:
• Species of grass in your lawn and its growth rate
• Sharpness of the Cutting Blades (14)
• Humidity
• Surrounding temperature
• Amount of obstacles in your Lawn
If the surrounding temperature is very hot where you live then your Landroid
®
M may charge at a slightly slower rate. The
Landroid
®
M uses less energy in open areas that have fewer obstacles, such as flower beds, fountains, walkways, etc…
You can find the default work time of Landroid
®
M for different lawn size in programming guide .
Mowing times are different for every lawn depending on the factors mentioned previously. Gradually adjust the time you
allow your Landroid
®
M to mow each day until you find the most suitable setting.
You can find the default work time of Landroid
®
M for different lawn size in programming guide.
3.4 How efficiently will my Landroid
®
M mow the grass?
The Landroid
®
M’s cutting height can be adjusted between 2cm - 6cm. Before starting your Landroid
®
M for the first time,
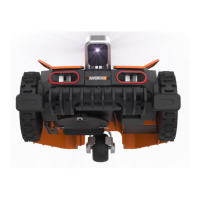
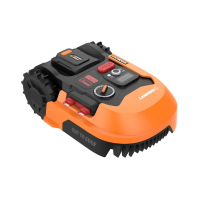
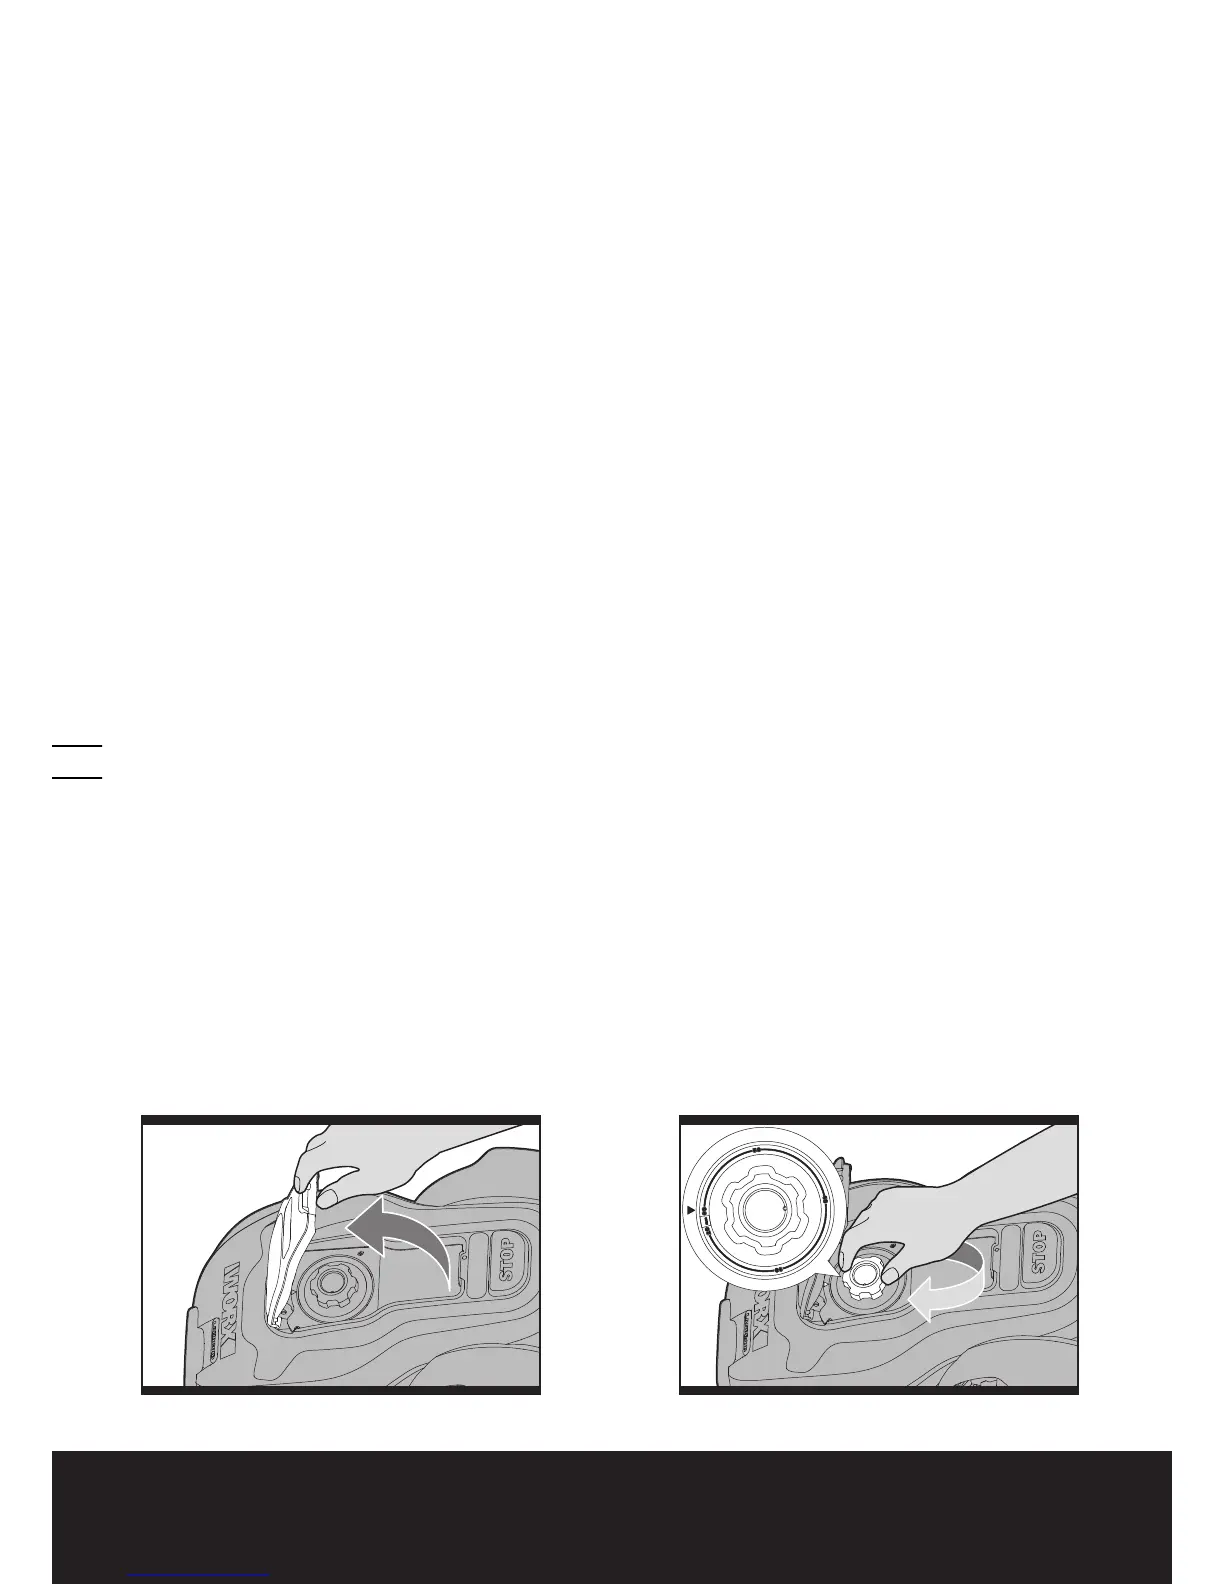
you should cut the grass to the height not more than 9cm. Then make sure you open the Control Panel Cover (7) and set
the cutting height to its maximum cutting height of 6cm (See Fig. F,G).
Your Landroid
®
M will cut its best in dry weather. It does not like wet grass, which can build up on the Blade Turning Disc (13)
and within the motor, and can also cause loose traction and slippage while working.
Your Landroid
®
M is afraid of Lightening Storms. In case of a Lightening Storm, protect the Landroid
®
M by unplugging the
Charging Base (4), disconnecting the Boundary Wire (21), and making sure the Landroid
®
M is not allowed to charge.
Your Landroid
®
M loves mowing grass and requires the Cutting Blades (14) to be kept in good condition to cut at its best.
The Landroid
®
M can do most things by itself, but will need your help sometimes to prevent damage to itself.
• Never let the Landroid
®
M travel over gravel.
•
Remove or prevent access to obstacles that the
Landroid
®
M
could accidentally climb on and damage its Blade Turning Disc.
• Remove all debris and foreign objects from your lawn.
GF

 Loading...