10
ASSEMBLY & OPERATION
Action Figure
Assembling The Main Handle See Fig. A
Assembling The Safety Guard See Fig. B
Assembling The Flower Guard See Fig. C
Assembling The Auxiliary
Handle
See Fig. D
Attaching the extension cord See Fig. E1, E2
Trimming See Fig. F
Edging
See Fig. G1, G2
Manually Feeding The Line See Fig. H
Replacing the Trimmer Line
And Spool
See Fig. I
,
J
,
K
Manually Winding the Line
See Fig. L
,
M
,
N
,
O
1. AUTOMATIC LINE FEED SYSTEM
When initially switching on the trimmer, a
small length of line is fed out.
A ‘clattering’ noise will be heard for a short
time. This is normal and is caused by the line
being cut by the line cutter. Once the line is
cut to the correct length, the ‘clattering’ noise
will stop and the trimmer motor will run at full
speed.
To feed more line, stop the trimmer
completely, then restart, allowing the motor to
reach full speed. Repeat this until you hear the
‘clattering’ noise of the line cutting.
2. MANUALLY WINDING THE LINE
(See Fig. L, M, N, O)
Take approximately 16ft (5m) line and insert
5/8” (15mm) of line into one of the holes in the
upper section of the spool (See Fig. L). Wind
the line in the direction of the arrows on the
top of the spool (See Fig. M).
Leave approximately 4” (100mm) of line
unwound and place it into the cleat. Repeat on
the lower section of spool.
Care should be taken to ensure that the line is
neatly coiled on the spool (See Fig. N). Failure
to do so will impair the efficiency of the
automatic line feed.
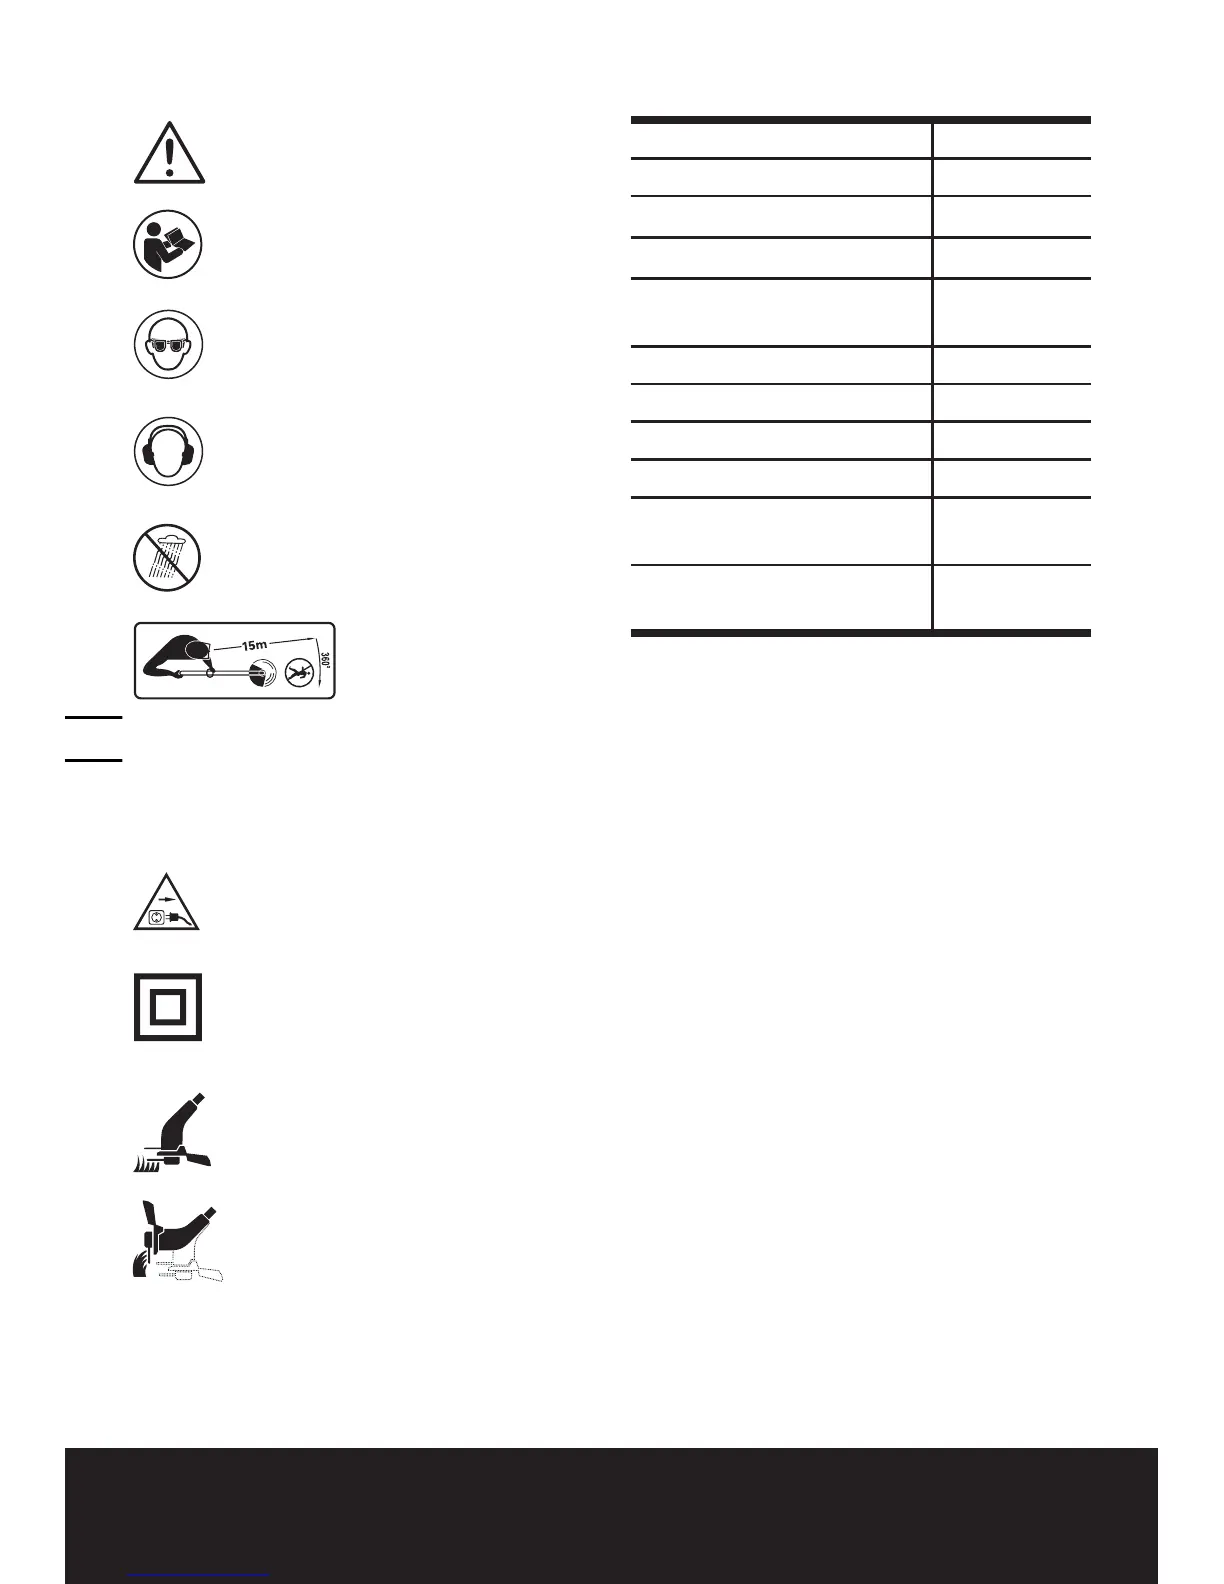
SYMBOLES
Warning
Read the manual
Wear eye protection
Wear ear protection
To avoid possibility of electric
shock, do not use in damp or wet
conditions
Keep all other people, including
children, pets and bystanders
outside the 15 meters hazard zone,
stop the trimmer immediately if you
are approached.
Before any work on the machine
itself, pull the power plug from the
outlet.
Double insulation
Trimming
Edging

 Loading...