12
3
in
1
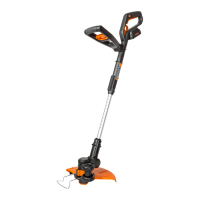
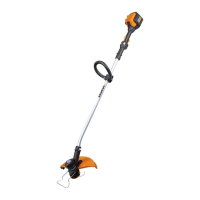
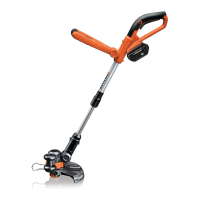
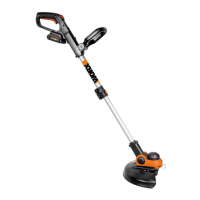
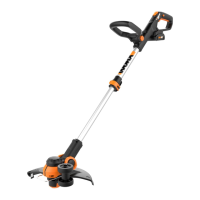
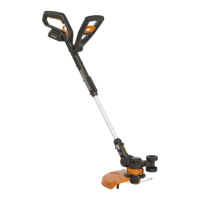
Grass Trimmer/Edger
WG169E WG169E.5
WG169E.9
Wire can break off during cutting and become
a dangerous projectile that can cause serious
injury.
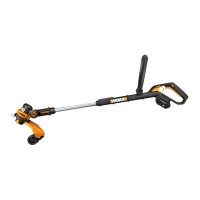
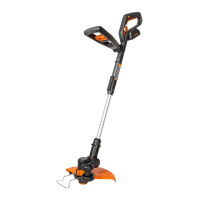
EDGE /TRIMMING SUPPORT WHEELS
There are three optional positions for the Edge /
Trimming Support Wheels to attach when assisting in
Trimming and Edging.
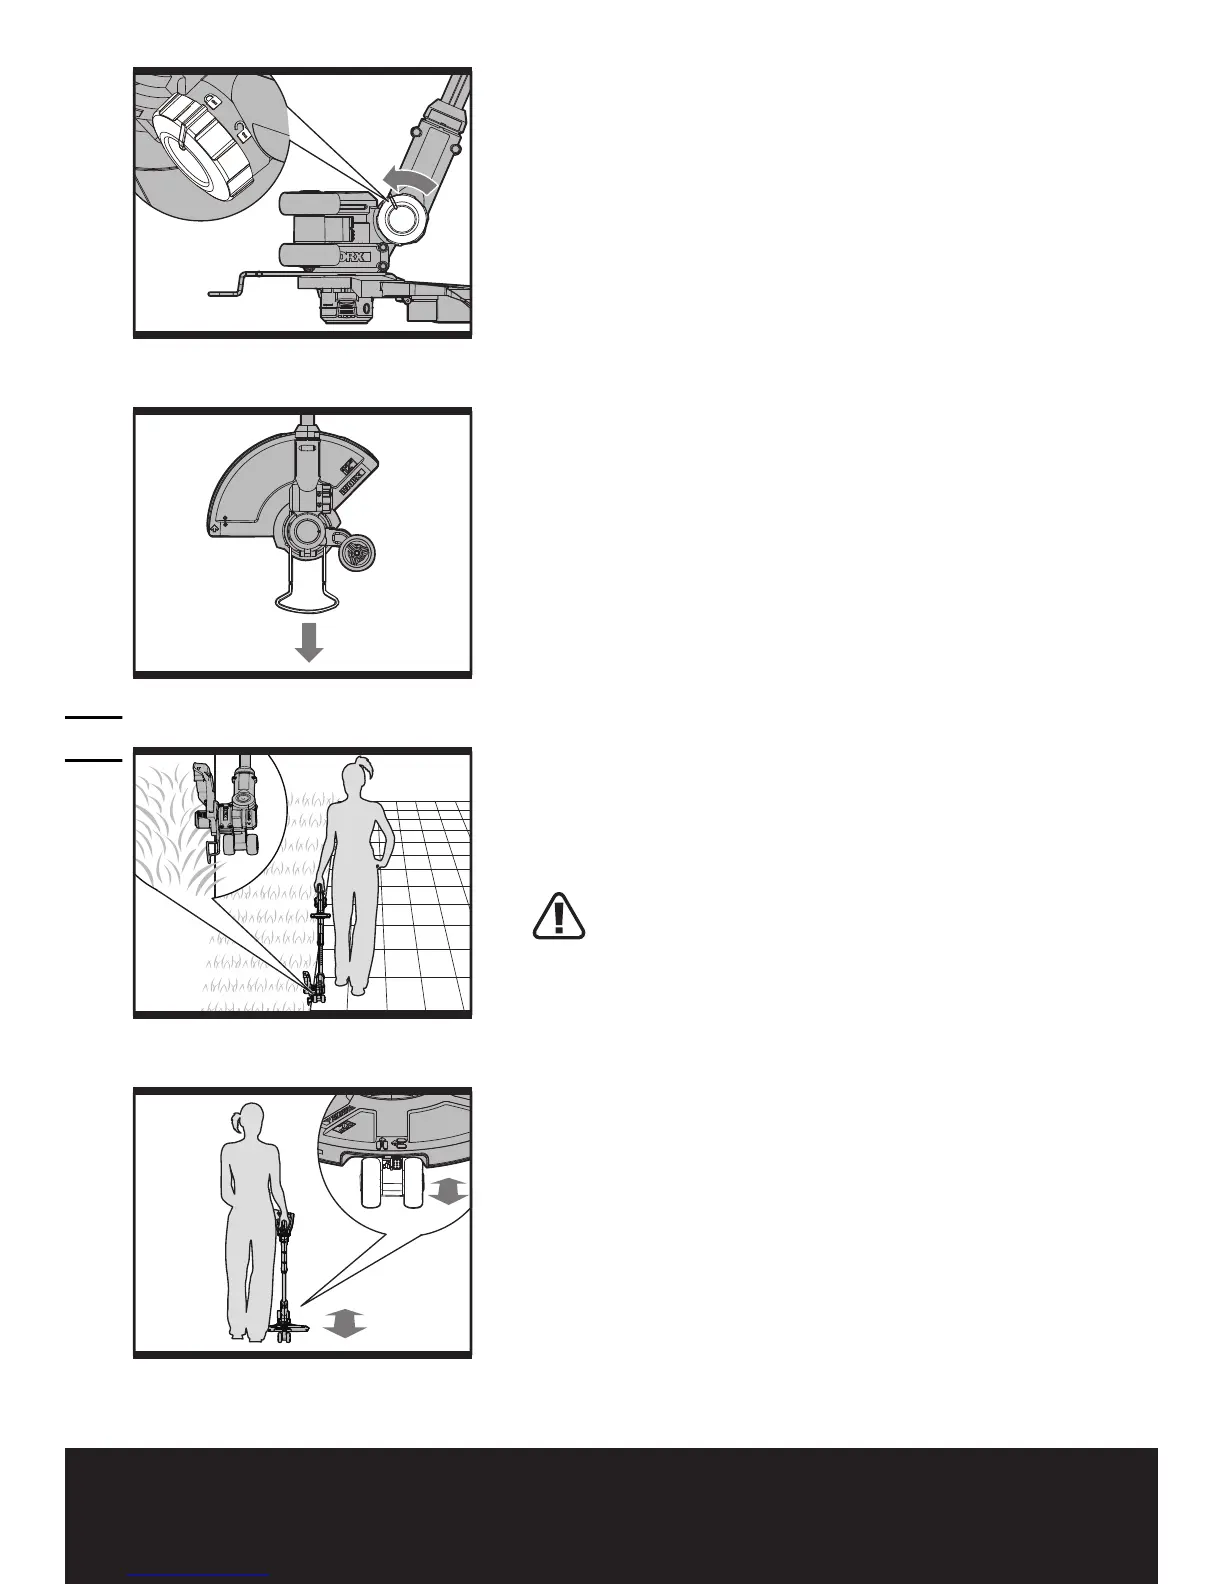
Position 1: Using the guide wheels when trimming in
a forward or reverse direction (See Fig. J1)
Position the Grass Trimmer in the trimming position.
Underneath the Safety Guard there is a metal plate that
the Edge/Trimming Support Wheels will attach to. Slide
the Support Wheels horizontally onto the metal plate
until they lock into position so both the wheels are
facing in the forward direction (See Fig. B3). The wheels
should provide support when you are trimming in the
forward or reverse direction.
Position 2: Using the guide wheels when trimming
Side to Side
Position the Grass Trimmer in the trimming position.
Underneath the Safety Guard there is a metal plate that
the Edge/Trimming Support Wheels will attach to. Slide
the Support Wheels vertically onto the metal plate until
it locks into position (See Fig. B2). The wheels should
provide support when you are trimming in a horizontal
side to side direction (See Fig. J2).
NOTE: You could also use the machine without the
guide wheels on guard when trimming.
Position 3: Using the guide wheels when edging (See
Fig. I2)
WARNING: Make Sure the Safety Switch is
Locked Off to Prevent Accidental Starting.
Change the tool from trimming into the edging mode,
the Edge /Trimming Support Wheels (12) will attach
on the side the trimmer head as shown in Fig. B1.;
rotate the main handle as described in ‘’MAIN HANDLE
ROTATION’’, then unlock the Pivot Head Locking Knob,
and using adequate force, pull the trimmer head into the
desired position. Make sure to adjust the trimmer head
angle to be in the lowest horizontal setting. Finally, lock
the Pivot Head Locking Knob (See Fig. H3) and position
the wheels on the ground for the edging mode. While
edging, keep the Flower Guard/Edge Guide aligned with
the sidewalk edge, this will assist to edge in a straight
path. Only the tip of the line will make contact with
area being worked on. Do not force the line. The edging
wheels help protect the unit and keep the unit from
contacting the ground. Take extra caution while edging,
as objects can be thrown from the trimmer line.
 Loading...