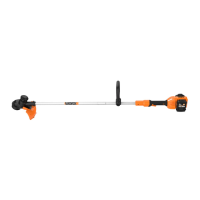
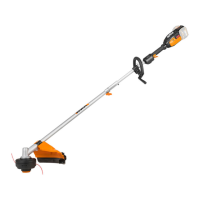
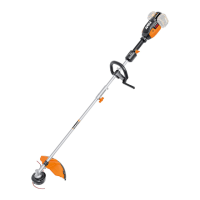
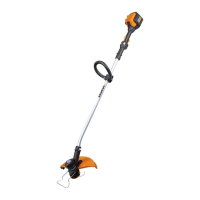
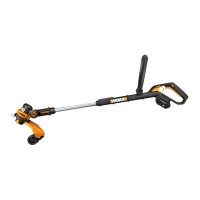
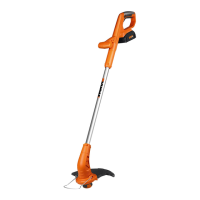
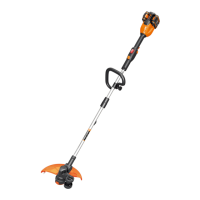
2-in-1 Grass Trimmer/Edger EN
15
On/Off Switch
Warning! The cutting head
continues to rotate after the
trimmer has been switched off; wait
until it has completely stopped then
lay down the tool.
See Fig. D
Trimming See Fig. E
-Adjusting the Trimmer Head
See Fig.
F1, F2
-Adjusting the Auxiliary handle See Fig. G
Edging
See Fig.
H1-H4
-Edger wheel storage See Fig. I
Command feeding the line
-Note:Press as needed.
See Fig. J
Manually feeding the line See Fig. K
Replacing the trimmer line and spool
See Fig. L,
M, N
Manually winding the line
See Fig. O,
P, Q, R
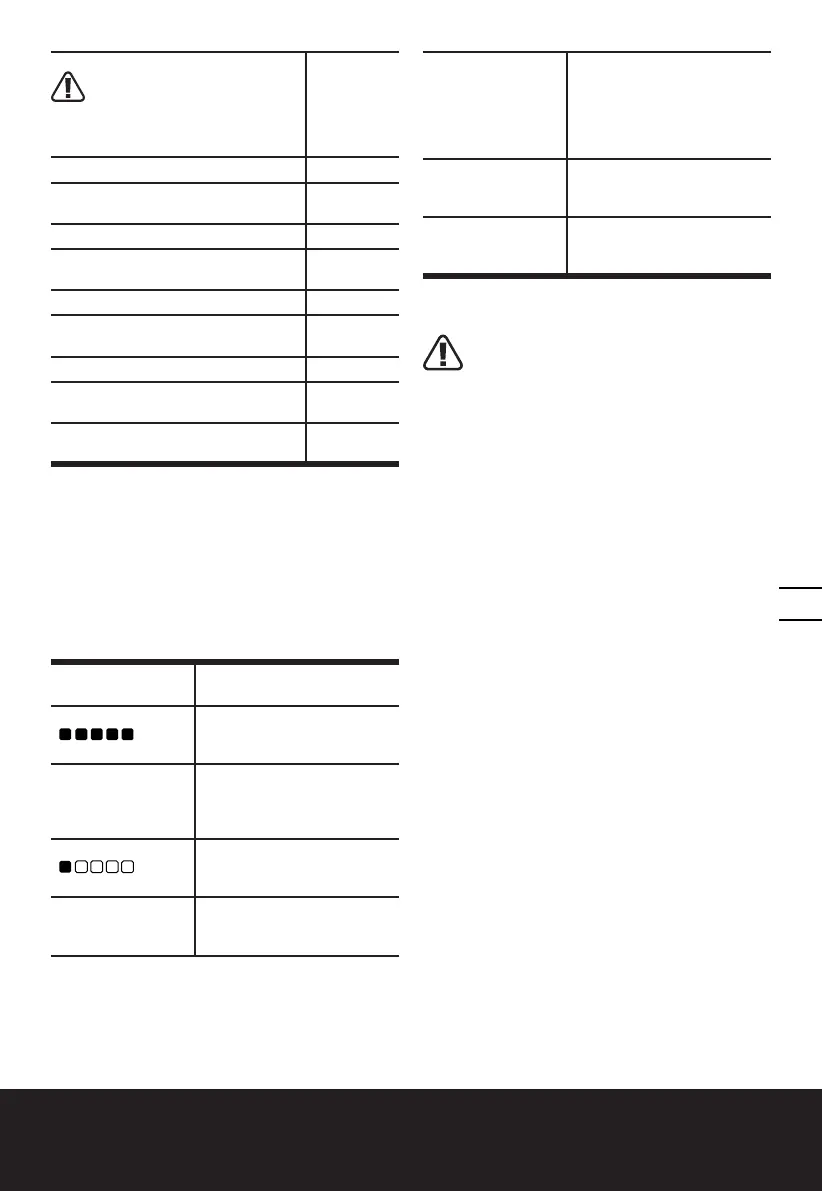
BATTERY STATUS (See Fig. C5)
Before starting or after use, press the button beside the power
indicator light on the machine to check the battery capacity.
During operation, the battery capacity will be indicated
automatically by the battery power indicator.
The indicator constantly senses and displays the battery
condition as follows.
For the machine with 2 battery packs with different power, the
power indicator light displays the battery condition with the
lower one of the two batteries.
Battery power
indicator status
Battery condition
Five green lights
( ) are
illuminated.
The two batteries are in a
highly charged condition.
Two, three or four
green lights are
illuminated.
The two batteries have a
remaining charge. The more
lights are illuminated, the
more battery capacity.
Only one green light
( ) is
illuminated.
At least one battery is
almost depleted and needs
to be charged.
No light is
illuminated.
At least one battery is not
fully installed or battery may
be defective.
Only one light is
flashing twice per
cycle.
At least one battery is
over discharged (please
refer to the battery charge
condition), please recharge
the two batteries at once
before use again or storage.
Only one light is
flashing three times
per cycle.
At least one battery is hot,
wait for them cool down
before start again.
Only one light is
flashing four times
per cycle.
The machine is over load.
Raise the cutting height or
push slowly.
OPERATION INSTRUCTIONS
WARNING! The charger and battery pack are
specially designed to work together so do not
attempt to use any other devices. Never insert or
allow metallic objects into your charger or battery
pack connections because of an electrical failure and
hazard will occur.
1. COMMAND FEEDING THE LINE
(See Fig. J)
Your grass trimmer is equipped with a Command
Feed System. Just press the button while the
machine is running, new line will feed out and then
stop when you hear the ‘clattering’ noise of the
new line being cut. The motor stops briefly when
the Command Feed button is pressed, and restarts
when released. This process enables the machine to
automatically feed out new line.
2. MANUALLY FEEDING THE LINE
(See Fig. K)
Turn off the trimmer and remove the battery. If
required, line can be fed out manually. To operate,
press and release manual Line Feed Button, while
gently pulling out the line until it is long enough
to reach the Line Cutter. If the line extends past the
Line Cutter, too much line has been fed out. If too
much line is fed out, remove the Spool Cap and turn
Spool counter-clockwise until the line is at the desired
length.
3. MANUALLY WINDING THE LINE
(See Fig. O, P, Q, R)
Take approximately 20ft (6m) of line. Insert 0.080 inches
(2mm )of line into the Spool holes and wind line in the
direction of the arrows on the top of the Spool. Leave
approximately 4 inches (100mm) of line unwound and
place into the cleat. Ensure that the line is neatly coiled on
the Spool. Failure to do so will impair the efficiency of the
automatic line feed. Then fit the Spool as described above
in “Replacing the trimmer line and Spool”
 Loading...