68
Replace the light board
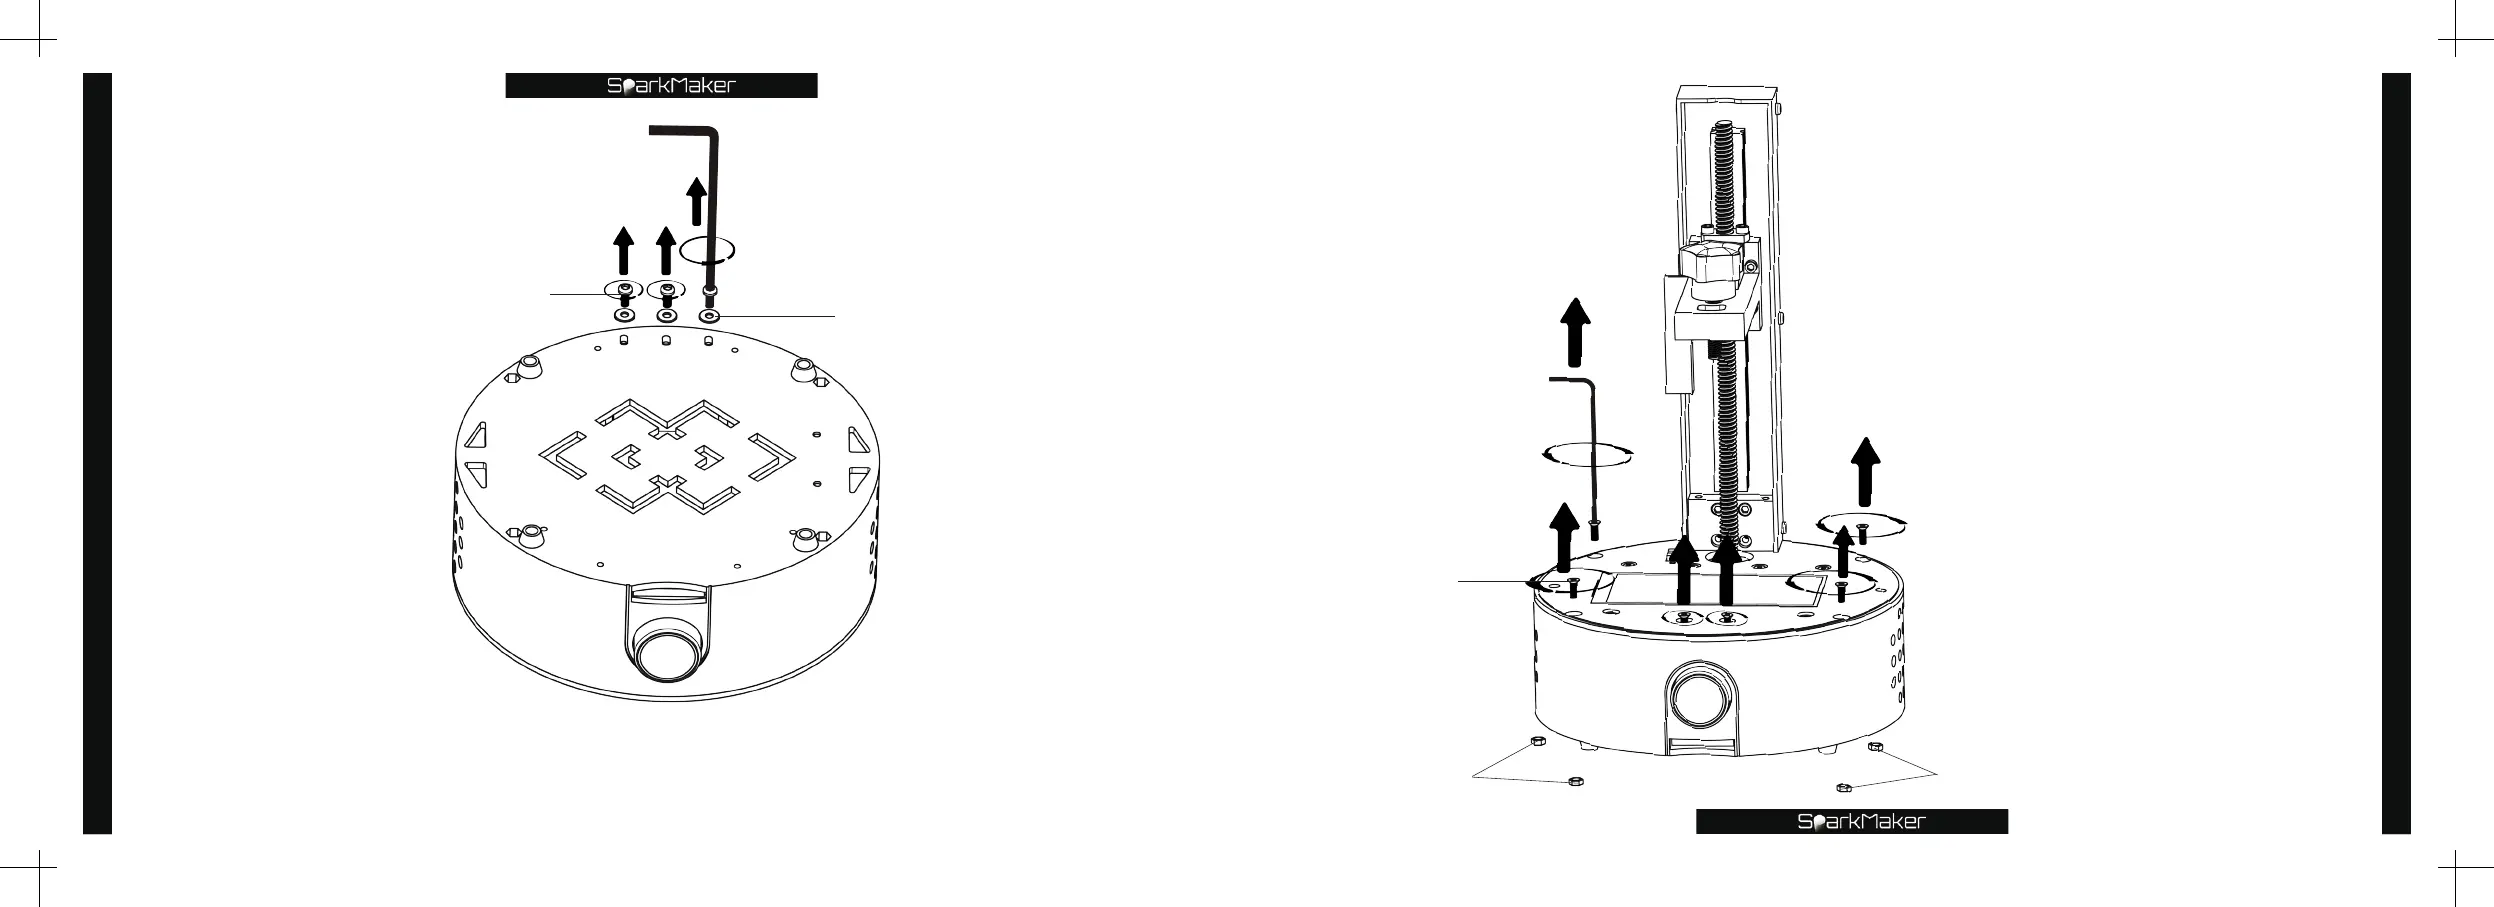
69
Replace the light board
Use the small hex wrench
to turn counterclockwise
to unscrew the four flat
head screws on the
working panel and the two
flat head screws above the
knob.
*
Notice:
❶
Please take good care of the
removed parts.
❷
Please take care of the four M3
nuts installed in the bottom of the
printer.
Small hex wrench
Flat head screw
M3 nut
M3 nut
Big hex wrench
washer
Round head screw
Use the big hex wrench to unscrew the three round head screws
and three washers on the bottom of the printer counterclockwise.
*
Notice:
Please take good care of the removed parts.