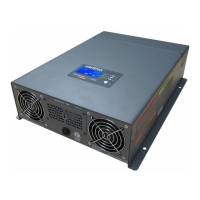
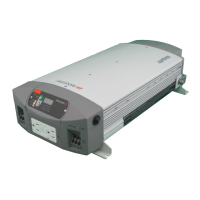
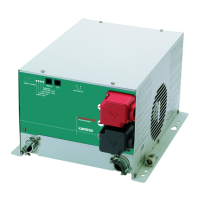
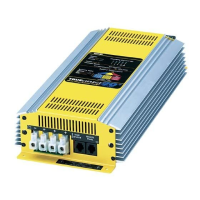
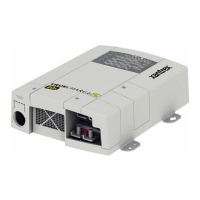
Xantrex XC Series and BC Series Battery Charger
2 975-0191-01-01
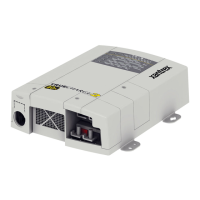
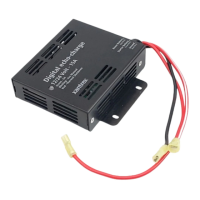
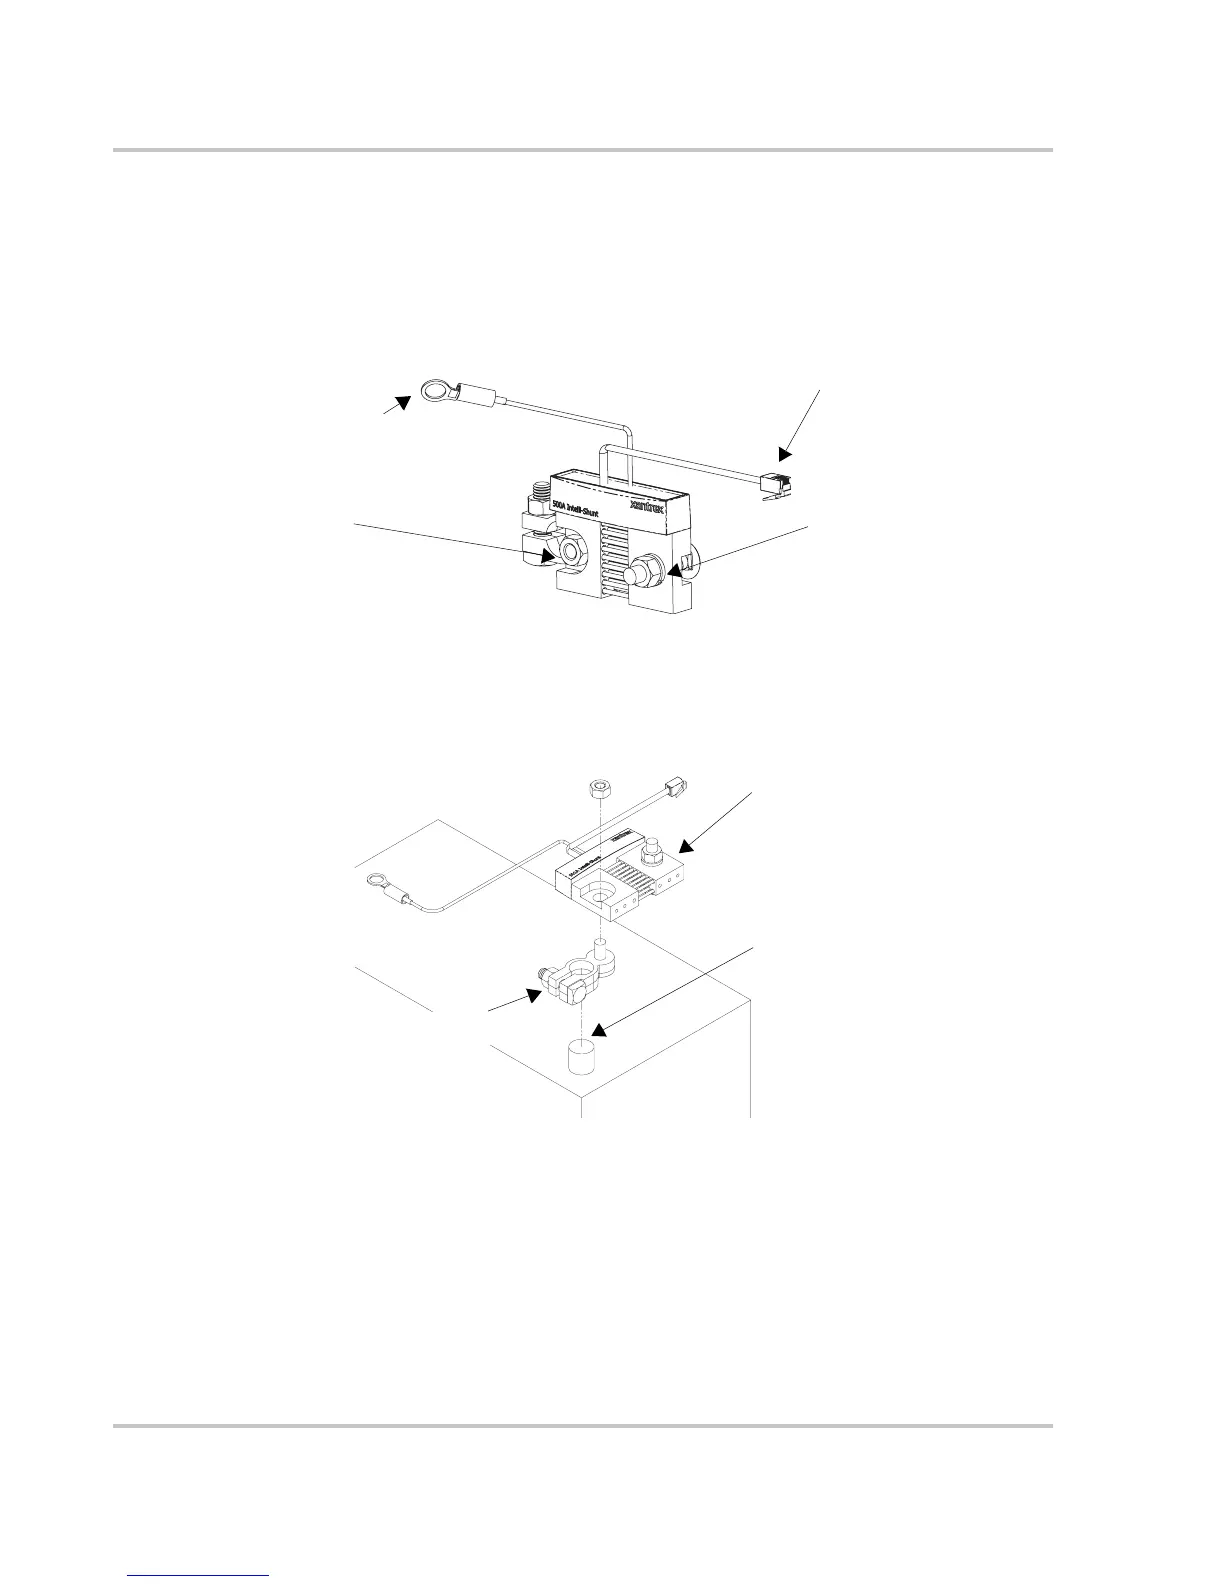
Installing the Easy Shunt™ Sensor
To install the Easy Shunt™:
1. Switch off all devices operating from the battery. Disconnect all the wires from the
negative terminal of the battery (which is connected to Bank 1 on the XC or BC
Series charger).
2. Connect the "battery end" of the shunt which has the "D" shaped cutout to the
negative battery stud. If you have a round-post style battery use the round post to
stud battery terminal adapter provided. If you have a battery with a threaded stud,
remove the post adapter.
3. Loosen the nut from the bolt located in the opposite "load side" shunt terminal.
Adjust the round-headed (carriage) bolt until it contacts the top of the battery case
to provide support against the weight of the heavy wiring and any vibration that
may be transmitted to it.
Battery Positive Ring
Connector
Battery Negative
Cable Connection
(battery terminal)
XC Series or BC Series
Negative Cable Connection
(load terminal)
Telephone-style Connector
(to Bank 1 Connector on
Rear Panel of XC Series or
BC Series)
Battery Negative
Terminal
Round Post to Stud
Battery Terminal
Adapter
Easy Shunt™

 Loading...