Connecting a Cable 19
IE
IE
Connecting a Cable
Connect the printer to your computer using an
interface cable appropriate for your connection
method.
An interface cable is not included with the printer.
You must purchase it separately.
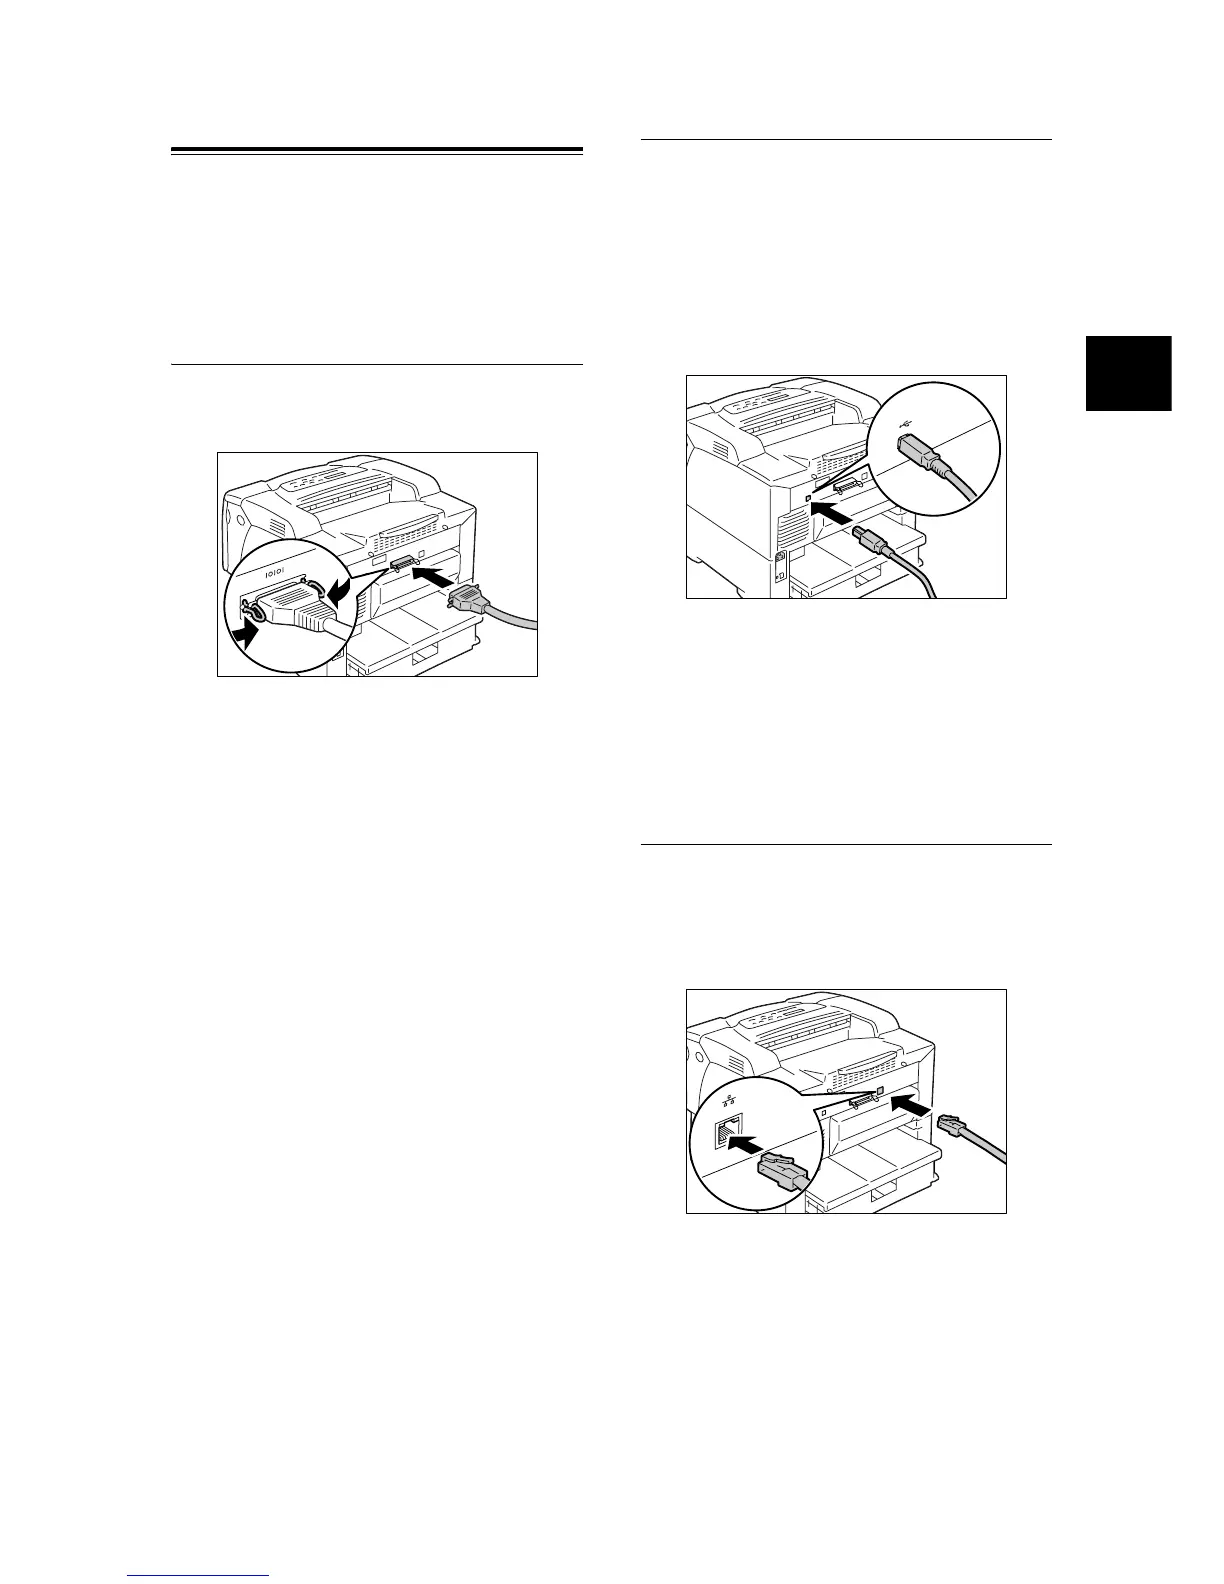
Parallel Connection
1. Switch the printer off.
2. Plug the parallel cable into the interface
connector on the printer.
Secure the parallel cable into the connector
using the metal pieces on both sides of the
connector.
3. Plug the other end of the parallel cable into
your computer.
4. Switch the printer on.
USB Connection
When using USB connection, install a print driver
on your computer before connecting the cable.
For installation instructions, refer to “ Installing a
Print Driver” (P. 24) or the ‘CD-ROM
Documentation (HTML)’ on the CD-ROM of the
Driver CD Kit.
1. Switch the printer off.
2. Plug the USB cable into the interface
connector on the printer.
3. Plug the other end of the USB cable into your
computer.
4. Switch the printer on.
Network Connection
Use a straight-type network cable that supports
100BASE-TX or 10BASE-T.
1. Switch the printer off.
2. Plug the network cable into the interface
connector on the printer.
3. Plug the other end of the network cable into
a network device such as a hub.
4. Switch the printer on.
 Loading...


