164 7 Maintenance
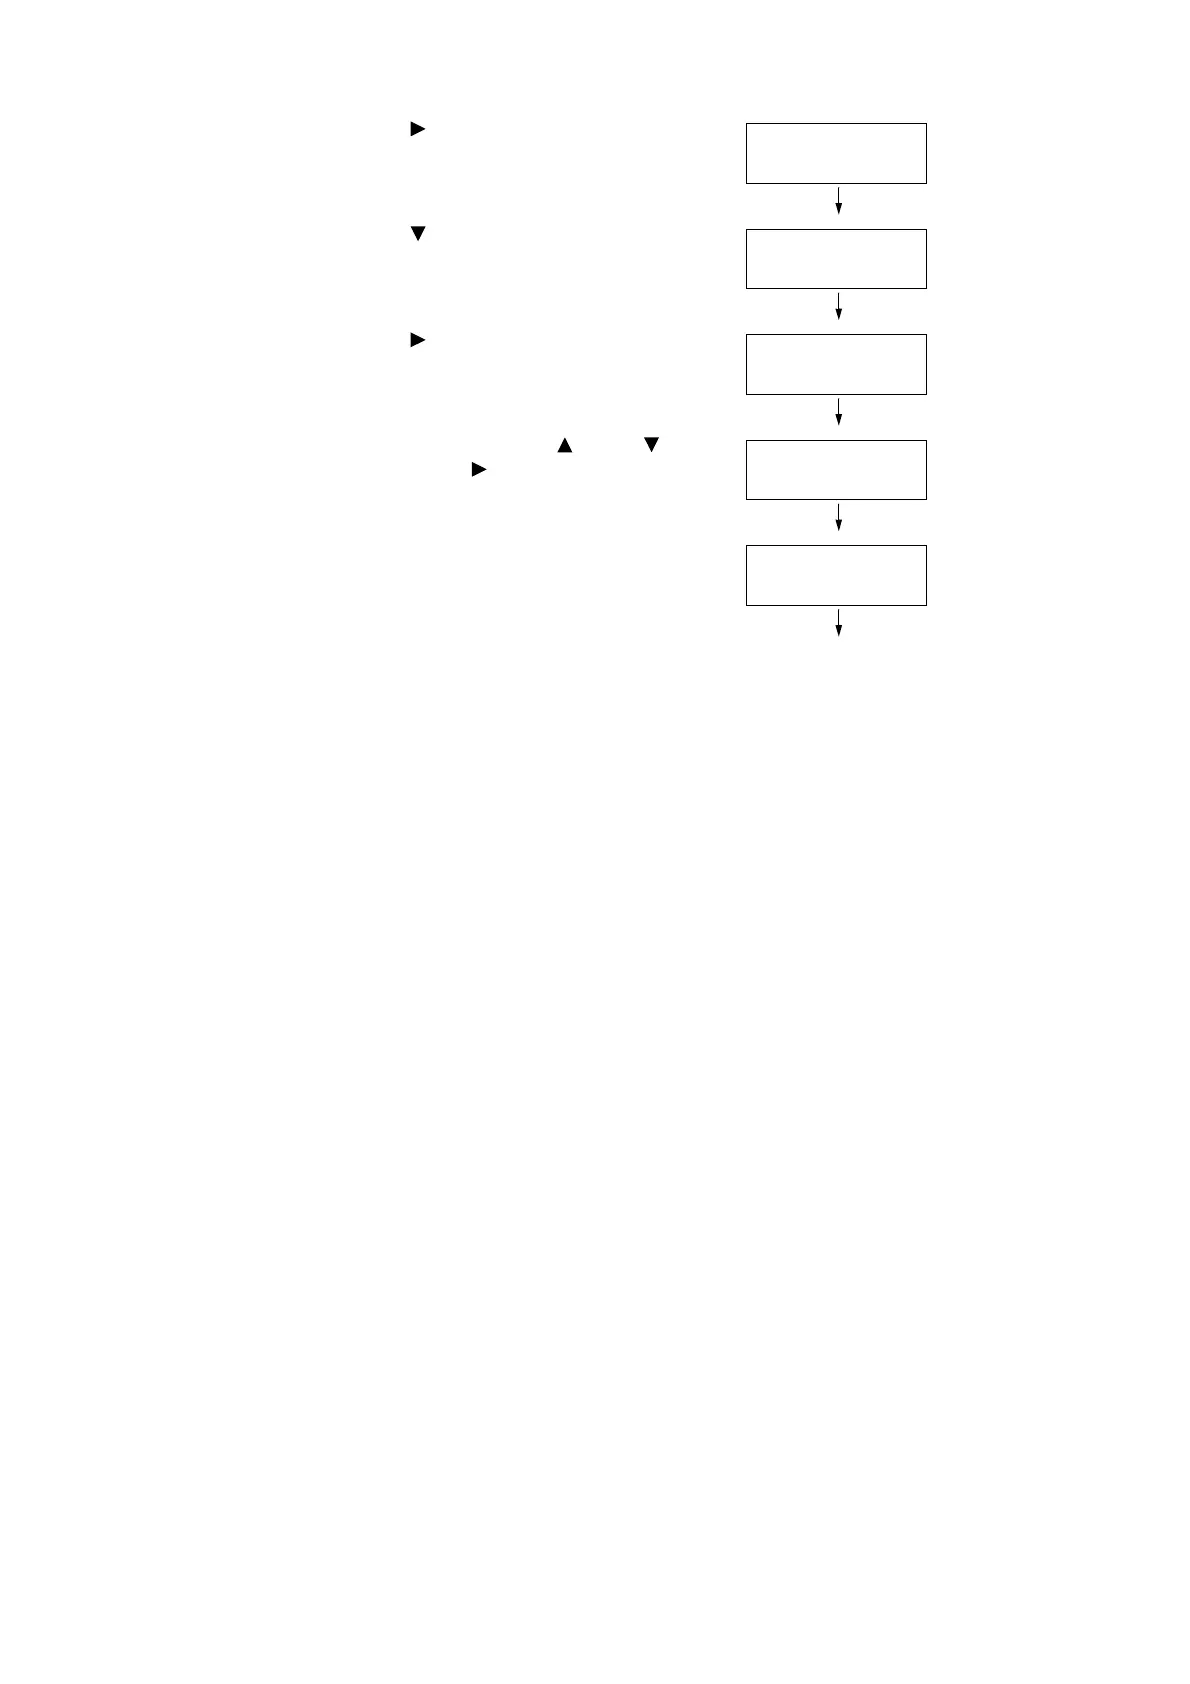
7. Press the < > or <Eject/Set> button to
accept the selection.
[Auto Adjust] is displayed.
8. Press the < > button until [Enter
Adjustment] is displayed.
9. Press the < > or <Eject/Set> button to
accept the selection.
A screen that allows you to enter the
adjustment values is displayed.
10. Enter the values using the < > and < >
buttons. Use the < > button to move the
cursor.
(Example: M=+2)
11. After entering the values, press the <Eject/
Set> button to confirm your entry.
The display returns to the screen shown on
the right.
12. When you are finished with the settings,
press the <Menu> button to return to the
print screen.
After changing the adjustment values, reprint the Color Registration Chart using the
procedure in "Printing the Color Registration Chart" (P. 162).
If the value is not "0" for each color, perform the color registration again.
Adjust ColorRegi
Auto Adjust
Adjust ColorRegi
Enter Adjustment
Enter Adjustment
Y= 0 M= 0 C= 0
Enter Adjustment
Y= 0 M=+2 C= 0
Adjust ColorRegi
Enter Adjustment
 Loading...


