
C
cookthomasSep 2, 2025
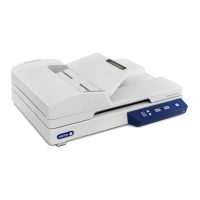
Why won't the ADF on my Xerox W130 Scanner feed pages properly?
- PPaige RodriguezSep 2, 2025
If the ADF on your Xerox Scanner won’t feed pages properly, it could be due to a dirty or worn roller causing skewed or multiple page feeds. First, try cleaning the rollers.